Top 10 sewing tips – Ha! We’ve all heard that one before. As if there could only be 10. As if only 10 mattered. As if your 10 would be the same as mine.
You may be an experienced dressmaker and have your own Top 10 best tips. That’s awesome! They may be the same as what I’m listing here or completely different. Doesn’t matter. The point is that there are some guidelines that simply make period sewing easier. Make your garments better. Make the sewing experience more enjoyable.
Even if you are well-versed with the tips here, it’s always good to refresh the knowledge.
Before we get started – safety first!

1. Organization!
It’s the best secret to successful sewing that I know. I believe the key to success in anything is organization. I mean, how can you achieve your goal if you don’t have all the parts in place and ready to go?
For a historical sewing project you need:
The pattern and sketch – or the overall picture in your head of what you want
Sewing machine (unless you truly want to do it authentically with anything before the 1850s)
Fabrics
Notions (all the “extras” to complete the garment like thread, hook & eyes, and buttons)
Get together all the parts associated with your project into a special bin, drawer, shelf or basket. Even if you are unsure of trims at the beginning, just start with the basics: fabrics, pattern and thread. Some projects require you finish an item before deciding on trim placement anyhow.
Also, some garments change throughout the construction process. Allow this to happen. Be open to new ideas as you create your project.
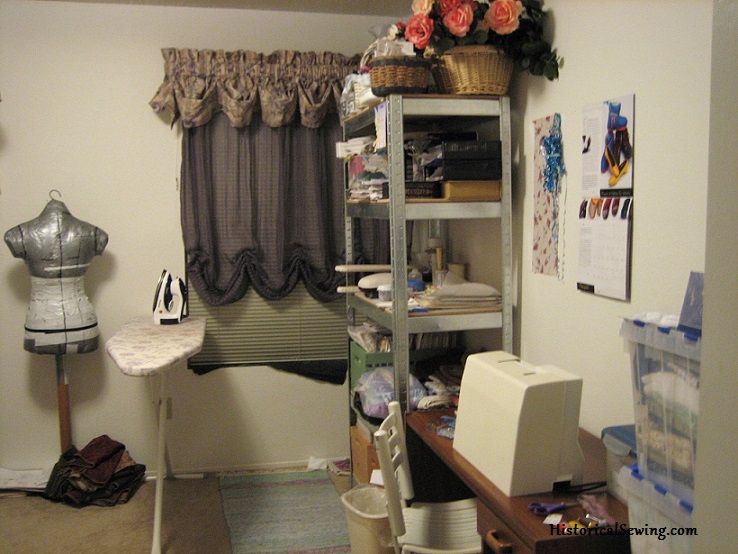
Keeping your sewing area in place and with your supplies handy will allow the construction process to run more smoothly and be finished on time (something we all strive for!).
2. Replace sewing machine needles with every project especially when changing to a silk or sheer fabric.
Old needles burr and can snag your fabrics. They also make your machine work harder. And if you sew over pins (which you should not be doing anyway!) the needls quickly becomes dull. What’s more, your stitching will show it.
With certain fabrics a pulled stitch is quite visible making the garment look home-made. Let’s try to avoid the “Happy Hands at Home” costumes!
3. A seam sealer like Fray-Check or Fray Block is a super friend.
Have you ever accidentally cut your fabric with your seam ripper when cutting open buttonholes? Do your bonnet ties suddenly have fringe on the ends when they should be a smooth edge?
A slip of the scissors or a seam ripper is more common than not. Protect those accidentals from becoming sloppy and use a seam sealer for your cutting mistakes. Or even simply to keep a cut edge neat.
4. When performing precise pressing, turn off the iron’s steam – your fingers will thank you.
Need I say more? Have you been there too?
You have that lovely tiny bias finishing on your bodice with the delicate drawstring inside. All you need is one last press to make it ready for the ball. Then – OUCH! A burst of steam rushes out of your iron and directly over your fingers that are holding the bodice to your pressing ham. And this isn’t the first time it’s happened to you.
Remember this sewing tip so your fingers will only get burned on the seldom occasion instead of with every project. (Because I can’t guarantee that you will never get steam burns again….)
5. Don’t use full placket openings when cartridge pleating skirts.
I was thinking I would be smart and add a nicely finished placket to the center back of my first 1850s skirt. I love cartridge pleats. And I was very pleased with my work on sewing the skirt to the waistband. Then I closed up the back opening and right in front of me was a wide, flat section of skirt surrounded by fabulous tiny pleats! What was I thinking?!
Finish the edges of your skirt where your pleats will start with a narrow hem or small bias placket. Avoid the wide, separate plackets to finish your opening to avoid my mistake.

6. Use pressing aids for more than simply pressing.
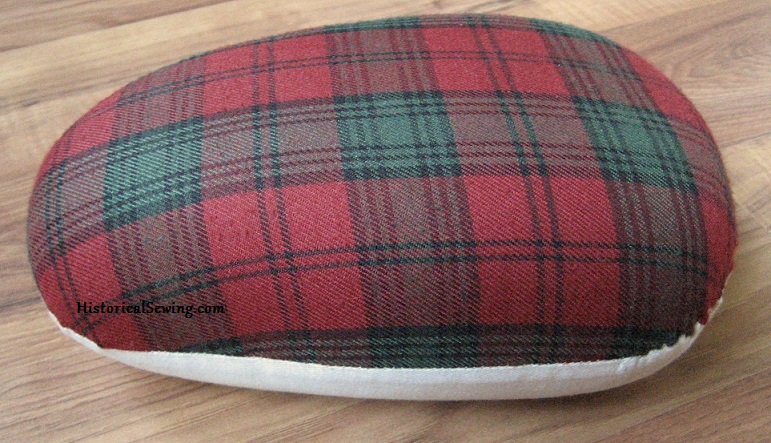
Tailor’s hams, sleeve rolls and sleeve boards are important sewing tools. In addition to pressing up hems on sleeves and opening seams flat, you can have great success with using the padded forms to pin trims on straight and curved edges and small areas. A pressing ham is a MUST HAVE tool in your kit.
7. Pre-treat all yardage and trims as you wish to care for the final garment.
Machine wash all items that will be machine washed once they are sewn. This includes even the cotton cording you will use for piping. Materials that will require dry-cleaning should be ironed according to their appropriate temperature.
Be aware that all fabric and trims shrink at different rates. You may have trouble later if you don’t pre-treat your fabrics before sewing begins. Remember cotton trims shrink less than your linen jacket. Oops!
8. Flatline (nearly) all bodices.
Except for some dresses in the Regency and sheer bodices in mid-century, supporting a bodice with an underlining layer was the norm. The underlining WAS the lining. It protected the fashion fabric from rubbing against the undergarments (aka. boned corset) and supported the overall tightly-fitted design.
To add an underlining layer, flatline it with your fashion fabric. Cotton and linen are your best fabrics for supporting fashion fabric. Although, silk organza is strongly recommended too.
9. Severely limit your use of fusible interfacing when making historical garments.
It’s super easy to set in fusible interfacing at too high a temperature… which in turn causes puckering, distortion of your fashion fabric, and it just creates a cheap look. euwww….
In all honesty, I use it, but rarely in my historical projects (modern garments are a-ok though!). And think about it… WHERE would you use modern fusible interfacing in 19th C. clothes?? Really the only items would be cuffs and collars. But even then, an organza or organdy would provide the same support while being less annoying than modern material.
10. Keep a magnet handy.
Run it over the floor periodically to pick up pins.
Run it under your ironing board and sewing machine table too.
Be sure to keep all magnets away from digital sewing machines! I can’t speak for my cats, but my husband thinks this is the most important tool in my sewing room!
We all have our favorite bits of advice when sewing historical costumes. Please share one of yours in the comments below. Who knows? You may just have The Best Sewing Tip Ever!

You are the queen of historical garment sewing. Keep those tips and techniques coming.
Terrific tips. One of my favorites that I learned two years ago was she importance of staystitching the curves. I always skipped it, thinking it unnecessary., but now I know better.
Yes, staystitching is very important!
This one is very late but: Don’t sew overnight as you’re falling asleep. What seems like a straight seam to your sleep deprived brain will be something altogether different in the morning. It’s better to sleep and wake up a bit earlier than to sew into the early morning and then wake up and realise that you have to undo all that work.
This is so true!
I guess my biggee is “Do it right the first time, and you won’t have to take it all apart and do it over again anyway.” It’s not that I think you shouldn’t make mistakes–which, well, you shouldn’t but you DO–it’s more about slowing down and not skipping steps in a process just because you want to get it done faster. I’d rather simplify a garment and do less than I’ve planned than skip steps. (Building trims up in stages , I’ve found, is a GREAT way to be able to do this. I can always add more trims later, and still have a finished piece in time.)
Combining my mother in law’s favorite advice with the advice of a friend’s great-grandmother – Layout one day. Cut the next day and organize the pieces. Start sewing the third day. The gaps in time give you space to realize you’re doing something wrong and to correct it.
I used to know how to hand sew a thread triangle at a box pleat. Can you show me how? There is a set routine to follow.
A thread triangle at a box pleat? I’m not sure exactly what you mean. Is it the tacking stitches on the back to hold the pleat in place?
Help me oh experienced ones.
I am making this as a steampunk gown (although I don’t like the skirt length and have added 5 inches to better fit me).
How do I line the pleated section of the skirt?
I have 3 options:
1) Enclose the raw edge in the hem of the pleats and stop the lining at the top of the pleats (not my preferred option and I suspect this will make the pleats hang strangely).
2) Cut the same amount of lining and fashion fabric and baste then pleat them together (not sure I have the skills for this).
3) An A-line section of lining that is not closed at the hem with the raw edge of the fashion fabric as per option 1.
4) Some sort of Bias trim on the hem, again with the bulk though…
I’m at a loss. The pattern appears to suggest option 1 but I really want the added structure of the lining. I’d prefer option 2 but I’m not sure I have the skills (or the space – I have very little room to work) to accomplish this in a beautiful way.
Your advice and input on this would be appreciated.
Flatline the pleat fabric then continue construction as stated.
I was cutting a pattern tonight and some words of wisdom from the first and only formal sewing instructor I ever had came back to me: “Apparel sewing isn’t rocket science. If you can’t be 100% precise, that’s okay, because our bodies aren’t 100% precise either!”
I myself enjoy being precise, but it is such a nice philosophy to help take some of the pressure off myself.
The first, prime and MOST important sewing tip I have ever received came from my dear friend Ellie Korda who taught me that sewing wasn’t necessarily torture: “The more you fuss the better it will look!”
That phrase has replayed itself in my brain every time a project has frustrated me, every time I have dissolved in tears because it was going to SLOWLY and every time I have tried to encourage another sewer. Of all the things sewing related that I have ever learned, that phrase is the single wisest one of all.
How do you think you’d make something like this? http://www.pinterest.com/pin/519110294519852227/
its beautiful, and i really want to make it.
That is the jacket created for and worn by Nicole Kidman in Cold Mountain. Simplicity has a (very modern) interpretation of this coat. It’s #4900 and can be found on eBay and Etsy.
Hi Jennifer!!
Once again, you have come up with most wonderful information and reminders!!
Blessings!
Gina