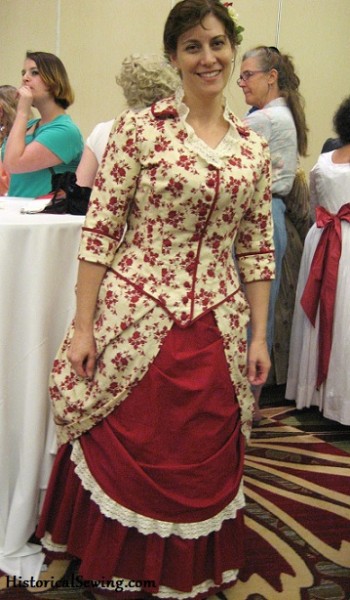
Here is my finished bustle at its debut at Costume College 2012!
It all started last December with the idea that I needed a “quick” bustle dress. (yeah, right!) Then I was on this kick that I HAD to have a red costume. Because every woman needs a red dress… you know. 🙂
Well, the “quick” part of the dress became so overloaded with trim that it didn’t get done until a few weeks ago. But it was all from cotton materials so I enjoyed every minute.
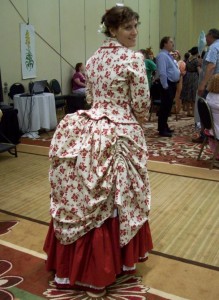
The cotton twill skirt base is cut from the Truly Victorian #261 – 1885 Four-Gore Underskirt. The center back panel is flat lined on the top half with nylon netting for staying power.
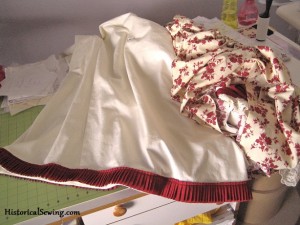
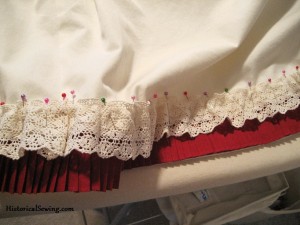
To stick with the inspiration fashion plate, I used a thin red cotton strip, pleated it with my Perfect Pleater and mounted it to the finished hem.
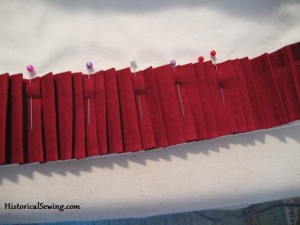
Then I loosely gathered 2.5″ cotton crocheted lace and mounted over that. Finally I mounted a deep 15″ ruffle out of the red to further hide the cream underskirt.
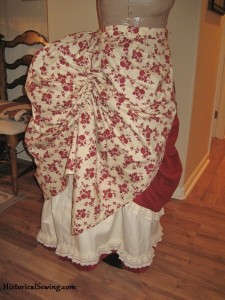
As May rolled around and I realized that my “quick” bustle dress was getting done not-so-quickly, I tossed my original idea of an asymmetrical overskirt. I’ve admired the Truly Victorian #362 – 1884 Wash Overskirt for some time and realized this was a perfect time to whip it up.
And did it whip up quick! I love it!
I noticed in the fashion plate that the lady on the right has a similar skirt and since it was on the same page as my original inspiration (on the left) I decided it would be perfect.
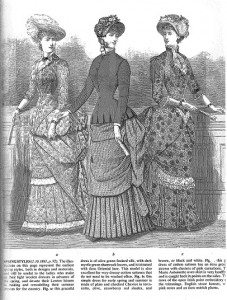
My only change was to round the apron hem rather than leave it in a point. I will say, though, the apron hangs a lot longer than I thought it would and longer than how the pattern sketch looks.
The bodice is like the 5th or 6th reincarnation of one Truly Victorian bodice or another. Hey! – if the pattern fits, don’t reinvent the wheel and start with a new pattern.
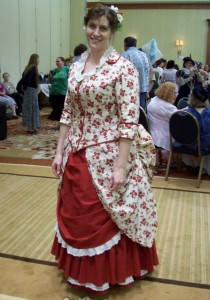
I used the fashion plate for inspiration and highlighted the collar, cuffs, center front and hem with a flat, solid red 1/4″ piping (meaning it’s simply a folded strip of bias with no cord running through it). The red trim really complements the red/ecru floral fabric!
The 5/8″ buttons were covered in the same solid red cotton. And the cuffs were flatlined with a soft cotton organdy.
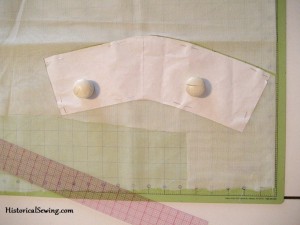
The collar was drafted to the bodice pattern with a 1″ stand at the back. This was so it gave a high collar idea without it being too high on the neck. Lastly, I whipped more of the ecru lace around the neckline.
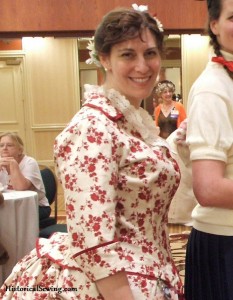
The one unfortunate thing about this bodice is that because the pattern fit me the last time I made it, I made only a quick mockup.
Well… I’ve lost 15 pounds since that fitting. You can guess what that does?! I could pull out nearly 4 inches along the front waist darts! And I noticed that the shoulders could use a tighter seam too.
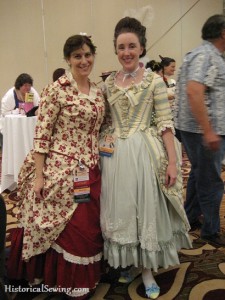
I love this red ensemble so much that fitting tweaks are definitely in order. ‘sigh’ Time to rip out bone casings…
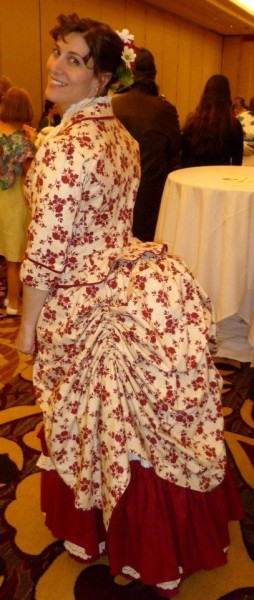
A bonnet will eventually be made for this day outfit. I even started one. But that’s another story unto itself….
Update – September 2014
It’s finished!! Altered and with a new bonnet. 🙂
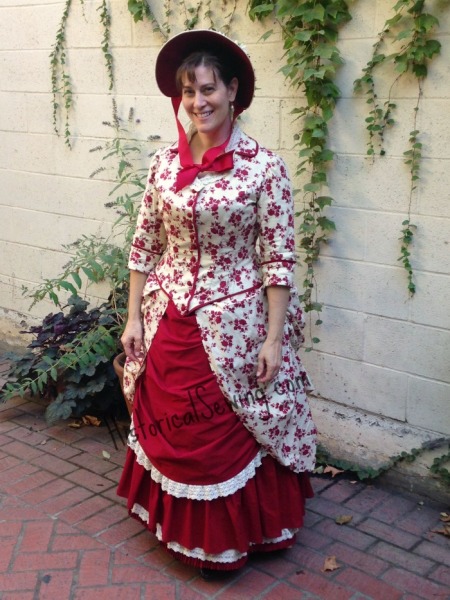

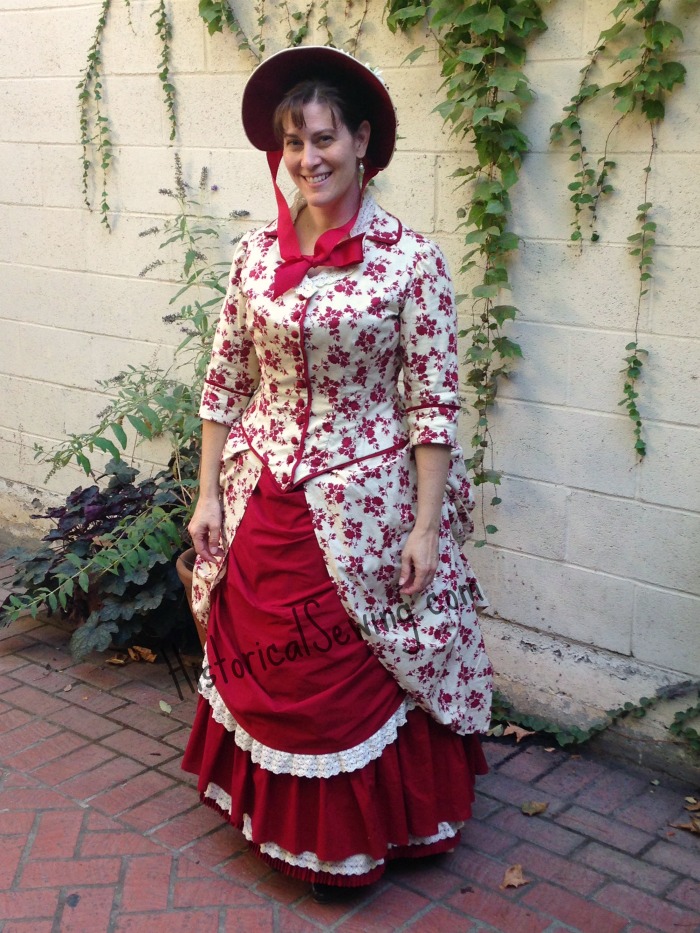
I love the dress! What pattern did you use for the red underskirt, between the apron and the underskirt?
The bottom is simply a deep ruffle from the red. I measured the skirt hem then doubled (I think) to cut the ruffle. Hemmed and gathered then mounted onto the skirt so the ruffle matched up to the finished skirt hem.
This is beautiful!
I noticed your dress form in one of the photos. I’ve been researching duct tape forms and paper tape forms, but yours looks like it might be packing tape? Tell me more. And how do you make it stand?
Linda, you can read about my dressform here: https://historicalsewing.com/duct-tape-double-dressform
Truly lovely! the additional pix are great. I have a question on the construction tho on the TV site whenlooking up the Wash skirt, ihave a question on how it is put together.
” The pointed front apron is** attached to the sides, the edges form casings for tie strings which lift the sides and apron**, giving a beautiful swag and rear puffs. ”
how is this attached? does it all go on a single waistband?
Thanks
melody
The red of my dress is the apron. The side and side back is one piece (one on each side). You lay the sides over the apron and sew them together (working from the back) at the apron sides which makes the drawstring casings. The apron is darted at the waist like the sides and they match and are sewn onto one waistband. The instructions with the pattern explain it well.