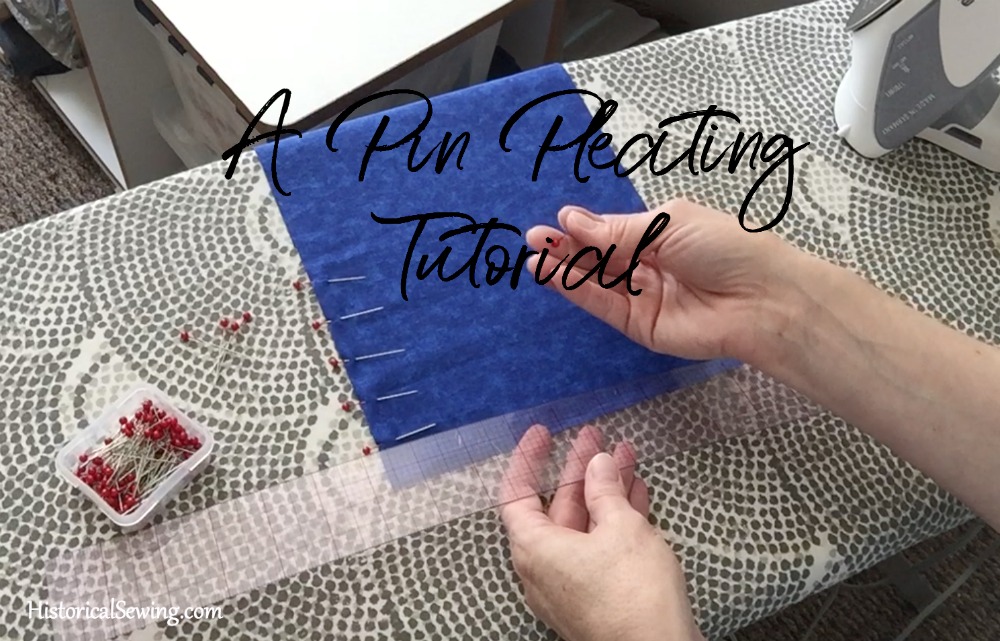

When I first started making pleated ruffles for my historical ensembles I used straight pins and a ruler. I didn’t know any different. You’ll find a variety of ways to make pleats, but this one worked well for me. And I’ll still use it when it’s the look I’m going for.
So when you don’t have a Perfect Pleater, reach for your pins for a simple method to make gorgeous pleats.
Let’s get started!
You’ll need:
- Straight pins with metal or glass heads (not plastic and certainly not cheap bead heads or they’ll melt)
- Ruler – I use my clear ones at 12” and 18” but a seam gauge or tape measure work too
- Steam iron set at the hottest temperature your fabric can handle


Tips to remember:
- Cut your fabric or ribbon 3 times the length of your finished trim placement (add a bit more for just-in-case circumstances, especially when making many yards of trim)
- Hem FIRST
- Place pins at the same measure for more exact sizing between pleats
- Press lightly after each pleat folding
- Baste for a secure hold before mounting to your garment

Is this a method you use when creating knife or box pleats?
A very generous share
Thank you for the tutorial, it’s very timely. I’m going to be box pleating a ruffle on a bustle dress this month, and this method will probably save me lots of time and heartache. 🙂