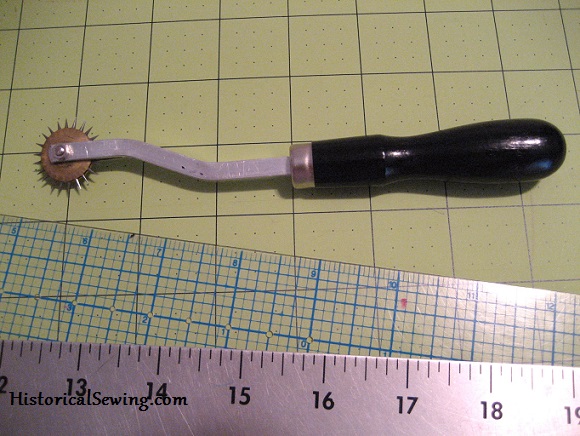
In high school clothing class I was taught to trace darts, seamlines, button placements, etc. with a round tracing wheel – you know, the one with the blue plastic handle? You cut your fabric then make a mess trying to get that carbon paper in-between the fabric and pattern to mark. Well, I ditched that practice as soon as possible. Couldn’t deal with all the time it took.
A needlepoint tracing wheel is NOT the same as a regular marking wheel. Leave those to the home ec marking class. We’re going to go deep into garment fitting and pattern drafting….
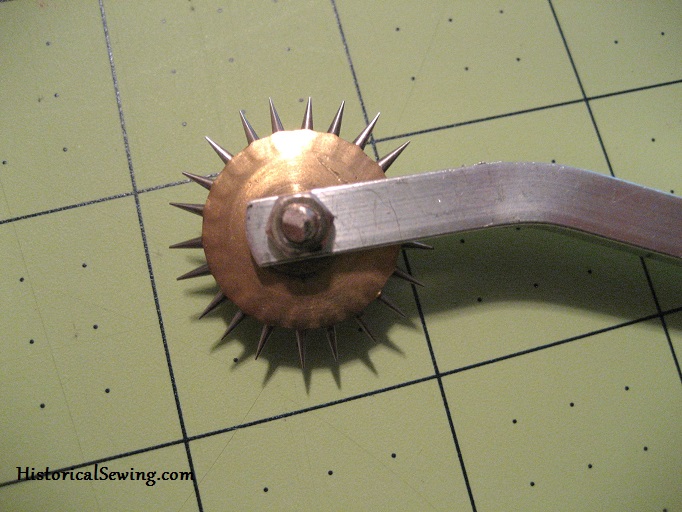
I was first introduced to the needlepoint tracing wheel in my first draping class at FIDM. This thing looked dangerous! And I vowed to always keep it in the box to keep my hands from puncture wounds. Little did I realize what a valuable tool had been given to me.
If you’re a smart cookie, you know you have to make mockups of most garments. Those things just don’t look right if you don’t take that time.
So you fit and finagle. Torture yourself into weird shapes while wearing a corset so you can pin darts into place and take up shoulder seams….
Gently removing your now stabbed, pinned, twisted, clipped, and stretched mockup, you lay it carefully on the table and then wonder how to get all those marks transferred to your clean pattern.
Ladies & Gentlemen, may I introduce my friend Mr. Needlepoint Tracing Wheel.
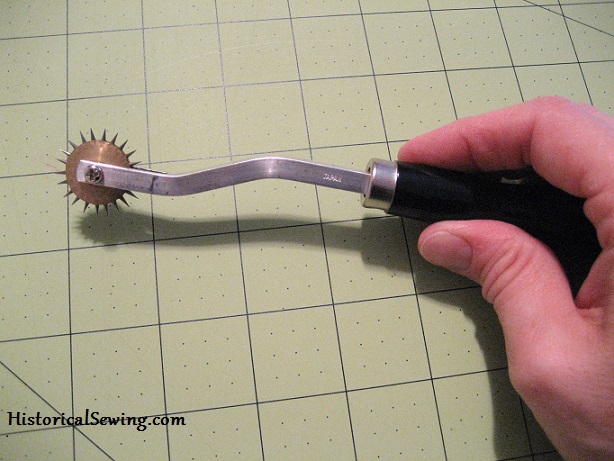
Ahh… that sturdy handle… those sharp points… simply waiting to forge new paths into your pattern.
At this point you should draw in all the pinned up places on your mockup. Draw in the dart lines. Draw in that new armhole line. Sketch in that new hem line.
Now rip it all apart.
Yes. Rip all the seams apart in your bodice! You used a longer stitch length to make this easy, right?
With each pattern piece and the same mockup piece, pin the fabric piece onto the pattern matching edges. Your fabric has probably stretched a little, but match them up the best you can and pin them together.
Now, here’s the magic…
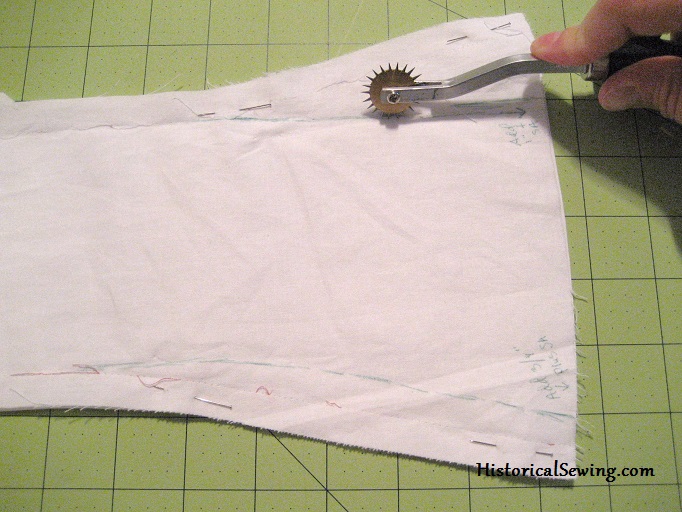
(Make sure you have a self-healing cutting mat under your pattern!) Pick up your new friend and start tracing those penciled in lines representing the new dart legs, armhole seam, and hem line. Trace ALL the fitting marks.
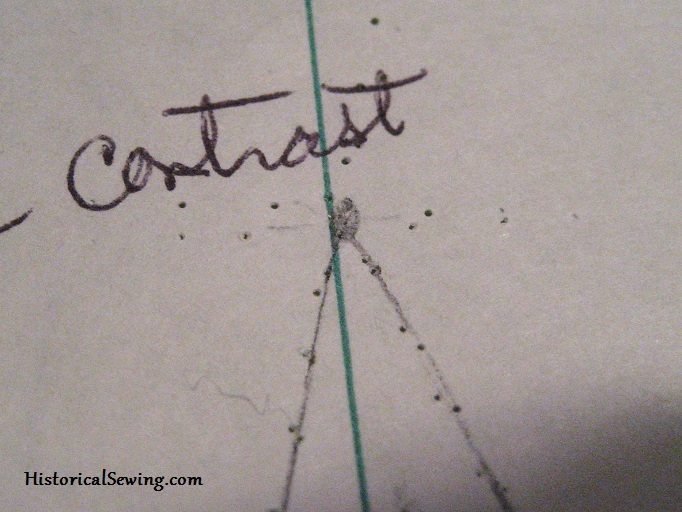
I find it best to mark points with a star of three lines with one point of the wheel right on the spot I want.
Unpin the mockup panel and use it for wiping up the tears that start coming realizing how easy that was. Look at all those lovely little dots. Beautiful!
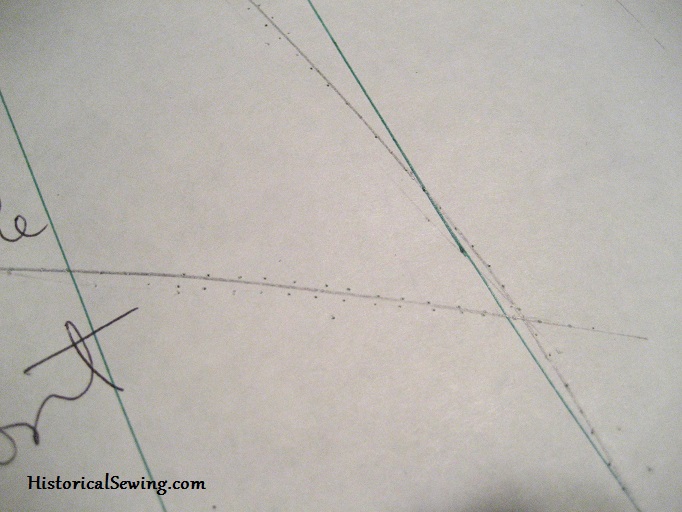
Now it becomes child’s play when you get to connect the dots! Minding your truing (straightening of lines) and using your 18″ clear ruler, French curve, hip curve and other fun drafting rulers, draw in and smooth out all the new lines. They don’t have to match the dots exactly. We consider the dots a guideline only.
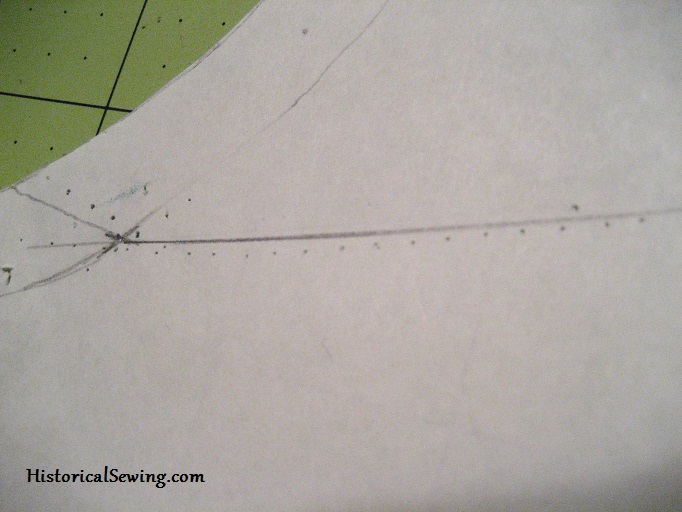
Remember to add seam allowance to any edges that went off your paper! (And let’s hope you added paper when necessary before marking with the wheel.)
And now – a finished pattern ready for cutting and sewing. Brilliant!
Here are a few vendors where you can purchase your own point-welding sewing tool.
I love my tracing wheel! Really, I do. I could not do mockup fittings and patterning without it. Do you have one? Do you use it?

Needle point tracing wheel is used on what fabrics
It’s primarily used on paper. You lay your fabric pieces over the paper pattern to transfer lines onto the pattern. It does pierce the fabric, so I’d recommend using only on mockup/trial garment pieces, or on final fashion fabrics where the points will be within seam areas and not seen on the outside of the garment.
If you are using a needlepoint wheel to copy a garment onto fresh paper, pay attention to the fabric because you don’t want those tiny holes to become permanent. With some fabrics you can work the fabric to reduce those marking holes, though. But some tightly woven fabrics will “hold” the piercing points. Again, the tracing wheel is used mainly for mockups and pattern work, not for final fabric sewing.
Thanks very much for that detailed answer!
I was told it is called a “Pouncer”. I LOVE mine. My Mom has had one FOREVER. I CANNOT do patterns without one!
I’ve heard that name used too!
A “pounce wheel” is different. The spikes are less spiky and it comes in different sizes.
I’ve three types of marking wheels – smooth edge, saw-tooth edge and a needlepoint. My fave by far is the needlepoint. As Jennifer comments it’s a great tool to use when transferring your markings from your mock up to your paper pattern. It’s time to retire it, though. It’s about 40 yrs old and the wheel it wobbly due wear from many years of use. A side note for those who have never shopped Dharma Trading. Their service is outstanding. I’ve been ordering fabric and dye products from them for many years now. SewTrue…another great vendor…is a tailor’s mecca.
I have seen these and always thought they looked like some sort of terrible medieval torture tool. I always have to make a mock up, or two, or three… I may try this method.
Yes, it’s one of the most valuable players in my sewing kit. I trace all my patterns onto kraft paper and alter them from there.
I don’t like punching holes in my patterns so I don’t use these.
I just ordered it and added Dharma and IDS to my list of favorite suppliers.