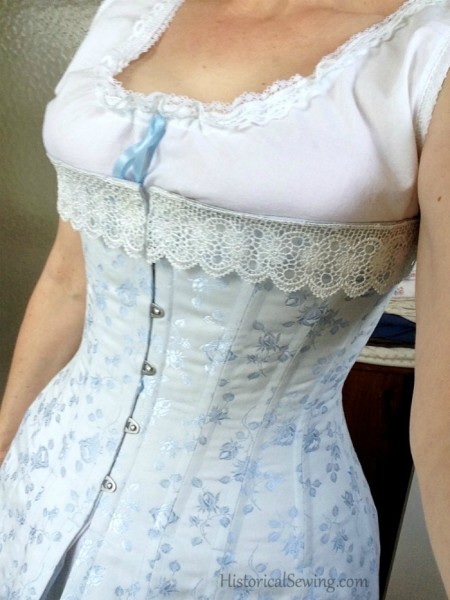
My latest historical costuming project – the first completed in 2016 – is a long-line, late Edwardian corset. Yay for period correct undergarments for a good start to the proper silhouette!! I also made a c.1917 chemise.
Here’s my review and how it went together.
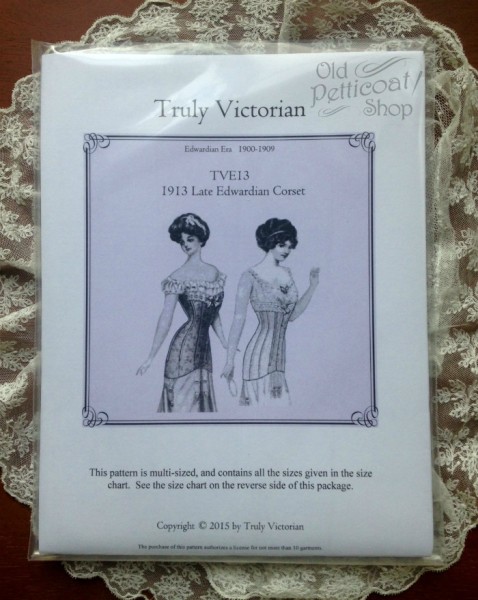
When Heather over at Truly Victorian came out with this pattern last summer I knew it was a brilliant item for our costuming resources. I also knew I wanted to create an online class using it as, aside from books and graphed corset patterns, nothing existed in full-size, graded form for this era. The pattern is dated 1913 but can cover fashion silhouettes from 1909 to about 1916. Wonderful!
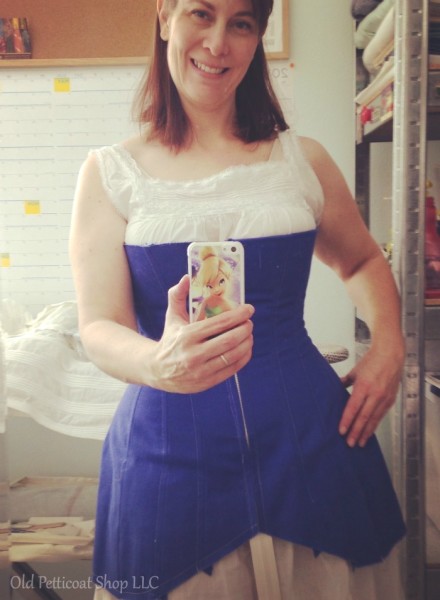
Of course the best way to start a [corset] project is with a mockup. I used a really pretty blue bull denim from my local fabric store that makes me want to make lots of pretty colored corsets! 🙂 I was unsure of such a long corset. But it turned out beautiful and I love it!
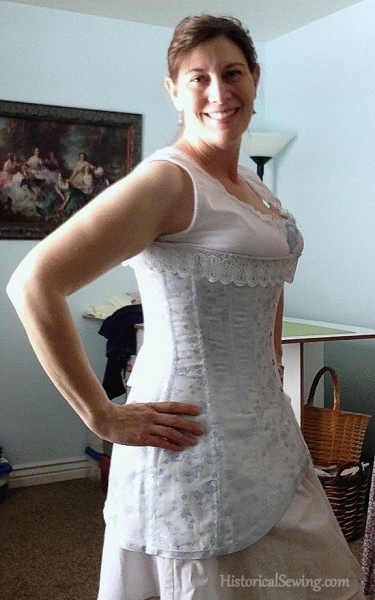
I ended up cutting the high bust version as I’m a large DDD bust cup and needed the support. It fits very well and comfortable! Being short waisted and short height I trimmed the top edge a small amount and cut off about 1″ along the bottom hem line. The corset still goes down to mid-thigh providing a lot of smoothing & slimming lines.
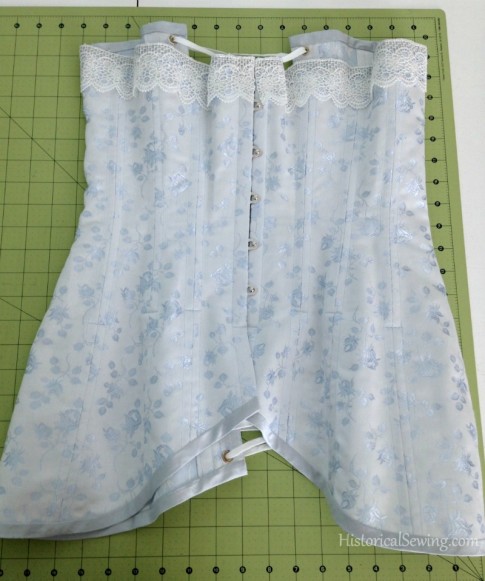
The most-asked questions I get on this are “how do you sit?” or “how do you go to the bathroom?” The answer is simply: because the boning only goes down to about the high hip level on the front and sides allowing the bottom fabric of the corset to simply hug the body and can be lifted up to use the facilities or to sit down.
The boning on the back hips and at the back grommets are longer and go to the full hip line. I used both flat steel bones and spirals – the flats on the front and spirals on the sides and back (because I have a natural curvy hourglass figure and the spirals shape better).
Of course, around the grommets you need to use flat steels to support the tension and cinching at the center back. For this project I used continuous boning – my first time to try it!
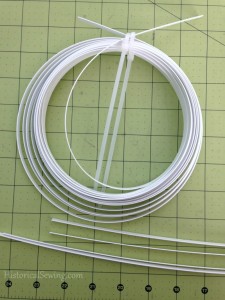
I had a roll of 6mm continuous boning from Farthingales and wanted to try it out. Since my back bone lengths were 18″ (astounding to me!) I found that cutting the length needed myself was a perfect use for the continuous boning.
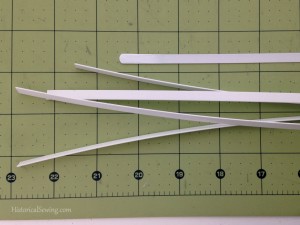
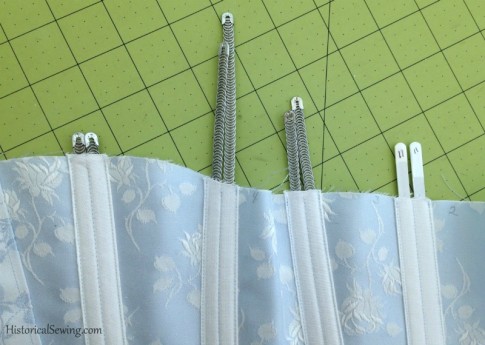
Above you can see the cut bone pieces at the bottom and a single purchased pre-cut flat steel bone at the top of the photo. This continuous boning was a LOT thicker than the “regular” bones in my stash. (According to the Farthingales page it’s called “hoop steel” and the same quality as their regular corset bones.)
I was quite surprised actually and a little worried at so thick a bone.
But they were perfect for the grommet area of my corset. Being so thick I’d hesitate to use it for lightweight corsets or even bodices as this stuff is stiff! However, for corsets needing lots of support I’d highly recommend it!
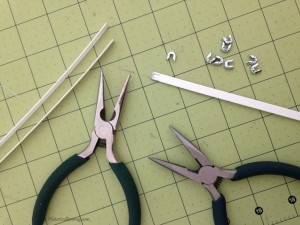
After measuring, I cut the boning with standard straight-blade tin snips. Linda at Farthingales recommends a bolt cutter, but since I don’t have one I used the tin snips I use with my hoop wire projects. Being a thick bone it cut the same as sturdy hoop wire. And I didn’t have an issue with the tin snips at all.
Afterwards I tipped the ends with u-tips using two pliers to hold and smash at the same time. I had not used two before as apparently I like to suffer with smashing each u-tip for 10 minutes with just one set of pliers. (Do yourself a favor and use two when applying u-tips to wire.) 😉
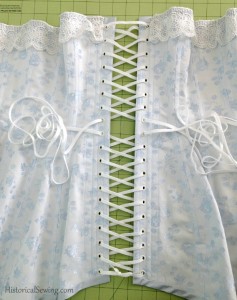
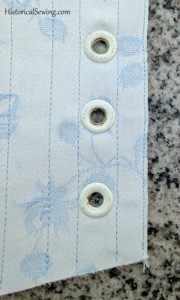
A total of 38 grommets were used at the back – this sucker is LONG! I purchased white ones from Corset Making Supplies. As I began to set them in the white paint started to crack and chip. I was much disappointed. They all turned out like that. If I’d known that before I would have put in silver grommets instead. The white is awesome and I wanted to try something different. I probably won’t use colored grommets again because of this.
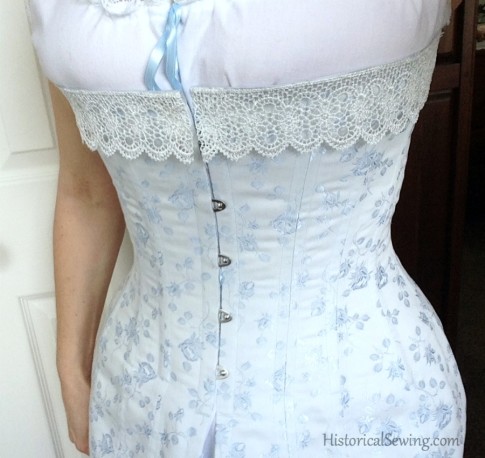
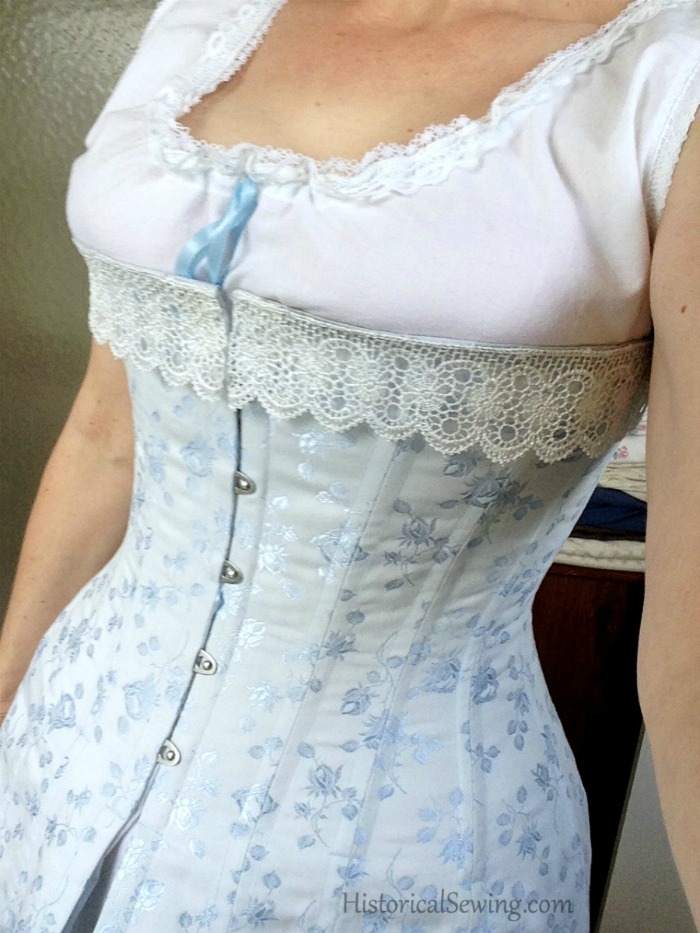
This corset is made single layer with bone casing attached to the inside. The gorgeous blue coutil was found at the Richard The Thread booth at Costume College 2015.
I was in love with it when I saw it and knew it would be perfect for this corset project. I fell in love even more then I cut and sewed with it! Like butter. And the finished corset is simply beautiful in this fabric! You can find other colors in this jacquard-woven coutil at various vendors.
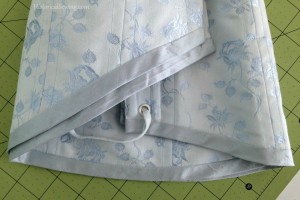
The binding was blue silk dupioni from my stash. I had about a 1/3 of a yard but enough to make binding for this corset – and it matched! 🙂
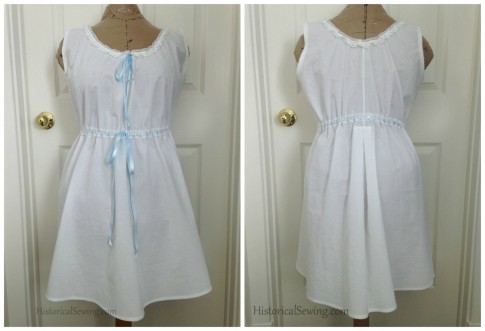
To complement the corset (and for bonus tutorials in my online class) I made up a quick chemise from Wearing History’s 1917 Combinations pattern.
Made from basic cotton muslin, I left off the crotch piece and added the waist beading lace. The blue ribbons were to match the corset. Of course. Even though it’s a very simple garment I highly recommend it for those who want a ready-made, full-size pattern to whip out.
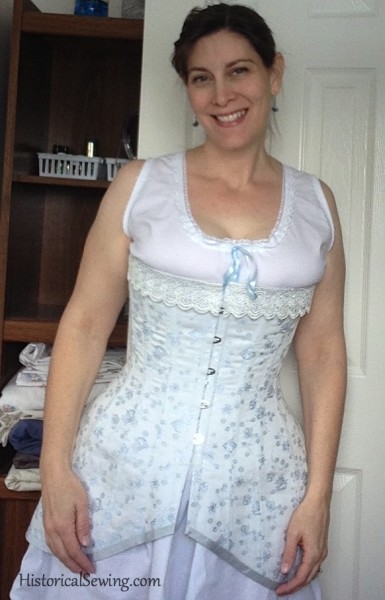
I’m very happy with both corset and chemise projects. I’ve made the earlier 1903 Edwardian pattern from Truly Victorian but find this longer one more comfortable. I can’t wait to make skirts and shirtwaists and wear them over this fun set of undergarments!
Have you made this or another similar long-line 19-Teens corset?

Jennifer, I found the fabric on Richard the Thread and am thinking of buying it in the lilac color for my Victorian corset project. The fabric content isn’t listed, but when I inquired, they said it’s a cotton viscose (rayon) blend. Is that okay for a period garment? Hopefully no one will be inspecting my underwear to see if it’s 100% period correct! I’m using the TV101 pattern from class, but making it as a single-layer garment as you did with the Edwardian. Yours is gorgeous, by the way! I hope to find similar trim for mine.
Thank you so much for your website, blog, classes, newsletter — all that you do! I don’t get much chance to express my appreciation. You’re not only talented, but exceptionally encouraging, supportive, and kind. God bless!
Thanks so much for reading and following, Serenah!
The lilac coutil is beautiful! As for accuracy, it depends on what YOU’RE comfortable with. Rayon was available in the 1880s but not used much until into the 20th century and not for corsets just yet. The coutil at RtT holds up very well to cinching and regular corset wear… even if rayon/cotton blend wasn’t in use at the time. For closer to the real deal then you’ll want 100% cotton.
Thank you thank you thank you!! I purchased this pattern a while back and have been rather intimidated by it. I found this page by doing an image search of this pattern–it’s one of the few patterns from Truly Victorian that doesn’t have any pictures of what it looks like on a living, breathing human being! Fashion plates are pretty, but they aren’t realistic in showing what the corset will look like on an ordinary person. Thanks to your post I was able to go “oooh, THAT’S how that part is supposed to look…okay, I can do this!”
That being said…is there a particular busk size you would suggest, or would you say it depends on my measurements?
Again, thank you! I’m looking forward to exploring more of your site!
So glad you’ve found it helpful!
I go through busk and boning selection in full in my online class. But the busk will depend on your natural torso length. Best of luck in your sewing!
I absolutely adore your website! So informative! I was wondering, since I am relatively new to costuming (though I have spent a couple years dreaming!) and I don’t have most of the garments needed, should I start slow with unboned stays or dive right in with a corset and hope for the best? I do plan on wearing these garments day-to-day and stays would be more comfortable but I do eventually want to shift to a proper corset. thank you very much.
I believe in starting with the foundation garments as they really do give you the right “foundation” to all the outer garments. If you spend the resources to make a dress then decide to make a corset later the dress might not fit right and the work will be wasted. I have a Victorian corset class to walk you through the steps and make it easy to get one made up fast. Then you can be on your way to making other undergarments and dresses. 🙂
I adore the fabric you used! Such a gorgeous garment! I am having finding pretty fabric or corset fabric in colours other than black, light pink, white and nude. Where did you purchase your fabric? Or do you know any good websites?
As mentioned in the post, I got the fabric from Richard the Thread. You can find their web link as well as my other vendor links page in this post.
I really love the fabric you used and the final results.
Since now I only tried making 18th century stays.
I hope my next project will be a Victorian corset!
Lisa