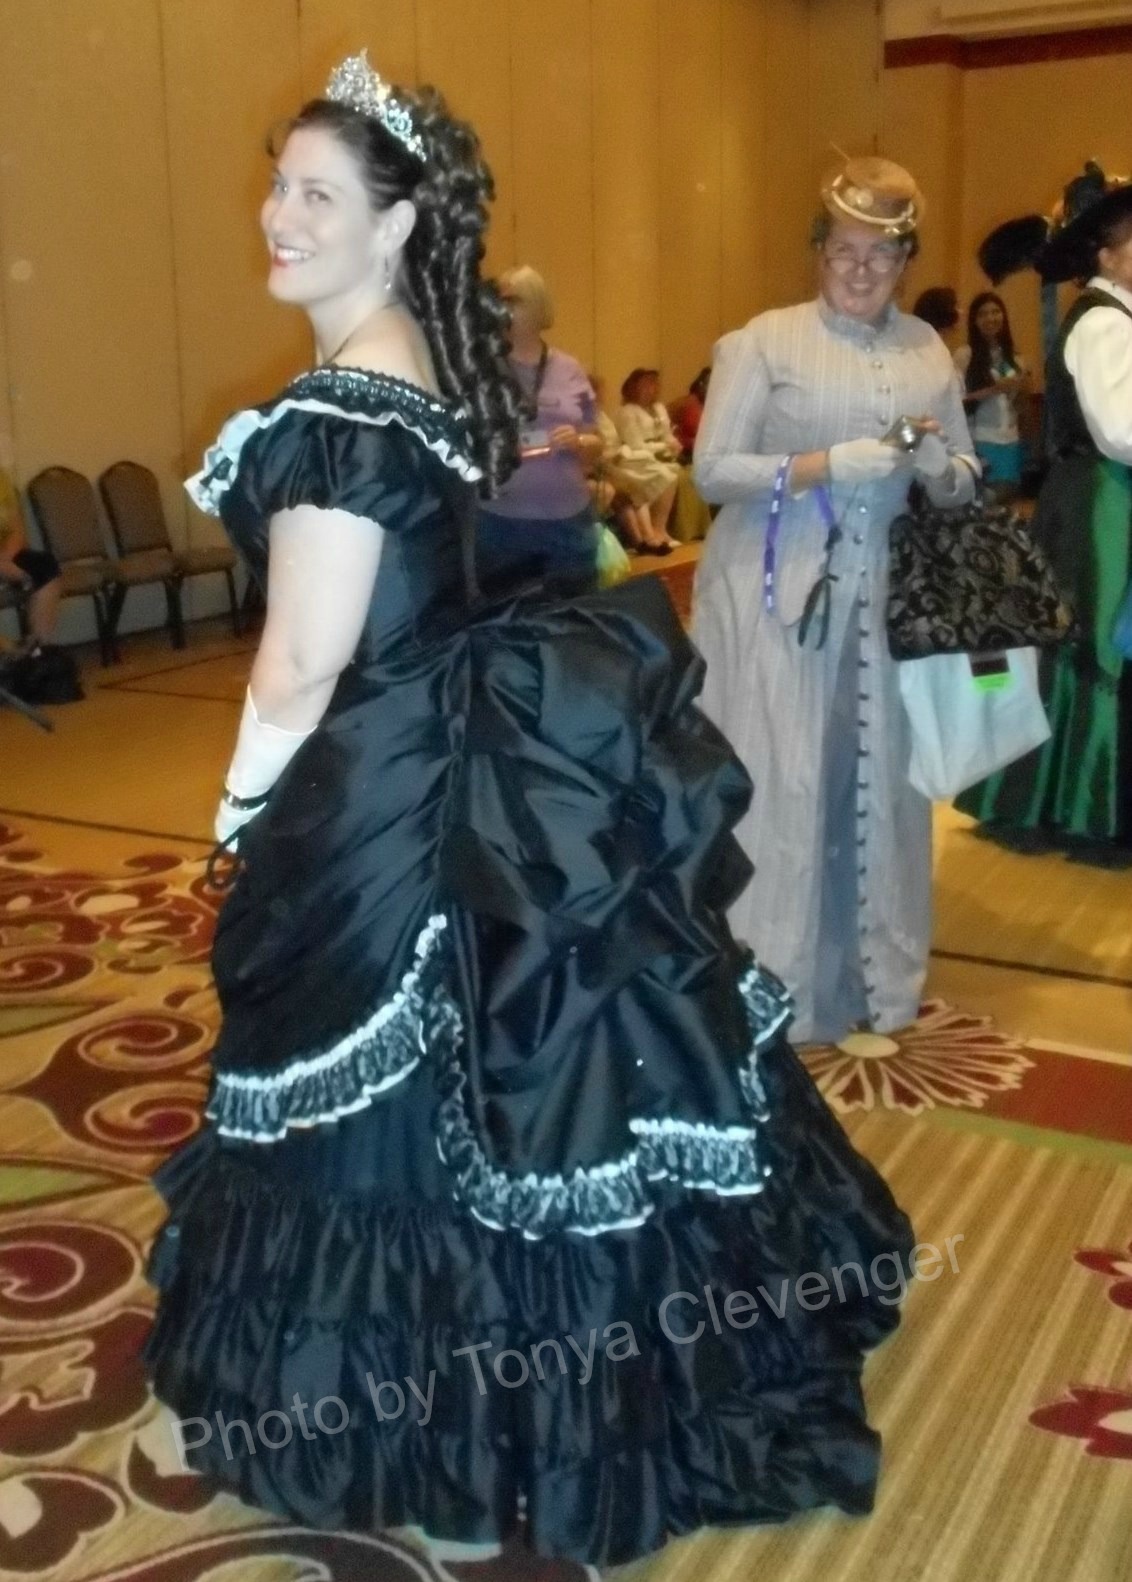
What is it about black dresses??
Apparently they are very well liked by the general population as I received more compliments on my new evening gown than expected. (Thank you!) And this happens to be, essentially, my first black costume aside from my 1862 cotton mourning dress. So… is it the black, or is it something else? (I say the sparkly tiara. 😉 )
This latest design is yet another bustle dress that joins my costume closet. It’s big; it’s puffy; and it’s basically a “cheater” gown. Yep…. It’s not *all* new. Here’s how it came together.
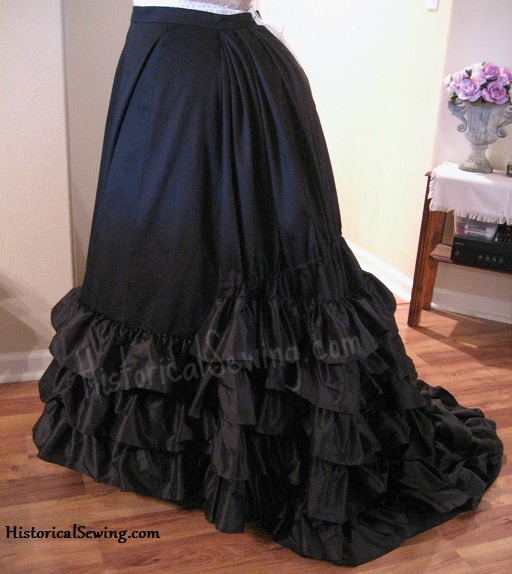
If you look closely you may remember the foundation skirt and all its glorious ruffles. Look familiar? That’s because I stole it from my 1875 Scotch & Soda Dress.
Actually, when I made the cotton twill underskirt last year with all those silk dupioni ruffles I planned it to be used for other gowns. This Licorice Princess dress just happens to be the first. I mounted the ruffles higher than I needed for the Scotch & Soda dress design because I knew I’d want shorter overskirts later and needed more of the twill covered.
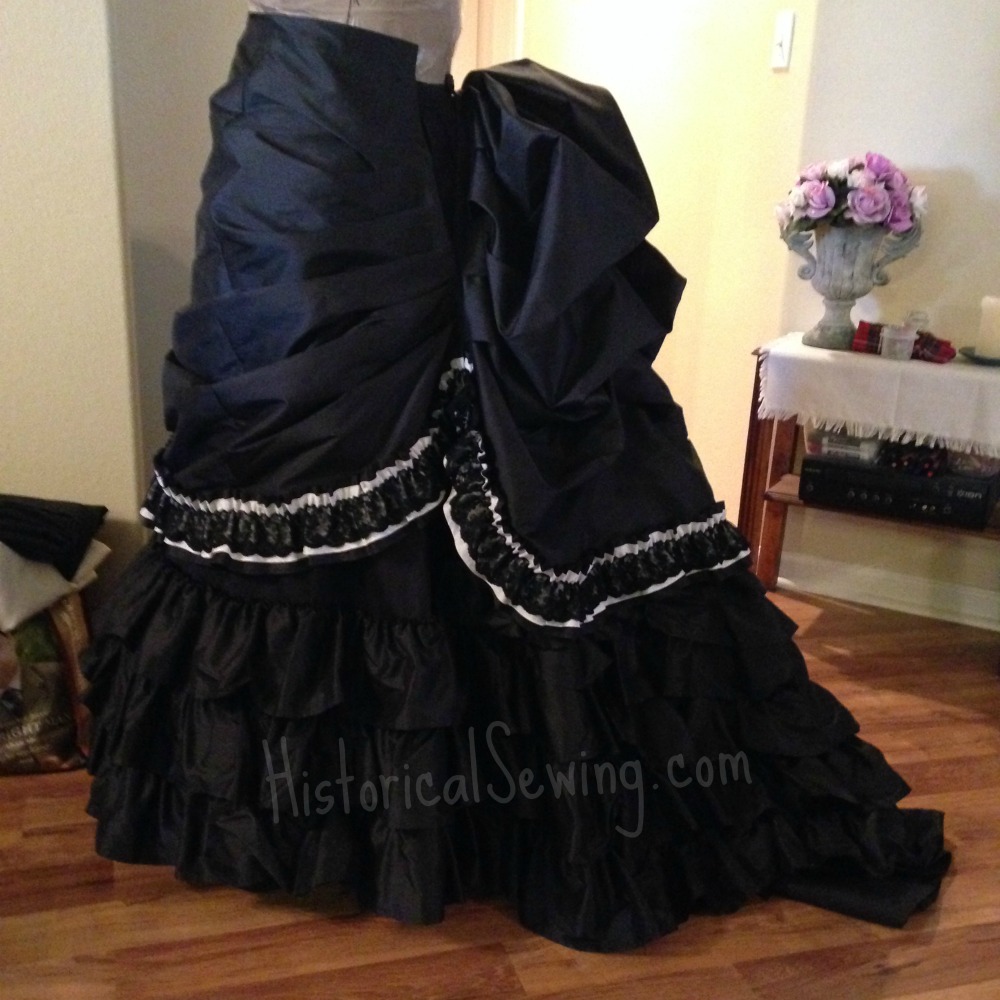
The overskirt: it is made entirely of the same black silk dupioni as the foundation skirt ruffles. I used Truly Victorian TV365 August Overskirt for the front apron portion of center front and side front panels but shortened. The back is a full width of the dupioni.
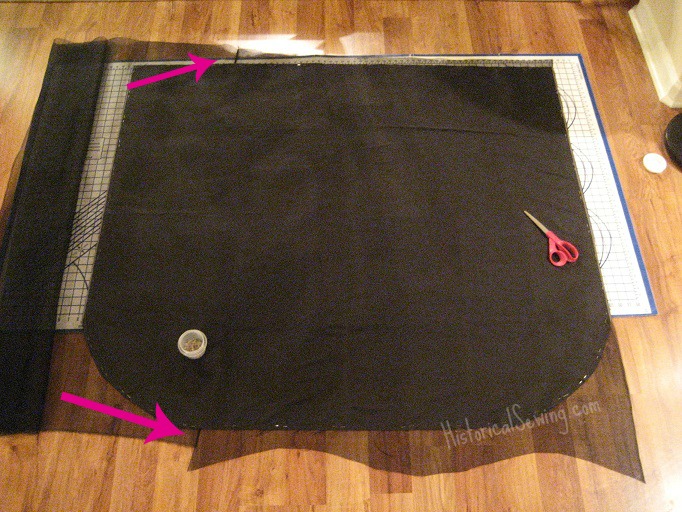
To keep it light & airy (and PUFFY) I flatlined it with black silk organza. Although – the organza was only 45″ wide when I ordered from Dharma Trading. My dupioni was a full 60″. So I pieced the organza (sewed to panels together) then laid the cut dupioni panel on top and cut out the organza to match.
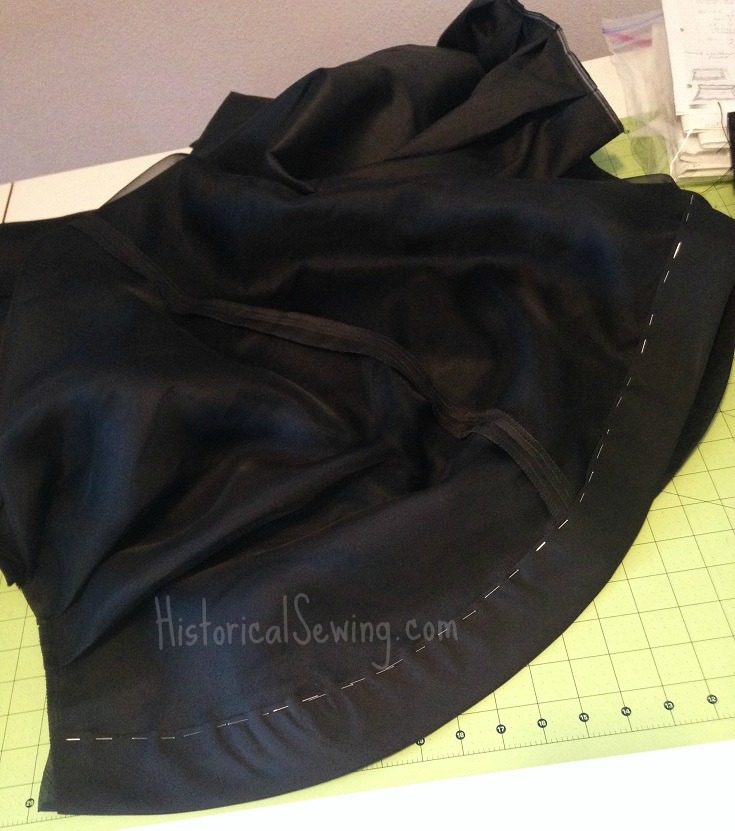
The hem is finished as I usually do – with a hem facing. This one is the 2″ wide purchased cotton bias.
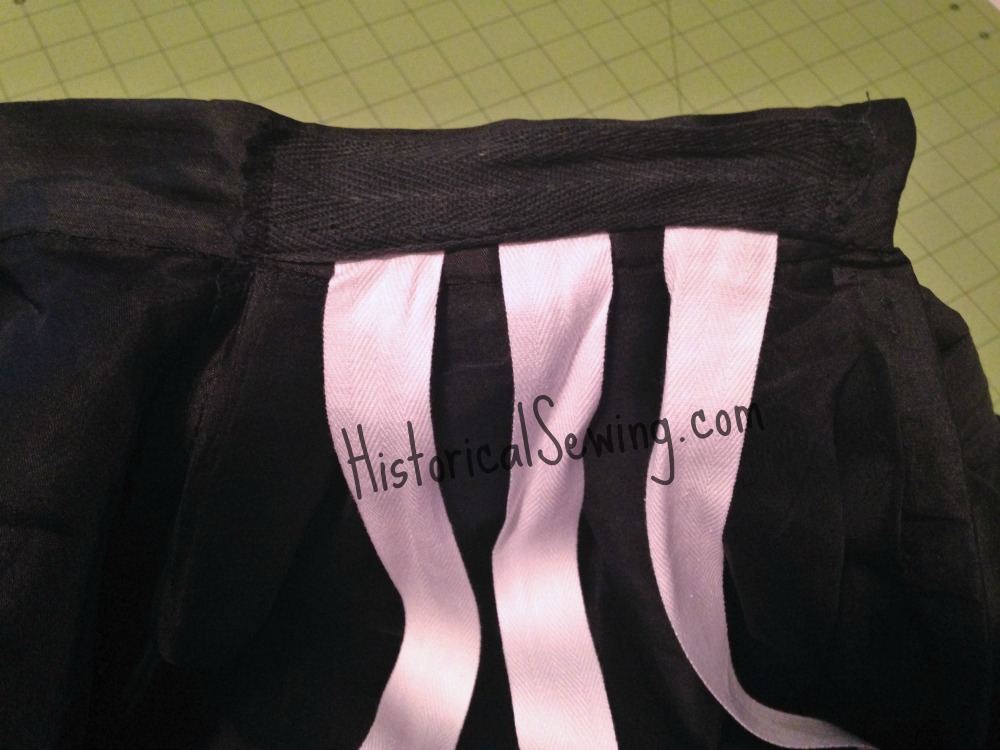
To bustle up the back, I tacked up points on the back panel to twill tapes hanging from the waist. (Get the full video tutorial here.) Even though I had placed safety pins on the panel first before pleating up the sides, I still ended up moving my points around to get the puffs how I wanted them. The organza does a great job keeping the dupioni supported but still maintaining a light look.
The tiny 4″ of back waistband that was left for the full back overskirt panel to be pleated in put a lot of strain on the single layer waistband. So to reinforce I simply machined stitched a 1″ wide bit of twill tape to it. The vertical bustle ties were sewn to this horizontal tape first then the whole set machined to the waistband. Works great!
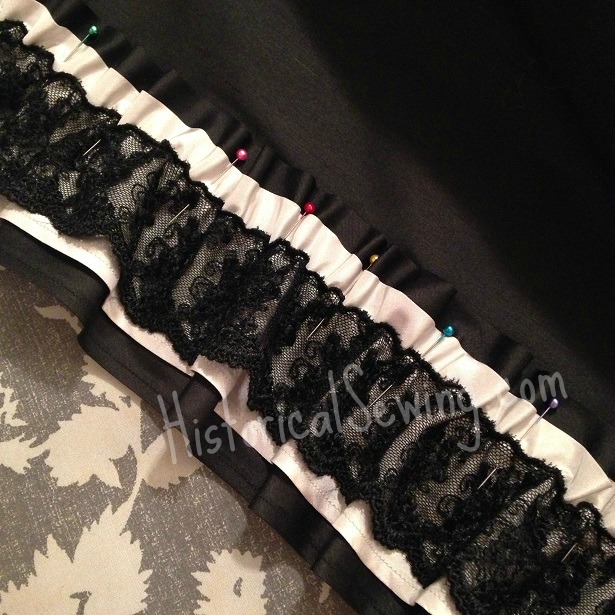
The overskirt trim is made from bias strips of the black dupioni and silver silk taffeta topped with a 2″ wide net lace. The silks were cut & hemmed, and then the top edges pressed down to create the header.
I pinned the strips together and ran it through my machine with two long basting stitches that became my gathering lines. The lace was then basted on, the stitches pulled up to gather, and then it all pinned to the hem of the overskirt. I then tacked it on by hand.
My original plan was to finish this layered trim with a small, soft rouleaux of the dupioni. But it didn’t quite work out…. I may end up just leaving it as is.
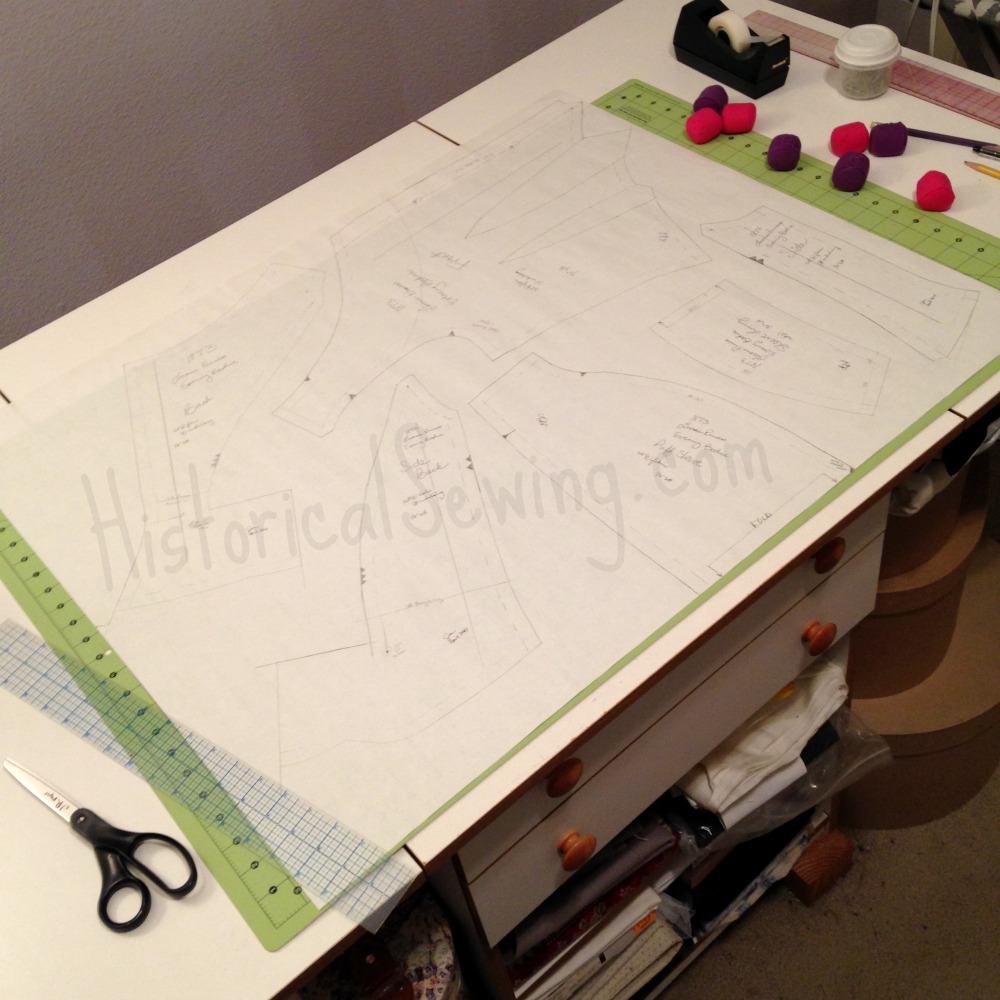
The bodice pattern was taken directly from my 1873 Blackberry Cream dress but adjusted slightly for a better fit. It most likely started as the Truly Victorian TV416 Ball Gown Basque at one time. The back pleats were finished with the tutorial here.
The sleeve was lengthened a good inch or so to cover more of my larger upper arms. (I had intended to add lace to the sleeve hem for even more coverage but that didn’t happen before the event. At this point I’ll probably just keep it off.)
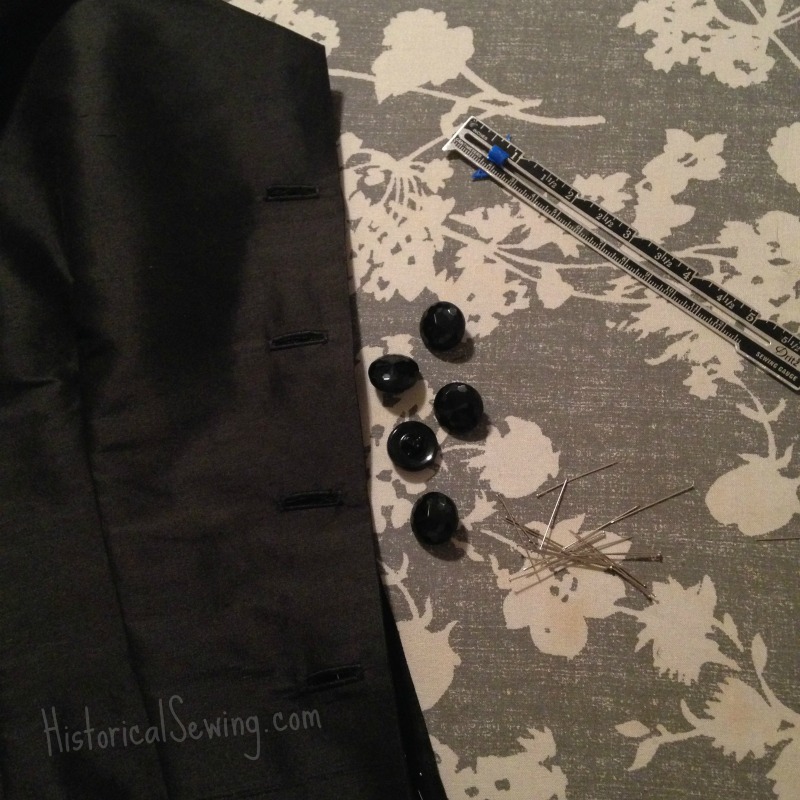
The bodice is a center front opening as was so popular for 1870s evening bodices. I considered hook & eye tape to close, but the thin fabrics (only a single layer of dupioni and silk organza) and wide extension allowing for buttons from the original pattern warranted something else. So I went with buttons.
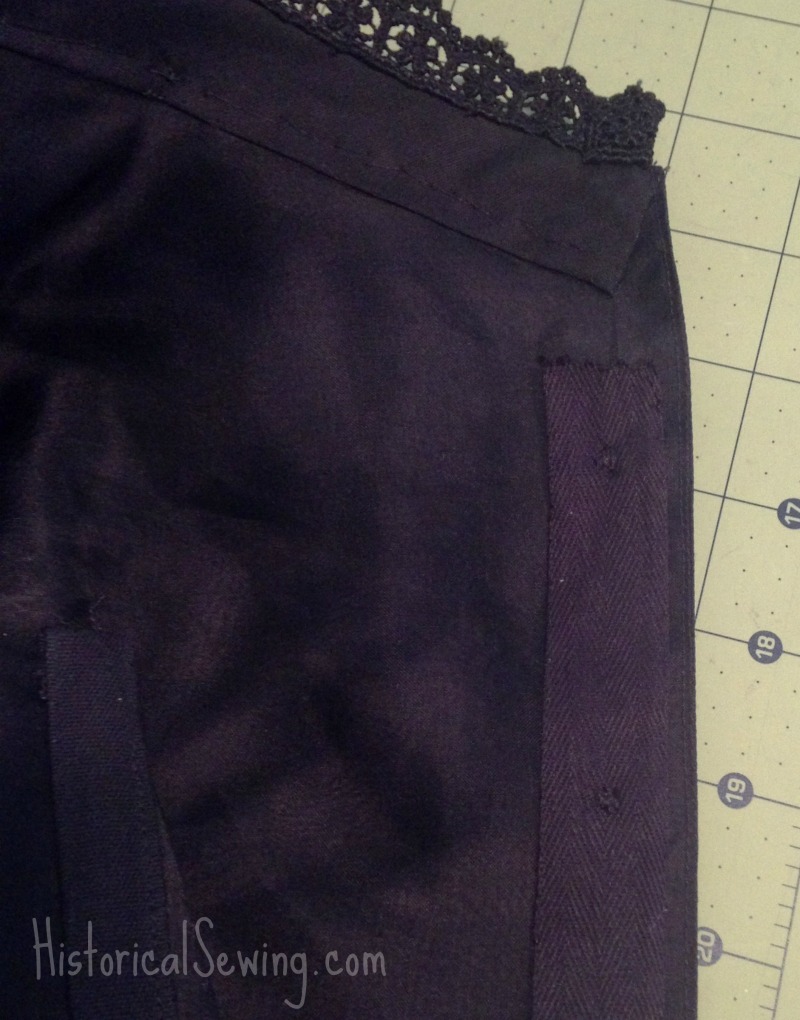
They are cut glass from Abraham’s Lady that I ordered online years ago for a mourning dress. Oh well… we’re not mourning in this dress! After studying a few originals I decided to hand baste in a length of twill tape to the back of the left side then sew the buttons through all layers. It really helped!
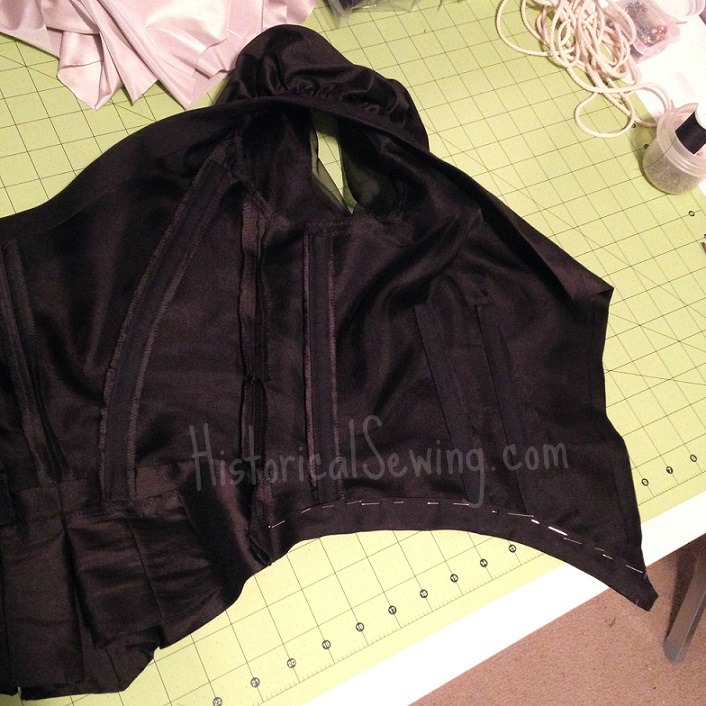
The neckline and lower edges were finished with purchased 1″ wide-single-fold bias tape. Then I whipped in the 3/4″ pointed edging lace to the inside of the bodice neckline so it just peeks out from the finished edge.
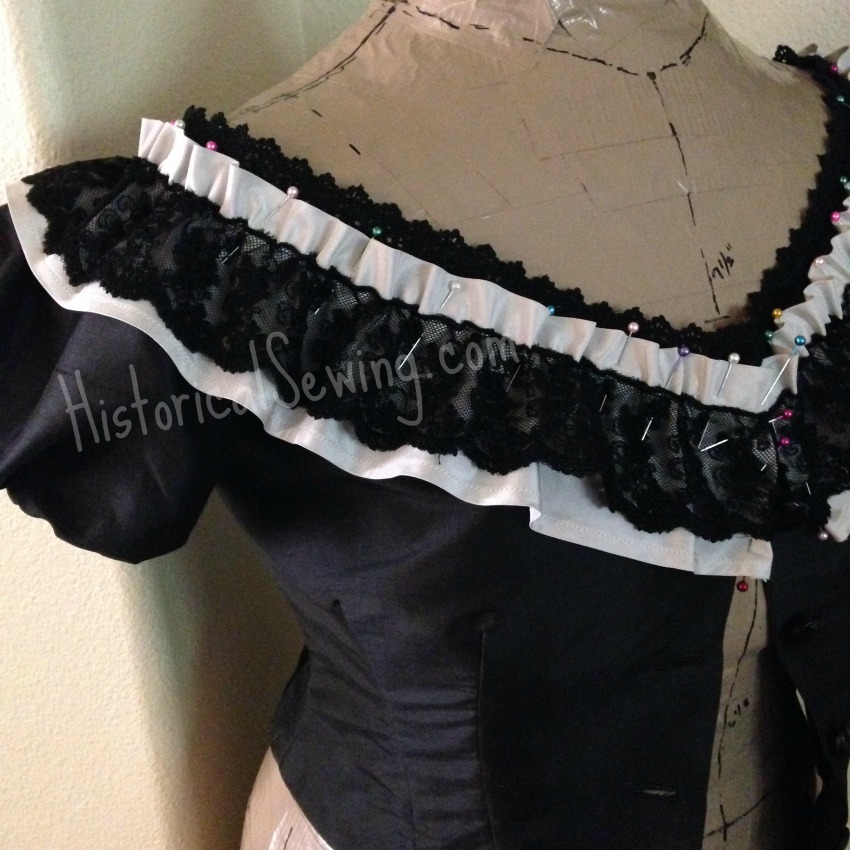
The neckline trim is composed of a single bias ruffle cut from the silver taffeta which was hemmed & pressed in the same manner as the overskirt ruffle. A row of machine gathering was run first then the 2″ lace machine sewed over the gathering stitches.
I then pulled up the stitches to gather to fit the bodice doing a really cool job of “gathering” up the lace with it. The ruffle is 1.5 times the length of the neckline.
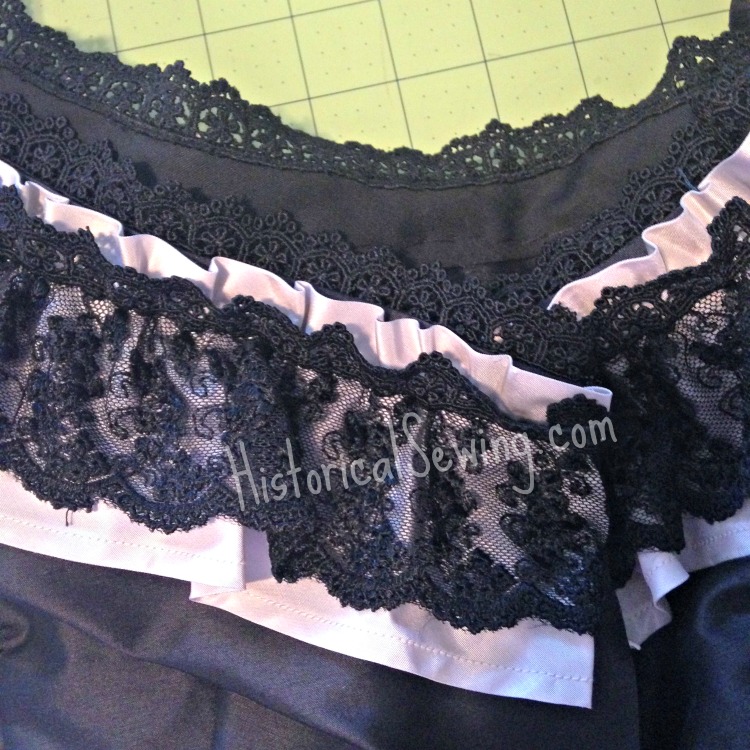
This taffeta & lace ruffle was pinned and hand tacked into place. Finally a row of the pointed edging lace was hand tacked on with it slightly overlapping the top of the 2″ lace.
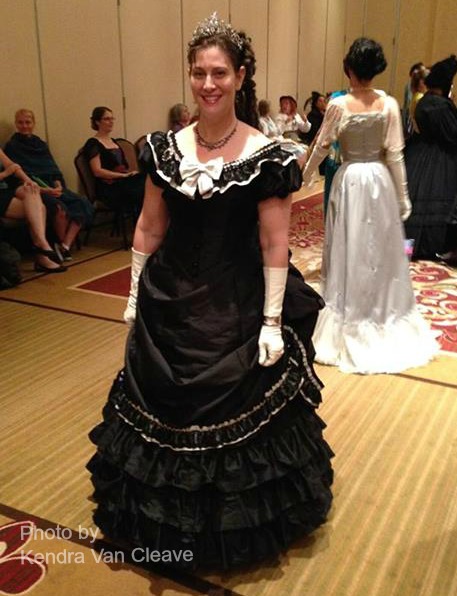
Overall I’m quite pleased with how it turned out. I now have a very elegant Victorian costume in my closet whenever the need for a LBD or an event requiring a tiara is needed. 🙂
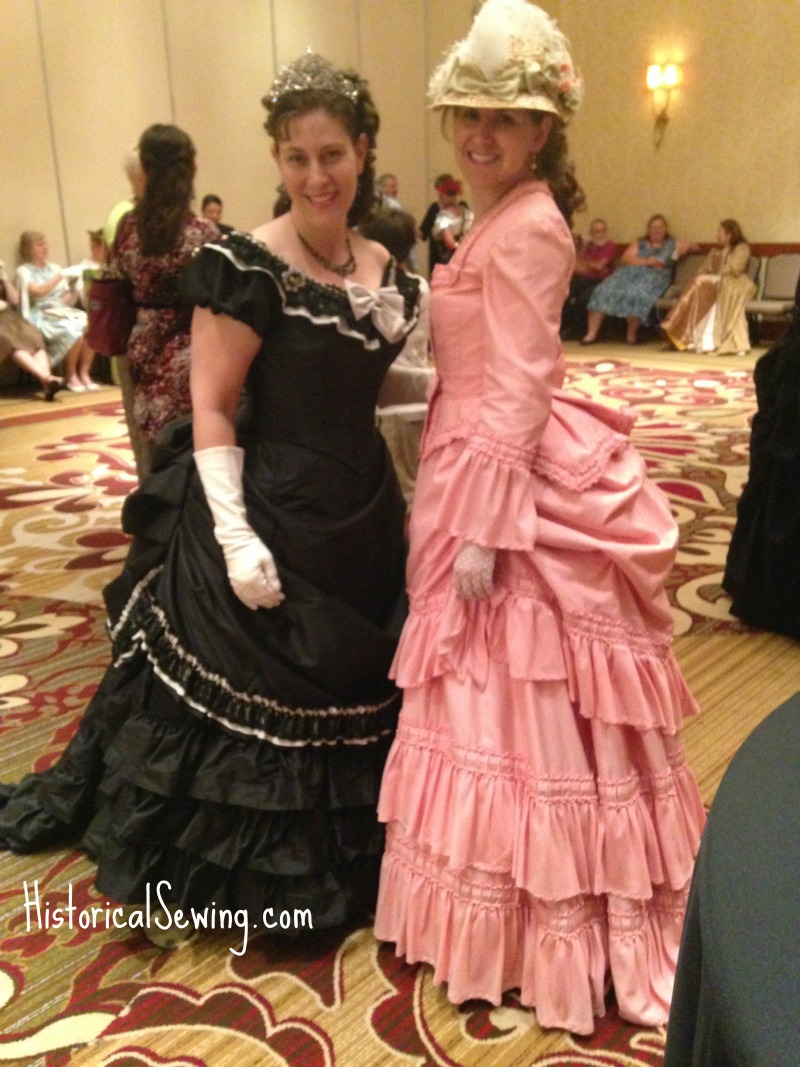

What bustle did you use for this gown?
Under this I’m wearing the Truly Victorian TV101 bustle (which you can read about my project in this post) and two petticoats from the TV170 pattern. 🙂
This dress would actually be a great one for “transitional mourning”. The Victorians were so fond of mourning that there were multiple phases for mourning. This dress seems just perfect for the phase where one would be allowed to go out to parties and do fun things again, but where one’s color choices are still mostly limited. After all, it would be horribly indiscreet for a lady to start wearing bright colors too quickly after her loved one passed, but she couldn’t lock herself away at home forever!
This dress is beautiful! It looks so adaptable – in the sense that I can think of several party themes to which it would be appropriate to wear. That’s the appeal of black dresses. Let’s see – monochrome, semi-gothic, chess, Victorian, Steampunk, Creative Anachronism … that’s six themes, even if the last two are heavily intertwined. The bustle is so fluffy-puffy-ruffley! Between the silhouette and the colour, it would probably be very slimming on the midsection of a larger figure, too.
ooo I want a dress like yours! Gorgeous! I do like black, but all black can be quite dull. I love the accents, they make all the difference. And your hair is gorgeus, goes so well with everything else.
I wish I had a reason for such wonderful dress… other than just wanting one obviously… this costume college seems so much fun
Thanks Meri! The hair is pretty much all hairpieces – the large sausage curls in back topped by shorter curled piece. And no need to have a reason! 🙂
I LOVED this dress! It looked so very fabulous on you and your new tiara was so sparkly!! You rocked the licorice dress my friend!!
Blessings!
Gina