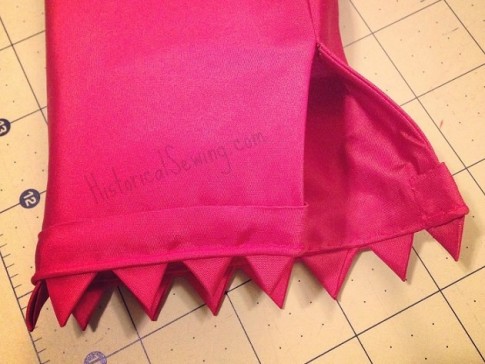
“Please tell us how you made those little points!” – This was the general request when I posted the above photo on the Facebook page showing my dressmaking progress on the 1838 Persimmon Puff dress.
Now, I have been calling them “teeth” but after some research and useful suggestions from my followers they are van dyke points that were kinda popular in the 18-Teens through 1830s. Read this fabulous article by Vic at Jane Austen’s World for more.
So how did I go about making them? Here’s the down-and-dirty process which you can follow too.
The van dyke trim is reproduced from what I can see on zoom of the original dress held at the Metropolitan Museum of Art. (Their zoom feature is REALLY cool!)
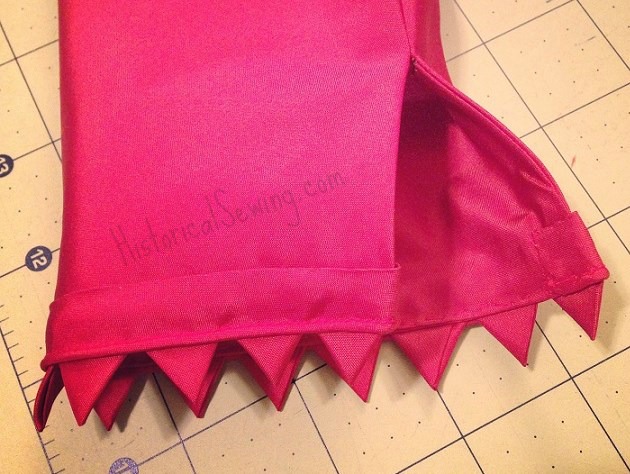
After zooming in for a good amount of time I realized that the trim was not just on the neckline – which is what is clearly visible. Nope. It’s around the sleeve hem and also the lower bias band around the sleeve with the points sitting on the gathered sleeve puff.
I started by playing with folds in a circle of fabric. After getting a point in a good, small size I trimmed the bottom off.
Unfolded, I realized the shape was a nice hexagon! Ok – now let’s get going!
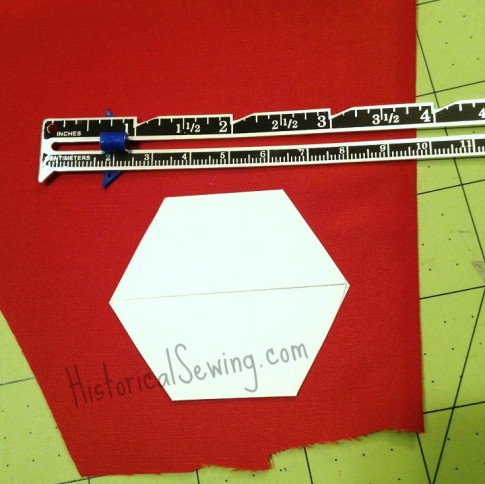
1. Once you have your hexagon size make a template from heavy cardstock. (I used an old business card. The center of mine is about 2 & 3/8”. Make sure to draw a line across the middle – you’ll need this as a grainline to follow.
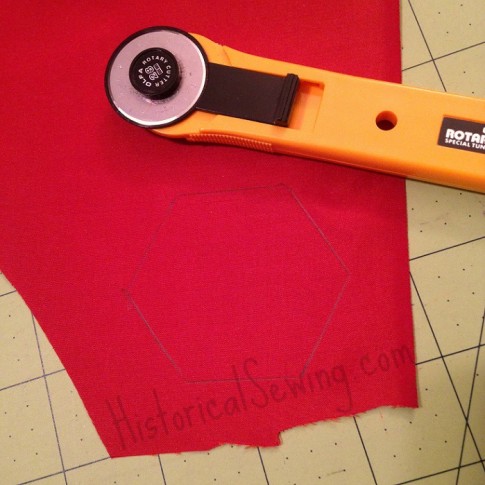
2. Trace around the template with the center line following the CROSS grain of the fabric. You will be folding on this line and it helps to have it relatively on the cross grain.
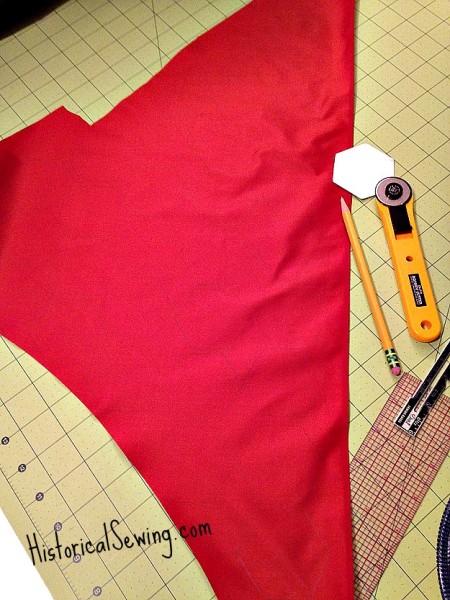
3. Trace a kazillion little hexagons on scraps of fabric. You may need to go back several times to trace more hexagons so keep lots of scraps! (Speaking from experience here…)
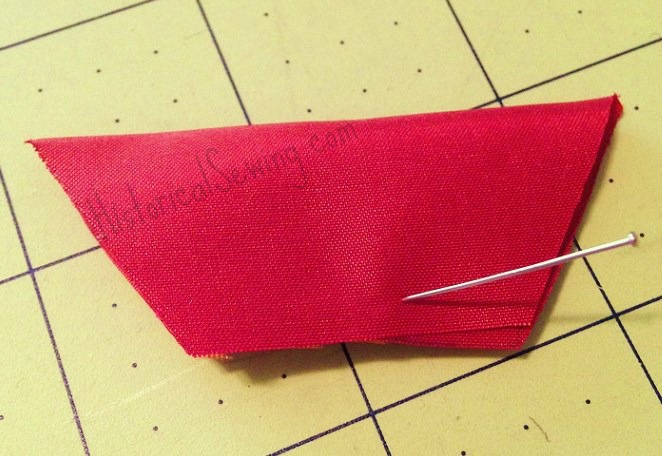
4. Fold the hexagon in half along that middle line – don’t draw it on your piece, just eyeball it. If your hexagon is fairly uniform it will be easy to do this step.
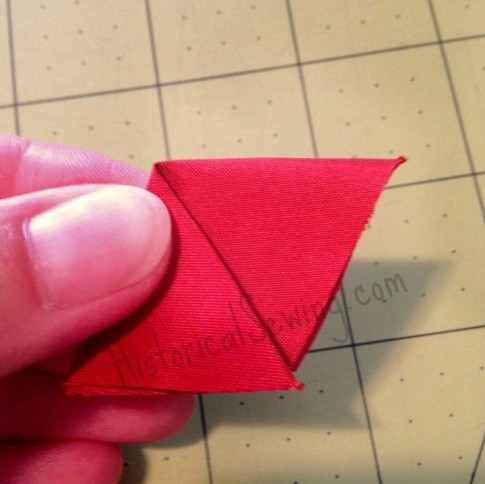
5. Next, fold one end down creating the first side of the triangle. The upper edge fold is right in the center of the hexagon. This will be a bias edge so go easy on your fabric and don’t stretch or pull. (My orange fabric here is tightly-woven silk taffeta so I had no issues with stretching but other fabrics might.)
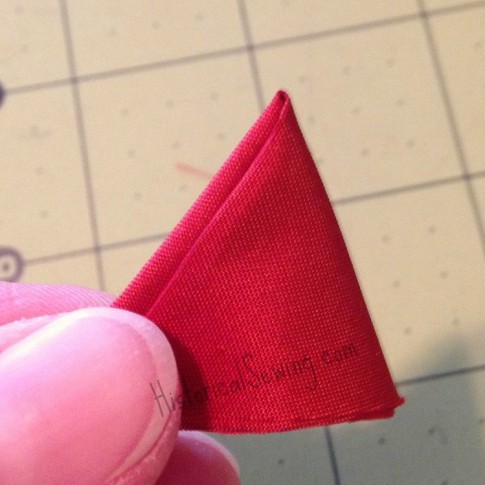
6. Then fold the other end down to match but keep the fold a little behind the first one (left side as seen here). This is the *back* side of the van dyke. Put a pin along the bottom raw edge to hold.
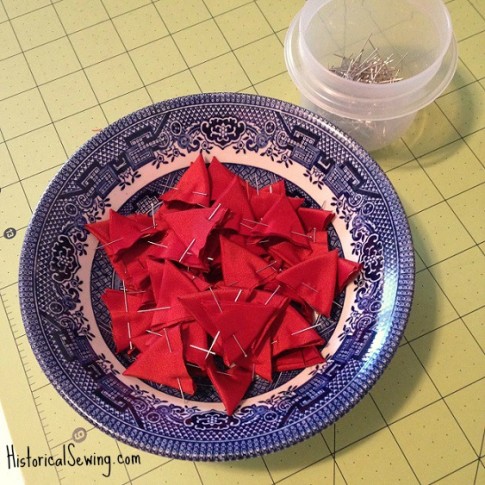
7. At this point (after I had cut & folded dozens) I did a quick press of the points to hold them in place. Although, I kept the pins in to keep them completely folded until I was ready to pin them to the bias trim. But here is where you now can branch off into placing them into your own trim design pattern.
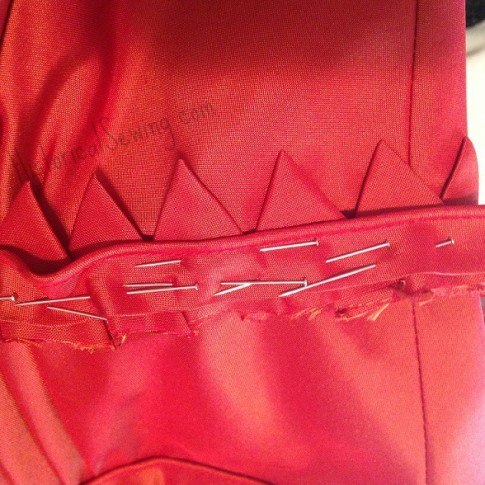
For my design, I spaced the points along a piped bias strip then pinned the bias to the bodice and hand tacked on. The points have a slight space between each one as they sit behind the bias.
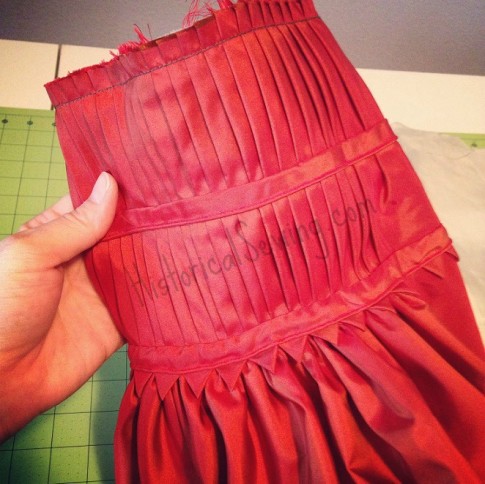
After sewing through all the layers of the bias and points along the cord I flipped up the opposite side of the bias and trimmed the excess fabric from the points. Finally I tacked the plain side of the bias.
Not too hard but time consuming to make these little van dyke points. It looks really cool though! Try it on your next late Regency or Romantic Era garment!

Wonderful tutorial! That helped me so much!
Wow!!! When I saw your dress at CoCo 2014 (one week ago!!!), I had already fallen head-over-heels with the pleats that you had posted in the photo, but the van dykes!!! Holy moly, talk about intense!!
Your creations are ALWAYS a joy to behold – well fitted, high quality pieces of walking art. But this one…nothing short of AMAZING!!!
Thanks Lisa.
I don’t think I would have figured this out in a million years. Thank you for this excellent tutorial! And that sleeve is a knockout – wow!
They are also sometimes called prairie points.
If you don’t mind getting a 90 degree angle instead of the 60 degree one this method produces, you can also achieve a similar effect without having to cut each point separately: link here.