
The latest millinery project to come from my sewing room is my 1880s Summer Berry Hat. It was made to complement my all-stripe 1887 Summer Berry Trifle dress (still in progress), and also became the foundation for the 1880s online hat class.
Whipping up something this yummy takes a bit of time, the right ingredients, and a little know-how to mix it up well and serve it delicately perched on the head.
I can’t say this was a “30-minute or less” project. The delicious trim took a good three evenings to get it all mounted into place. Along the way my previous millinery experience confirmed certain construction methods and I learned a new trick or two as well.
If you want to make your own Bustle Era hat, remember these tips so the icing on your costume cake will be divine!
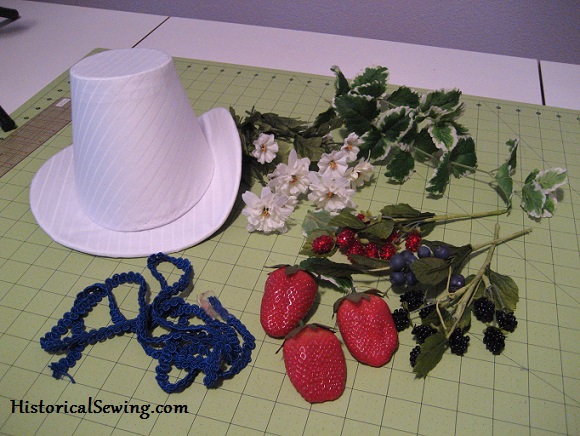
Ingredients:
1/2 yd. Heavy, double-layer buckram
1/2 to 1 yd Creamy fashion fabric in silk or cotton sateen
2 yds Covered millinery wire
Matching thread
Garnish made from fruit, birds, feathers, ribbons, etc., etc.
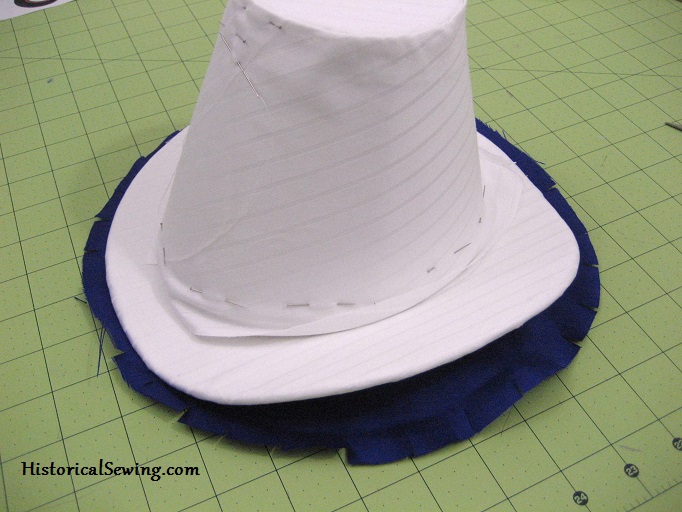
Directions (aka. helpful sewing tips)
1 – Use nasty craft scissors or an X-acto knife for accurate cutting of the buckram
2 – A thimble is a MUST to keep your finger from becoming a hole-y mess and sore for days afterwards
3 – A flannel layer over the buckram is critical to achieving a smooth consistency to your project
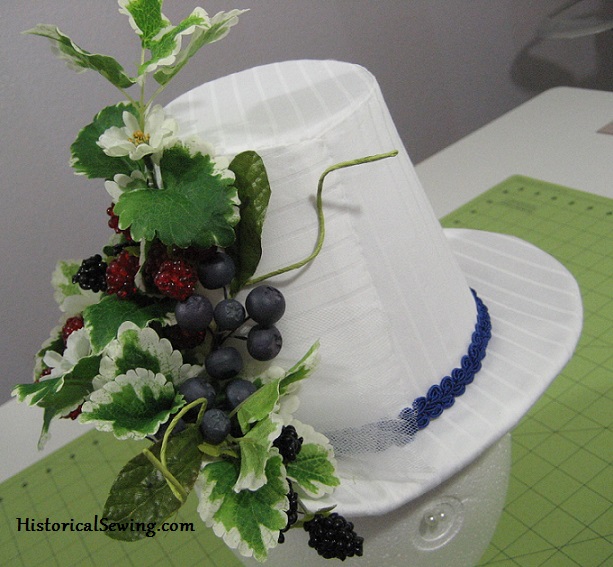
4 – Pick a direction for your striped fabric to go around the hat, but chalk up the well-that-didn’t-turn-out-exactly-as-I’d-like results to experience that will contribute to the success of future projects
5 – Yes, your hand stitches will be seen
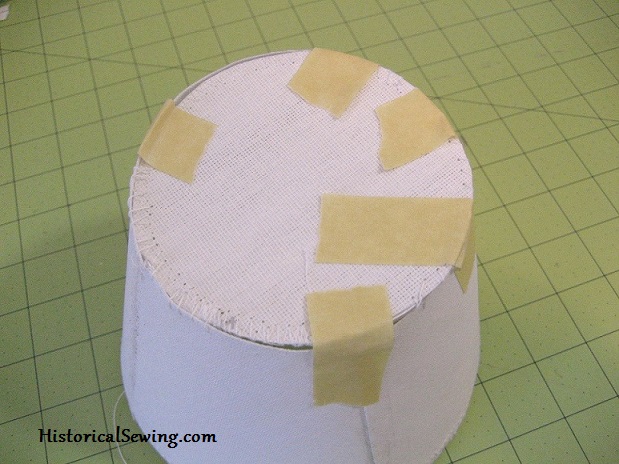
6 – Yes, you need to use more masking tape when the roll you have is so old it doesn’t stick to anything and your pieces keep coming apart
7 – No, it doesn’t take *that* long to make a hat
8 – Yes, the trim will take forever to get situated into place where it looks good only to then have to tear it apart in pieces so you can hand tack the bottom layers down first then try and remember how the top layers went on
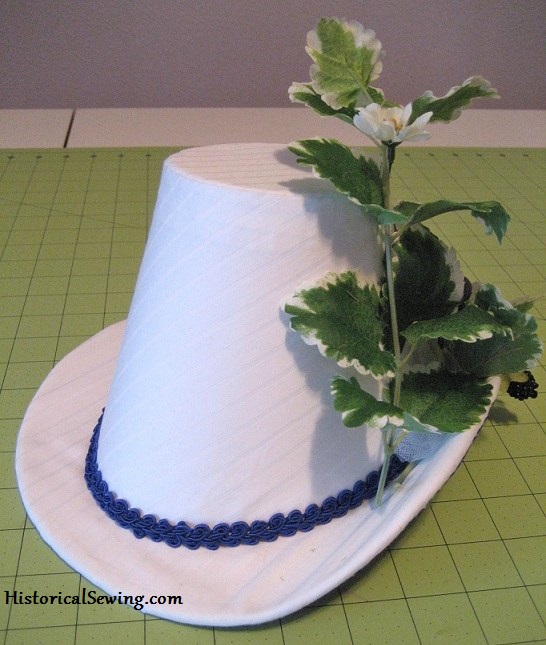
9 – Matching thread helps hide your stitches when sewing around the brim
10 – Plastic strawberries do not like to be poked so they can be sewn on; rather they’ll just let you have their leaves to torture into place
11 – Use flowers and leaves that look like they could actually be a fruit blossom or from a fruit plant or tree
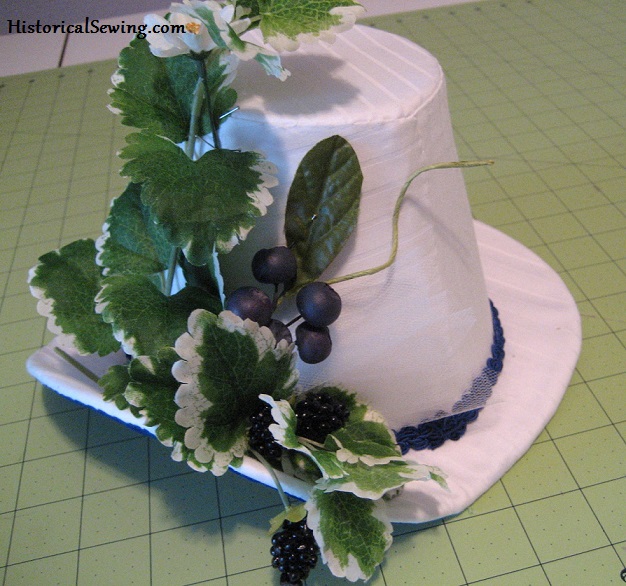
12 – Trims will change places on you when you’re not looking
13 – Bustle hat patterns on the market today make up VERY tiny and this coming from someone with a head size of 21″
14 – Use reputable millinery vendors
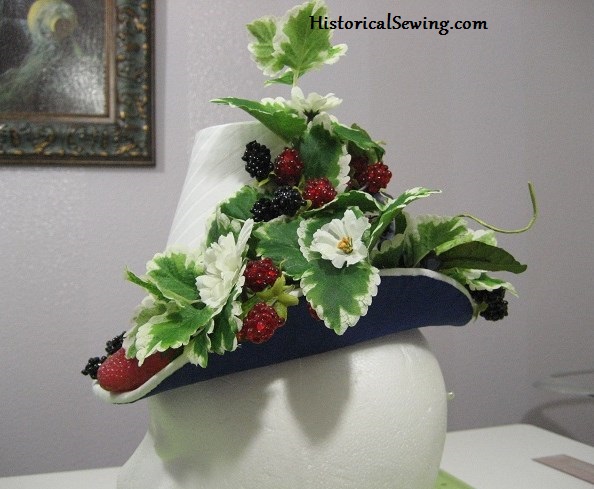
And that, my friends, is how you “bake” a bustle hat with berry garnish!
Have you made a Bustle Era hat? What did you learn from the project?

Jennifer, how do you make this 1880s bustle hat
Hi!
Do you think there are ready-made feather mounts available that would be suitable for an 1880’s hat like this? I thought to save myself a little time by buying one instead of trying to make it from scratch. I found one that I like, but do you find this too modern for trimming a Victorian hat? Link here.
Did they ever use feathers that were cut into shapes in the 19th century?
Oh, indeed the Victorians used feathers of all kinds and shapes. Buying “pre-made” millinery feather motifs is quite appropriate and was something they did as well back then. Search for millinery supplies along with eBay and Etsy for options. For design ideas for 1880s hats, check out my Pinterest board.
Nice one 🙂 Do you have a pattern of the hat?
I do! It’s Truly Victorian TV550 and you can find it in my Shop here. http://oldpetticoatshop.com/products/truly-victorian-tv550-1880s-buckram-hat-frame
Buy more tape 🙂