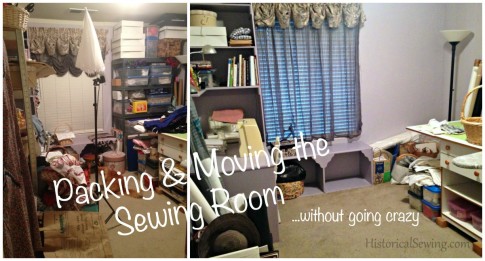
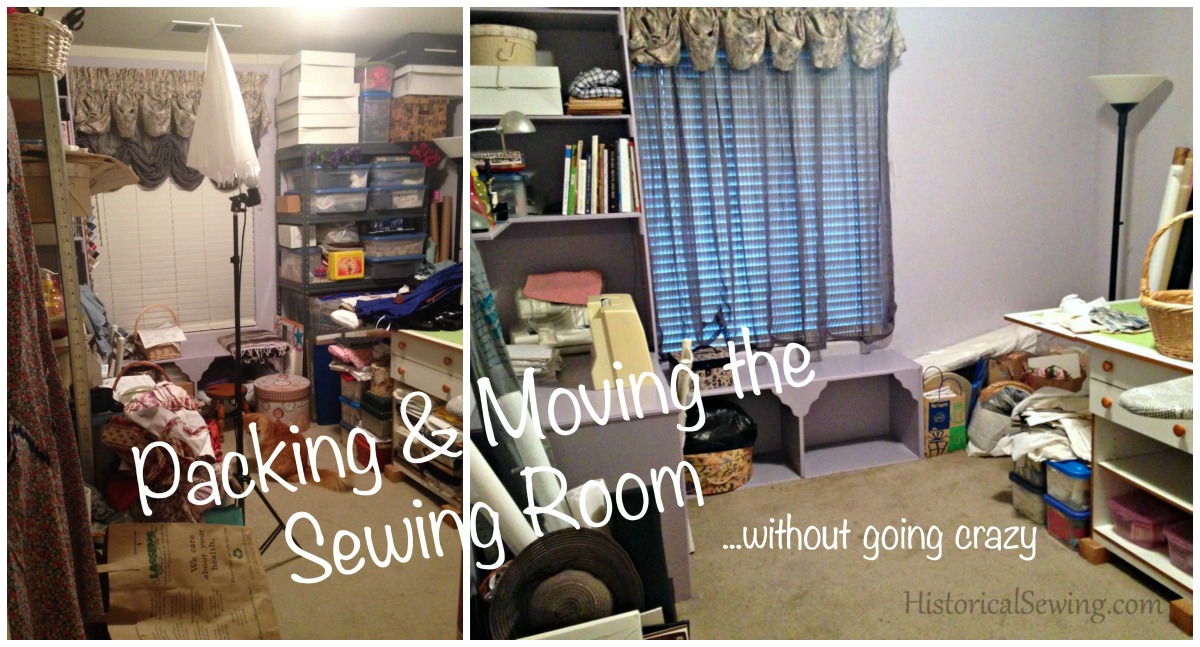
This year, after eight years in the same house (our first one), I find myself having to pack up and move a *stuffed* 8 x 10 ft room full of sewing “stuff” and miscellanea. When I started out, ok… when I started thinking about doing that I froze. I procrastinated. I sighed.
How in the world was I to do this??
I don’t know if you’ve ever had to pack your sewing piles, much less move them several hundred miles away, but here’s how I managed to clear that room and keep my sanity.
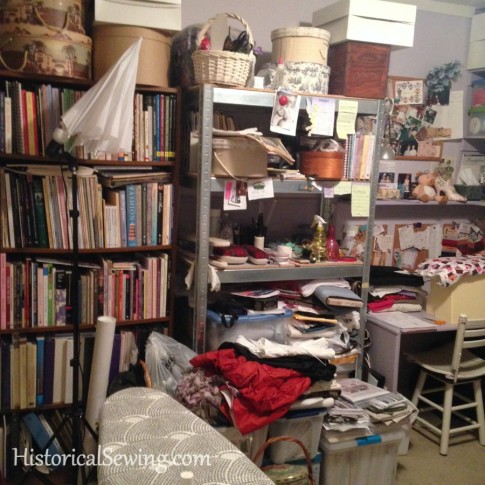
Disclaimer: I’m sure there’s a variety of ways to pack up thread spools and fabric and packages of bias tape, but these tips here are merely what I’ve used on my recent journey to Empty Sewing Room Land. They may not be the best, most efficient, or most durable to survive an Act of God. But they worked for me.
Disclaimer Two: At the time of this post I’ve only packed the sewing stuff. I haven’t actually moved it near 700 miles.
First, I have to admit a lot of my fabrics were already in plastic bins.
But, you know, when you move you kind of have this itch to purge things. To clear the air of old goods and notions you’ve been hauling through life. To just get rid of the crap so your creativity can soar!
So the goal was to go through each bin and pull fabric pieces that I knew I would never use or that the inspiration was long faded away. I also had huge stacks of fabrics NOT in bins but left loose on random shelves and the cutting table.
So Tip #1 – purge fabrics then fold gently into plastic storage bins. These bins not only work great for travelling but for storage too. My bins are clear so I can see the contents, but dark plastic will prevent light from penetrating inside and discoloring or breaking down the fabric fibers.
If fabrics are precious, or even antique, fold and pack in a cardboard box. Use acid free tissue paper to protect folds from creasing.
Tip #2 – use acid free boxes for moving & storing your antique garments and your own personally-made costumes if you want long-term preservation.
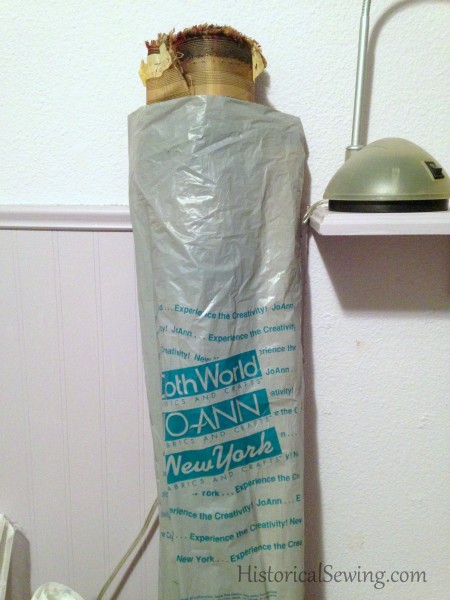
I had a lot of fabric on 60” cardboard tubes. You can find area rug bags to wrap them in if you want to leave on the rolls (Tip #3). For more compact moving, I decided to take the fabric off the rolls and fold into a box. The medium size box of about 24 x 24 x 24 inches worked well for this. I filled the top with scraps of muslin and old mockups that I didn’t want to throw away yet.
Fabric is also nice as it can be used as filler in other boxes around hard-to-pack items such as pressing hams or your iron or costume accessories. Great for use to wrap precious heirloom items or delicate tools. So leave some of that generic, basic fabric to use as packing material later (Tip #4).
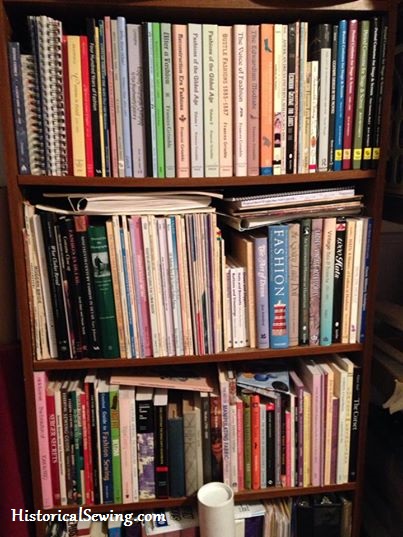
The bookcase was one of the first things I tackled. It’s easy enough to pack books! But make sure to use smaller box sizes like 12 x 12 x 12” or 18”. I found the small box size worked great for those long Janet Arnold books! (Tip #5)
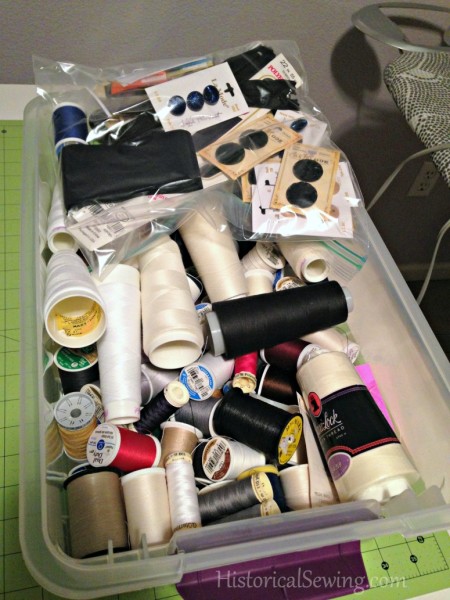
The small notion items and papers & swatches on my two corkboards were placed in smaller shoebox size plastic bins. I did this with my entire thread rack and drawer too so my thread was all in one place (Tip #6).
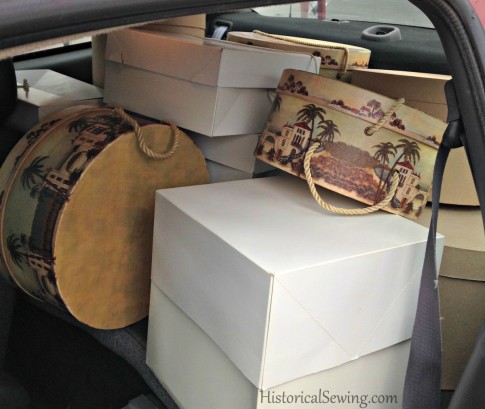
My next step was sorting through all my hat boxes. Hat boxes come in both round and square sizes and all of uneven height, so trying to stack uniformly is a bit difficult. I even used them to hold odd notions & tools I would still need handy.
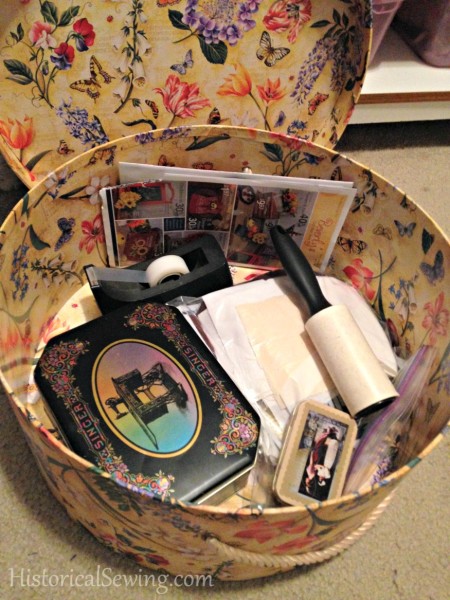
For Tip #7, I opened up all my boxes at once (a feat of engineering on my already-too-crowded floor) and started putting like-hats together. Narrow bonnets nestled inside each other and laid flat in smaller boxes. Large brim bonnets found their way into my largest round hat boxes. Other really large hats were placed into paper shopping bags with tissue all around.
Use tissue or packing paper inside puff hats and bonnets to help retain their shape. Fill in corners of square boxes with fabric or packing paper (or fabric!) to keep hats from shifting around and ruining delicate trims.
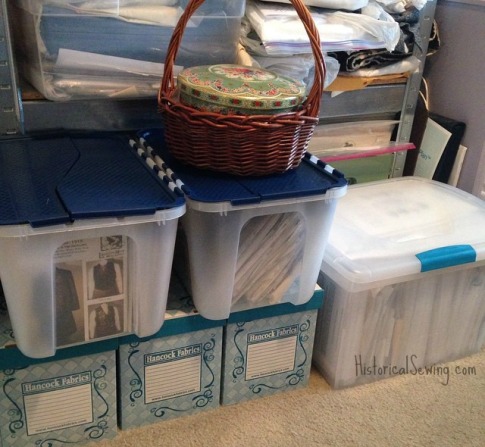
After all the hats were packed I moved on to patterns. ‘sigh’…… My one true collection. I purchased more plastic bins for those patterns hanging out on my shelves but really needed a home. I found bin sizes that were well suited for the approximate 9” x 12” envelopes & bags of all the various independent pattern companies. My Big 4 patterns reside in the cardboard “pattern’ boxes you can find in chain fabric stores near the pattern cabinets (Tips #8 & 9)
Tip #10 – Current projects with designated (or even already cut out) fabric and patterns were placed in plastic bags that then went into larger bins. (I’m keeping this bin near the front in case I find myself with time to work on a project before I actually leave town.)
Bits of ribbon or other trim were gathered up into large Ziploc baggies. I did this with all my floral stems and picks too. Those bags then get packed into larger boxes or plastic bins. (Tip #11)
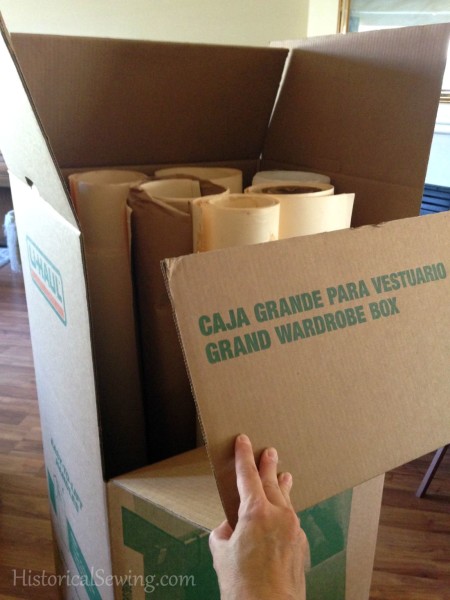
My biggest challenge was my 48” pattern paper – blue dot paper, brown craft paper, and manila rolls. I ended up with the U-Haul Grand Wardrobe Box as it stands exactly 48” tall with enough extra to not squish the top of all my paper rolls. My 45” ruler and yard sticks fit in the box too! (Tip #12) Parasols could be packed in with these paper rolls as well.
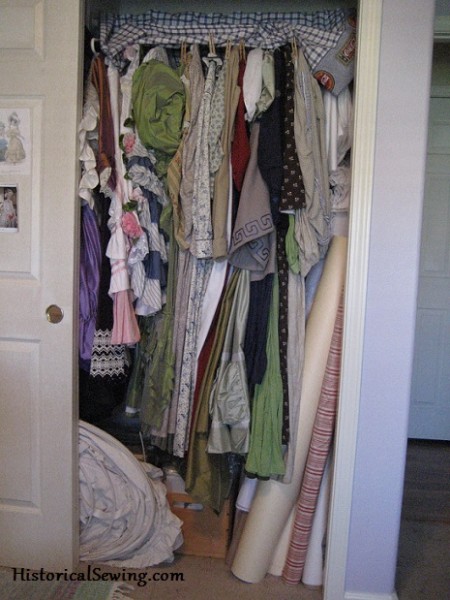
Finally, it was time to tackle the actual costumes. For Tip #13 I found the large, flat wardrobe boxes to be a huge boon! I filled FIVE of them – packed solid with my costumes laid out flat. I first put down layers of clean paper then took my hanging costumes from the closet bar and layered them in the box topping off with another layer of clean paper.
To fill the edges I added my parasols which will keep them from breaking. My wall thread rack also fit easily on top of the layered costumes. Whoot! (Tip #14)
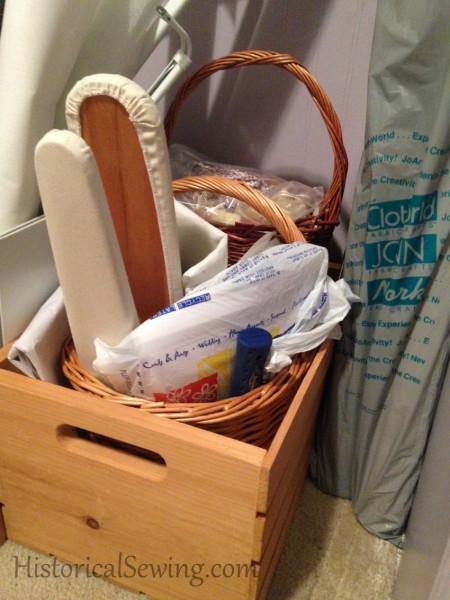
Now that the room was basically done I was left with the odd stuff – sleeve press, dressmaking rulers, baskets I carry my hand sewing in. These stacked nicely into those generic wood crates. (Tip #15) My only issue here is that they aren’t in boxes (but could be) and that I’ll have to move them myself (rather than the moving company). Oh well. They will keep my dressform company in the back seat of my car. Ha! 😉
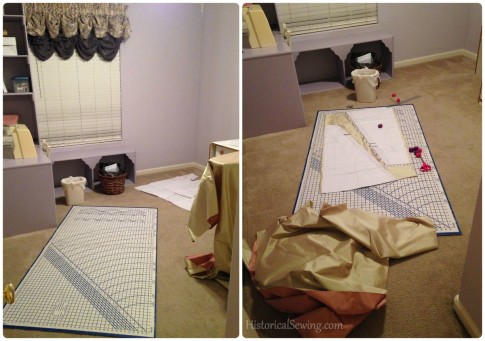
Now that I have a near empty sewing room (my house hasn’t sold yet), I’m almost at a loss as to what to do with all the floor space – ack! Haha! (So I’ll cut some silk on the floor…)
Have you moved a sewing space before? Any tips to add or packing methods that worked for you? Please share in the comments below!

Thank you, I have just been searching for information about this topic for a while and yours is the greatest I have come upon till now.
I love all these ideals. I will need to store my fabrics here in the great North West for approx. One year in a container while we are building. My big question is how can I keep them from mildew damage. We have lots of rain so lm thinking plastic bags but then in plastic bins too or cardboard? Has anyone experienced this?
I’ve not had to worry about mildew in storage as I live in dry climates. But I’d recommend tightly sealed plastic bins not cardboard. The cardboard, being paper, will absorb the moisture and hold it in… even if the contents are in plastic. Long term storage in plastic isn’t the best, so be sure to air out and re-fold everything after you can access them again.
Thanks for the help! It requires a lot of work to pack and move a sewing room, but I need to start preparing. I am about to move to a bigger place, so have to get start preparing about it. Greetings
I would suggest avoiding plastic totes with two-piece lids. I had several neatly stacked on shelves in the basement. Then we had a flash flood coming in the high basement windows! You guessed it, my totes filled with water and mud. Poor terry cloth Tigger, which my mother had made in the early 70s,was such a mess that I had to amputate his tail to remove his stuffing which was too nasty to keep.. He did survive a bath but now needs some reconstructive surgery. No problems, whatsoever with plastic totes with one-piece lids with a clamp handle gizmo on two opposite sides.
We moved three years ago. My husband and I each had a “craft room” in the basement, and we’re renting a 3-bedroom house until we can find a place of our own (and I’m still trying to organize my space). Previous commenters have offered most of the useful tips I could have given (that plastic wrap for moving, etc.) but the best advice I can give is label every box. When you move and the boxes are pouring into your new space, it is really helpful to know exactly what is in them so you can quickly direct them to go where they belong. Definitely mark them with something like “bedroom” or “spare room #2” or whatever, because movers really hustle and if you hesitate, they’ll put them almost anywhere (time is money).
Good luck with your move!
Great suggestions you’ve made; timely for my upcoming move. Thank you
I am now beginning to pack my sewing room; 15′ x 12′ packed to the gills. I absolutely will not have any movers do anything in there; experience of 2 prior moves. It taught me that when the movers know you will be moving things into long-term storage, they pack less carefully, and some things may come up missing. Most companies only give you 30 days to make any claims for loss or damage.
I am considering the ‘PODS’-type units that you pack yourself for long-term storage of any of my sewing & craft items. My brother was a mover for many years and will help me get it done right. The biggest thing from my last move is that I want it to be highly organized when moving into the packing, so easily set-up at the new location.
So far I’ve packed:
1. Thread- Std. spools in the double-sided “Creative Options Thread Organizers” – $12 @ Joann’s, Amazon has them too (also great for Kids HotWheels and matchbox cars). For the embroidery or narrow spools I got the Sulky Slimline boxes – so easy to set open like a book, all the colors at your fingertips, and now organized. I popped these boxes into the cheapest black rolling scrapbook cases from Michaels ~ $20 (holds about 3 thread organizers above). Amazon has similar for $20 – Dbest brand. Ready to roll, but still accessible.
2. Fabric on bolts – I only have ~ 30 partial bolts of flannel (basics) or designer prints I just adore. I bought the corrugated PE plastic 4mm (1/8″ thick) sheets like they make yard signs from, cut mine @ 11″ w x 23-1/2″ tall, then I tape the long edges with heavy packing tape, and wind the fabric on them. I stick a little note on it with yardage as I go. The tape prevents any sharp edges from leaving an imprint on my fabric. I would only do this for 4+ yards uncut. You can get these from Home Depot or local sign shops (they can cut them for you). I bought new cardboard boxes that are 12x12x24 just for this purpose. They will get unloaded into tall bookcases at the next house, by me.
3. Fabric in Plastic totes – most of this is how I store it…so time to go thru it and sell or donate what I don’t love. Much of this may need to go into the PODS.
4. Tools – I got the 12 x 12″ x3” plastic boxes ~$3 (intended for scrapbooking paper), and divided up my tools, trims (bias tape, zippers, etc.), and templates into those and labeled. Four of those fit perfectly into a collapsible rolling cart from the office supply (mine has a hard lid that just sits on top) -cost about $20. Amazon also has these (D’best quick cart w lid). Ready to roll right to my car, and still accessible.
5. Machines – I tried to keep all the orig. boxes and packing for the 2 newer machines I have, but for the vintage I plan to buy basic hard cases ~$20 each through amazon. I was delighted to find my serger in orig. box also fit perfectly into another small rolling office supply cart, so it’s ready to go. Before heading to the store, check your machine or box dimensions carefully.
I like the rolling solutions so much, much of this may just live on wheels at the new house; dust-free.
Thanks so much for your post.
I could have used this advice so badly a couple of months ago! At the moment I’m temporarily basement-camping while I look for the perfect apartment/studio in my new city, and all my fabric and gear is currently in storage. I’ll be coming back to this post when it’s time to unpack and get everything set up and functional again.
Also, we moved from a 3000 sq ft house we own to a barely 850 sq ft rental apartment. Needless to say, the purging was ruthless. I had a dedicated sewing room, now I have a room the size of my closet in Florida to serve as my office AND sewing room. I’m starting to question my decision…..
I just packed and moved my sewing room (along with the rest of my house!) from South Florida to New York. Overwhelming doesn’t’ even begin to cover it. My biggest worry was properly packing my sewing machines, even though I had the original boxes for two of them. I still haven’t received my items at this end so I can’t tell how the machines made it, but I never want to do that again! There is at least one more long distance move in my future if things go right (I’m hoping for an academic position once I finish my PhD), and I am already not looking forward to it.
Best wishes for your move. DH and I just moved across town last month and it was a chore and a half!! Would you happen to be moving to the state that is famous for its potatoes?? I hope so!!!! :o)
Ha! Close…. just south. 😉
My last move was much shorter- 10 miles or so. I made SO many trips moving all my delicates (hats, sewing machines, etc). If your new seeing space is roughly equivalent, you’ll be good. I was moving from a one bedroom to a two bedroom with built in shelves, and IKEA and Target became my best friends with organizing!
Good luck, and take deep breaths!
I’m losing my current built-in sewing desk so hoping Ikea will have a solution for me. Yay for new sewing stuff!
Yes, yes, yes. Zip lock bags and I also fell in love with the press and seal type plastic wrap. We were farm management for dairy farms before we got our own, and then moved to town. Even moving on the highway things got dusty out here in the hinterlands. I layered all my fabric in tissue in the plastic boxes and laid the strips over the open box, placed the lid on and it formed the plastic to the right shape. I then smoothed the edges and pulled the lid off to make sure everything sealed.
My patterns from the big four are handled this way. All currently used modern patterns are filed in a set of stackable filing drawers. Vintage that I won’t use (most received as a “free gift” meaning that no one else bid on them so they got thrown in with another box) are bagged by year and style in bins. Vintage and antique patterns I will use are in archival bags in the file cabinet.
Also, I use a map of my sewing room and make sure it is the last thing loaded and the first thing unloaded. I know where I had things in the configuration that worked and only need minor (or major) tweaking to fit.
My favorite place had the massive finished basement. I got nearly half of it for sewing. (sigh)
A map would be very handy if the room was quite full and/or large!
Get a massive amount of the cling wrap, with dispenser, from a moving company.
It only sticks to itself, so no sticky residue 🙂
Wrap the plastic bins, any boxes going into other boxes – absolutely any container you do not want to open during the move.
You will also use this to wrap moving blankets around furniture etc.
I have moved several times due to my work. Here’s a few things I’ve learned. Never put your sewing machine on the moving truck. Put it in your car. Movers hate plastic bins and they are almost certain to get damaged simply by the way they are taught to pack and the way stuff moves around in the truck. I’ve had great big Rubbermaid tubs get smashed and cracked. I put my smaller plastic (expensive) storage in boxes surrounded by paper or fabric to protect the corners and most of it survives pretty well. It helps to think as you’re packing about what would happen to the contents if the box got turned sideways or upside down, because that can and does happen. If you think about that and pack accordingly, I.e. Make sure all
corners are stuffed with paper, that even the top is covered and padded, etc. you will probably have a pretty happy move. Also cannot stress enough to write on the box what is in it. You think you’ll remember what’s in it but you won’t! And you’ll be looking for something small and necessary for weeks after you move because now the boxes are all jumbled up and you can’t find it!
Happy moving and enjoy your new space!
Machines definitely are coming in my car with me. Those things are valuable!! (And all plastic bins we will handle personally – not the movers.)
Jennifer, a word of warning. You want to take the hat boxes with you in your car. They are not strong enough to live through a moving company. I didn’t and don’ have the quantity you have, I moved 4 medium boxes and two of them were totally destroyed by the moving company. The moving company may tell you if it’s not a standard moving box they are not responsible for it’s contents. This means they are just going to toss it in where ever they can and don’t care what happens to it. The most recent time I moved (not nearly 700 miles) I moved in several stages and only allowed the moving company to take things packed in standard moving boxes.
I did the same with my fabrics, stored in large plastic bins and moved them in those bins. make several wraps of good strong packing tape around them to make sure they stay closed during the move. Goo gone will take the sticky off when you remove the tape. They held up pretty well with the movers. Mark FRAGILE in HUGE RED letters all over the box on anything that could be damaged, like the boxes with your parasols in it. Usually movers will put those boxes on the top of the pile.
I wish you all the luck in the world moving all your goodies.
Hugs
Paige
Yep – definitely taking all plastic bins, small pattern boxes, ALL hat boxes, machines and dress form with me in private vehicle or our own moving truck. Movers only get furniture and books! 🙂
Thanks for all the info on your move, Jennifer! We moved recently, too, and the sewing room was the first space I tackled. First thing was to have a SALE. It was hard to part with a lot of it, but since I was selling to members of SITU exclusively, I knew things were going to a good home! Next, I, too, sorted all the fabric and gave tons to Goodwill. Now that I am in my new space, I wonder if that was the right thing to do. I can get all pumped and do something like that, and then find I regret it later! But it’s gone now, and of course, I still have lots I can play with! But I would caution your readers about that. I hung all my costumes in wardrobe boxes and didn’t find too much wrinkling on the other end of the move. I did myself a favor and finally (after many years of making do!) bought some sturdy dress racks for my sale, which are now serving me well in my new, much smaller space. The rack I debated over before purchasing was a double level for blouses and jackets on the top, skirts on the bottom. What a lifesaver that has turned out to be!! I also bought a shoe rack that holds about 60 pair and I’m thinking I’d like a 2nd one. I am a huge fan of clear plastic bins, too, and found that I could put one big one in a box and top it with smaller boxes or odd pieces. I have the cube storage from IKEA with baskets that fit into the cubbies. Each one of those went into the smaller sized boxes and I laid a few books on top and around, which helped distribute the weight of the books in my collection. I put my seemingly endless supply of silk flowers in a big bin and found on the other end, that that works quite well for storing them, too! I think labeling boxes cannot be stressed enough! We moved in two parts, several months apart, and it helped a lot to have an idea of what was in each box. One thing I did that I found very helpful was to bag each color of jewelry in a ziploc (ie, all blue, all green, all red, all pearl, etc.) and then tuck those bags in around the baskets in the small boxes. Once I got to my new space, I could put the jewelry in hanging jewelry holders I always grab when I see them at thrift stores, and now I can easily find the jewelry to go with any outfit! I have a huge antique dresser with 5 drawers that I keep all my trims and thread in. I just covered each drawer with a pillowcase to keep the contents in the drawer, and then packed the drawers in large boxes. Just pull off the pillowcase and slip the drawer into place! That made it SO easy when I got to the new space! I have to admit, there are things I cannot find now and that is frustrating, but it’ll just take time to get everything unpacked and I’m sure they’ll turn up! My new space is considerably smaller than what I had so that is my greatest challenge. I ‘”inherited” some drawers with a bookcase atop from my husband and those have proved invaluable! I have stuck purses, lingerie, netting, etc. in the drawers and labeled them. I do not use hatboxes. I bought hangers for handwashed items at IKEA that look like an octopus with clothespins on them. I hung those from the ceiling and clipped the hats to it. I think I have about 20 hats on each. The larger hats are in large bins. I think my greatest challenge is that I tend to remember where things were in the previous house and having to start over is tough, but I know I’ll soon have the new space “memorized” and I look forward to getting back to work!
My biggest tip when moving is to use the 2.5 gallon zip lock baggies. I can see inside and automatically find what I want. They also fit quite well into the plastic milk carton boxes you can get in different colors. I usually file them in those and can use the different colors to classify them on my shelves. Red for notions, blue for thread, etc. They are not heavy when loaded and I can move them easily myself. I should have bought stock in the plastic bag manufacturers as I have used hundreds of them. LOL Good luck withmove and UNPACKING!!!!
Great idea with those large bags!
Jennifer, this couldn’t have come at a better time, I’m moving too. Of course my move is only 15 miles away but still have to box everything so it can go to the new house. I’m going to be able to move one room at a time so won’t have to pack the whole house at once but it is still a major life change and your hints are going to be so much help. I forgot about how heavy books can be and will need to repack them! At least my machines and delicate things will be able to be moved in the back seat of the car in the million trips I’m making. Good luck on your move!
I can ‘t say enough about those plastic Art Bin super satchel bins they carry at Joann’s. They come in several sizes and configurations, including one that holds surger thread and one for regular thread. The larger one will hold a project or fabric for storage. The compartmentalized ones are great for buttons, trims, sewing machine presser feet etc. There are cubical holders that will hold 2-6 of them depending on the size you have., or you can just stack them on a shelf. I organized almost all of my stuff into these years ago and when I moved my sewing room from one end of the house to another it was pretty easy. They are not the cheapest storage containers around but they often go on sale 1/2 off or you can use a cupon. Amazon also carries them and I am sure other craft store do as well. They last forever so I feel it is worth buying good storage containers, especially when you consider how much $$$ we all have invested in our supplies and tools.
I also appreciate your post as we need to move, and though I just sorted through my stashes (yes, plural – one in the house and the other in the garage!). I would like to think that it will be an easy packing job, but then I see little things around every corner. I don’t have a room to store or sew in, just a corner of my bedroom for stash and the kitchen table for sewing, but I’m still not looking forward to putting it all aside for a while…. a bunch of projects just popped in to my mind, not to mention the tubS of WIPs. 🙂