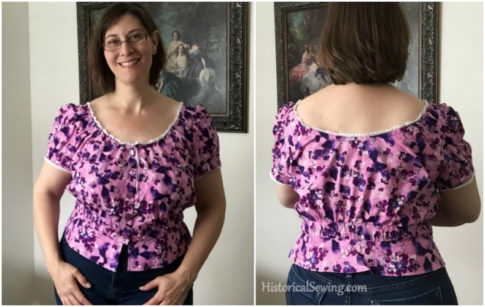
A couple years ago when Lauren of Wearing History released this 1910s Camisole & Corset Cover pattern I immediately thought of what a cute modern top it would make. And then she made her own modern top to show off how versatile the pattern is.
So it’s been on my sewing docket for a while. Lauren graciously helped move it up the list by sending me a copy so I could get started. (Thanks Lauren!)
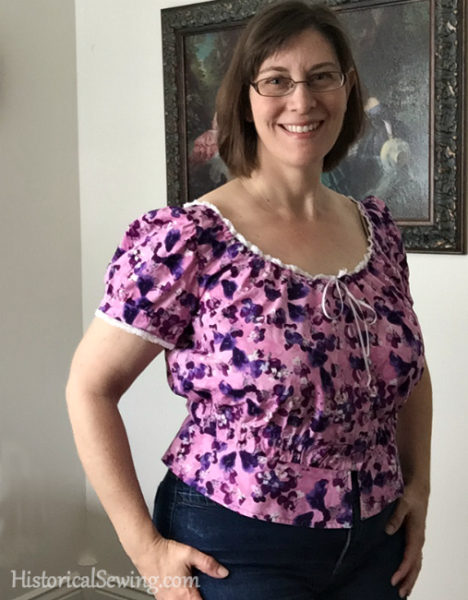
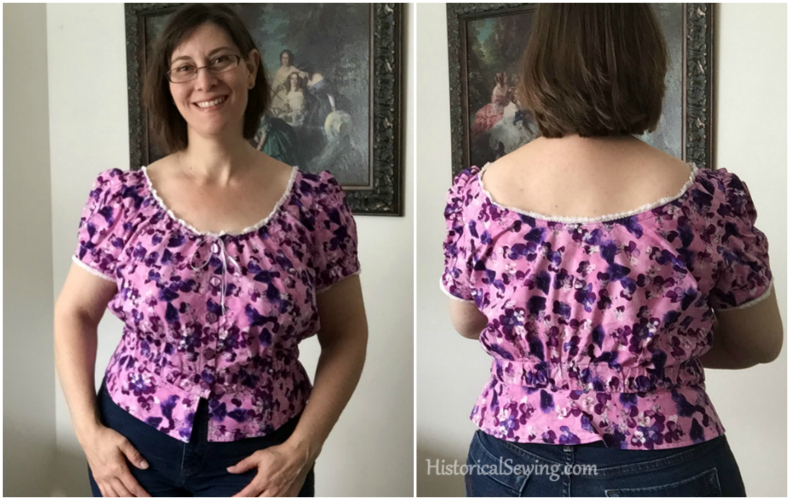
The fabric is a basic 100% cotton in a pansy print. I chose this 1) because this was the best out of the two pansy prints in the store and I didn’t have time to order anything, and 2) I was participating in an Alice in Wonderland Disneybounding group at Costume College 2017 and I was the pansy from the flower garden.
This created a great opportunity to sew up something quick for the group as well as try out the pattern. 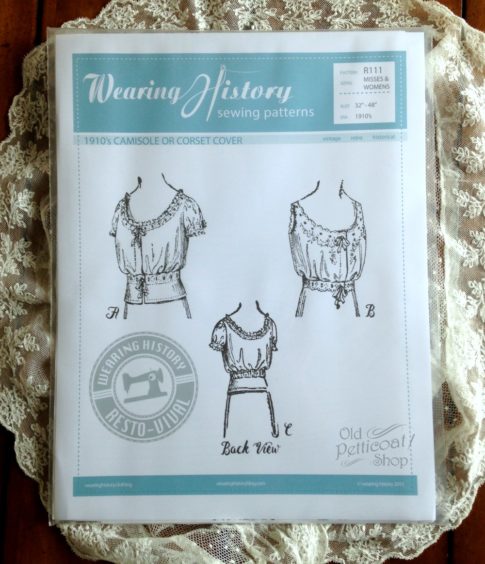
The first thing about this pattern is that it is from an original from the later Edwardian/19-Teens era. A wonderful resource for us! The pattern was copied and trued then graded into modern sizing.
That said, there are a few steps that could trip up a new historical costumer and definitely a new sew-er. I also experienced a few of the pieces not lining up exactly.
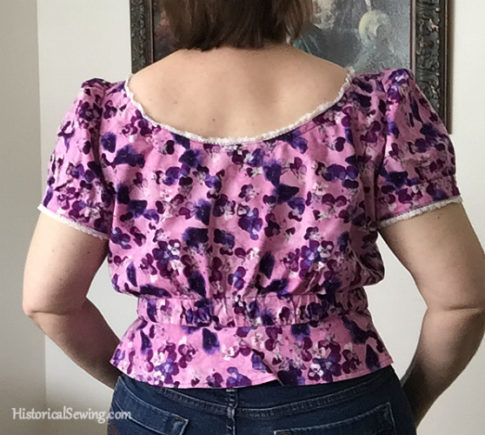
I pretty much cut and made the size 42 with the peplum option as-is with measurement adjustment for the sleeve band to fit my large upper arm.
I followed the wider seam allowances as given but didn’t feel I needed to move the seam line in or out. So the general sizing is well done.
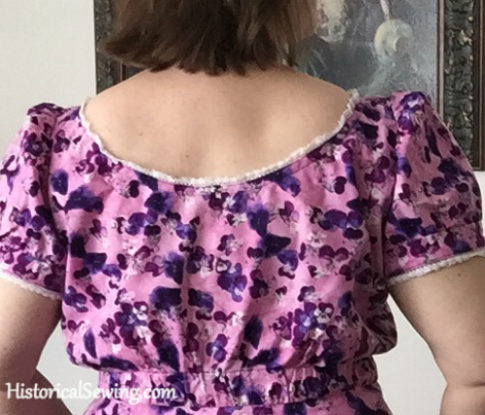
What surprised me was how high the back waistline was. Now, the pattern DOES discuss this as it’s the fashionably high back waistline of the era. And the length of the back piece looked fine to me as I was sewing. (I didn’t make a mockup.)
But when I tried it on just before finishing to test the front closure I was truly shocked how low the neckline falls – both front and back – and then how high the back waistline is.
When I make this again I will definitely lengthen the back piece so it falls more at my natural waistline – and I’m short-waisted!
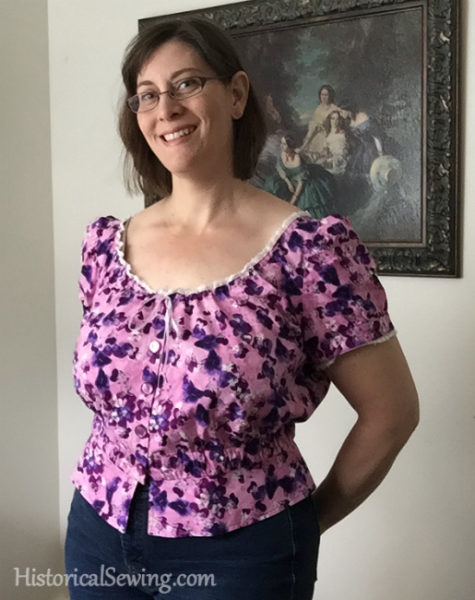
The neckline *definitely* needs a drawstring casing or beading lace for a ribbon to draw it up. The top simply is too big to stay on the shoulders and fit well without it.
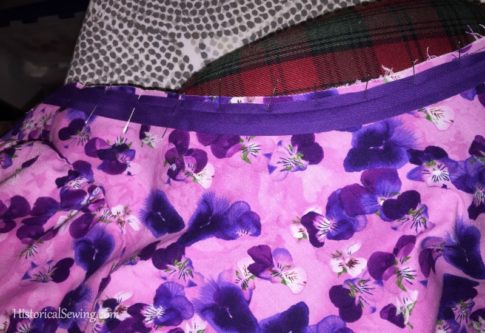
I used a purchased single-fold bias tape for the casing using my pressing ham and steam iron to pin the the bias into the neckline curve.
The waistline has two rows of gathering that are pulled up to match a stay along the inside. It makes a nice finish without too much bulk.
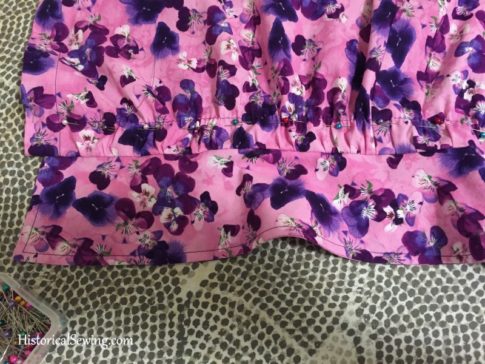
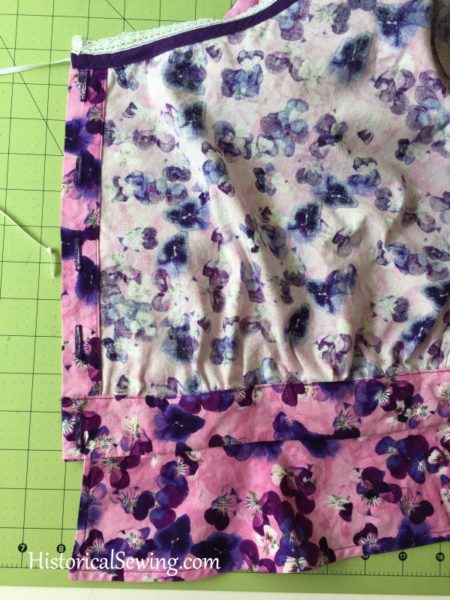
I went with some vintage buttons that matched perfectly if a bit too chunky for the style of top. If making for a true corset cover I would go with buttons of a smaller size and flat.
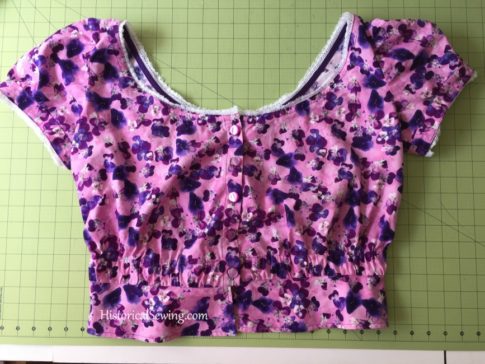
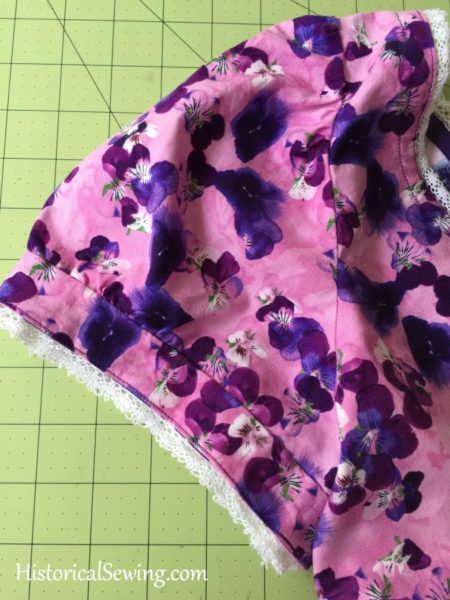
The neckline and sleeve band were finished with a narrow 3/8″ cotton lace for texture and depth to the final garment.
I’ll be making this up again with the lengthening adjustment mentioned above. Otherwise, everything to the construction will remain the same. I also think the peplum helps keep it down over the waist/hips as well as completing the “look” of this cute garment.
One final thought – don’t rely to much on the “Original Period Yardage Chart” listed for amount of materials needed. I used two yards of 45″ fabric for View C with peplum and sleeves, and it will be a necessary amount for the larger sizes.
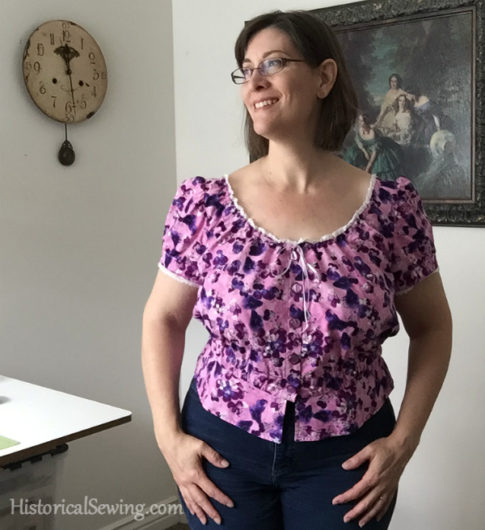
I recommend the pattern to intermediate costumers and for both modern and historical wear.

Very cute! I could see something like this in my historically inspired waredrobe. I’ll go check the pattern out!
Very cute, made again with the adjustments mentioned it will be lovely. As it is, shows off your figure nicely.
Thank you. 🙂
Thank you for the pattern review. I think I may just put this on my list to buy. The fabric is lovely, it suits you.
Thank you! I wasn’t too hot about the pink-ness of it, but it worked. I want to make this again in other prints and colors. 🙂