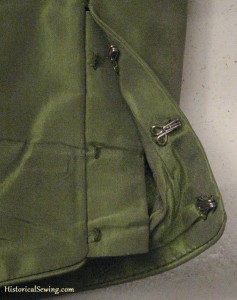
Thread loops are used for invisible fastenings and are used in conjunction with metal hooks for delicate trims and closures. You can find them throughout the 19th Century on Regency and Romantic era dresses and especially on late Victorian and Edwardian bodices and gowns. However, thread loops and corresponding hooks can be used most anywhere to fasten or attach garment pieces.
A Few Examples of Hook and Thread Loop Uses: Outer bodices hooked onto fitted underlinings such as false and vest fronts of 1880s and ‘90s bodices; complicated Edwardian openings; wristband edges overlapped and hooked together; bodice and dress center backs or fronts; and berthas or other collars mounted onto bodices.
Nearly invisible thread loops allow you to attach a number of various articles to garments. They can open up your creativity in how to fasten a complicated design.
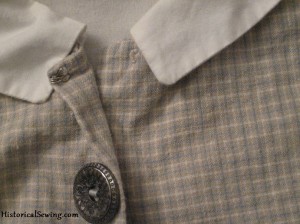
Thread Loops should be made as small as possible but large enough for the hook to fit through. For a medium size hook, a ¼” loop works fine. A loop that is too long can cause the hook to slip off too easily, making you concerned that your bodice may open
unexpectedly. Practice sewing loops so you can be confident of a secure fastening.
Here are Two Methods to Make Thread Loops
#1: Buttonhole Stitched Bars
Start with a double strand of thread, knot, and come up from the back side of the fabric. Make three ¼” long bars (stitches), one on top of the other. (The length may vary with the size of your hook.) Keep even tension on the loops and don’t pull too tight. Secure your starting end with a backstitch.
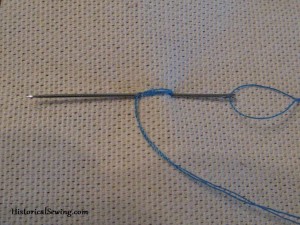
Work a buttonhole stitch along the length of the bar – pull needle under bar from top to bottom (toward you) and place the needle through the loop from behind to make a knot around the bar. The bar threads may stretch out a little, so when you reach the opposite end, tack down any excess. Make sure each end is tightly secured.
#2: Crochet Chain
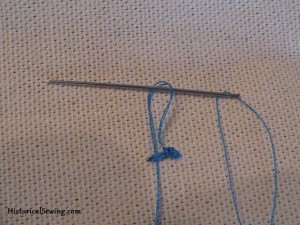
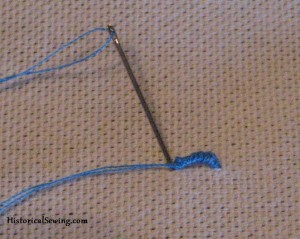
Another way to sew thread loops is to pull up a double thread and finger crochet a chain ¼” long. This is a basic crochet chain stitch using your fingers as the “hook.” Be careful of the sewing needle hanging on the thread, or take out altogether when crocheting the chain.
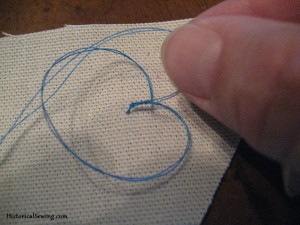
Use a double thread or even embroidery floss of 2 or more strands. Using a needle, secure the ends to the fabric and come up through to the right side. Make a starter loop and finger crochet along the thread until the chain is long enough for your corresponding hook.
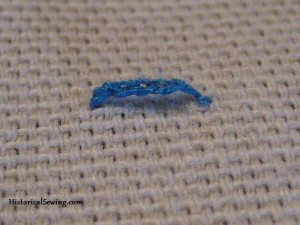
Pull the thread ends through the loop to knot. Re-thread your needle and secure the end of the chain to the fabric creating the thread loop.
Delicate thread loops, over time, may stretch out and pull away from the fabric from frequent use, allowing the hook to come
off too easily. Pay attention to the anchoring stitches on each end of the thread loop when first sewing. Make a new loop if the first one becomes too stretched out.
Try thread loops on your next project! You’ll be surprised at how they add to the quality of your costume.

Fixed a pair of dress pants that had a thread loop for a hook. Simple easy instructions for buttonhole stitchbars.
Thank you!
You’re welcome! 🙂
I am making a skin suit for my daughter for skating, but she is also using it as a costume and this is what I needed to attach things to it for costume time, but also keep it free from anything that could cause issues during a race. Thanks!
And now I know for when I do other period pieces as well… so nice.
Yay! So glad you found the solution. 🙂
You always have the answer! Thank you.
You are welcome!
Thank you!!
Excellent instructions! Thank you. I wanted to add a loop to the ends of a cape so it can be held on a finger. I am making a “Frozen” costume for a little girl.
Oh, fun! 🙂