Jane Austen you say? Lizzy Bennet? A walk to Meryton? The War of 1812? Napoleon and Josephine’s court? If you are at all into the early 1800s you know you can’t dress up without completing the ensemble with a bonnet. (Heck! That’s why those films we swoon over are called “bonnet dramas.”)
The Regency Era has given us quite a number of bonnet styles. Capote styles (soft crown), cottage bonnets, and poke bonnets abound. It’s hard deciding on a favorite!
From feathers to flowers, let’s take a look at ideas we can utilize for decorating these delicate head toppers by using period fashion plates and writings for inspiration.
“Look here, I have bought this bonnet. I do not think it is very pretty; but I thought I might as well buy it as not. I shall pull it to pieces as soon as I get home, and see if I can make it up any better…. And when I have bought some prettier-coloured satin to trim it with fresh, I think it will be very tolerable.”
~Lydia Bennet in Pride & Prejudice (Jane Austen)
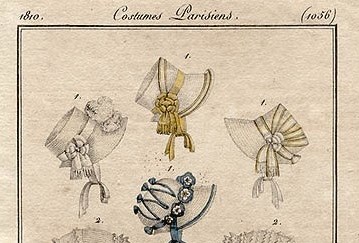
You’ll find many existing Regency bonnets with little trim. Hardly decked out at all! Only a simple ribbon, a swath of fabric, or a gimp braid is all you need. This tends to be in the first half of the Regency up to around 1810 or so. Then it expands as we head into the Romantic years.
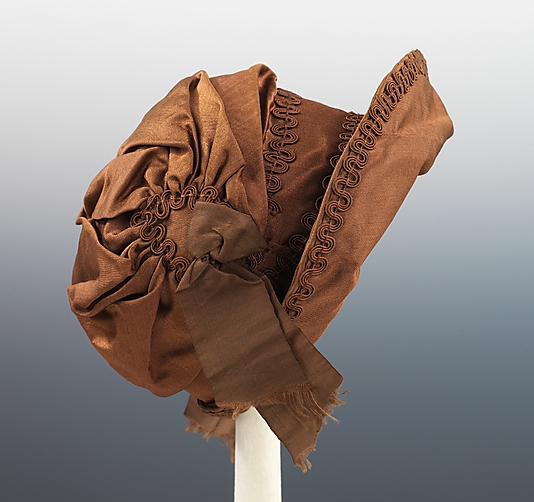
This silk bonnet from the Met Museum is very simply trimmed. The capote style back is pleated to the side for interest, and we find a simple wavy braid stitched all around the brim and crown edges with a short cut of ribbon to complete the pleating.
Use self-trim (swatches cut from the main fabric) to wrap around the crown or pleat up to line the brim edge. You can also make simple bows from fabric to highlight the bonnet at ear level or at the top of a tall crown.
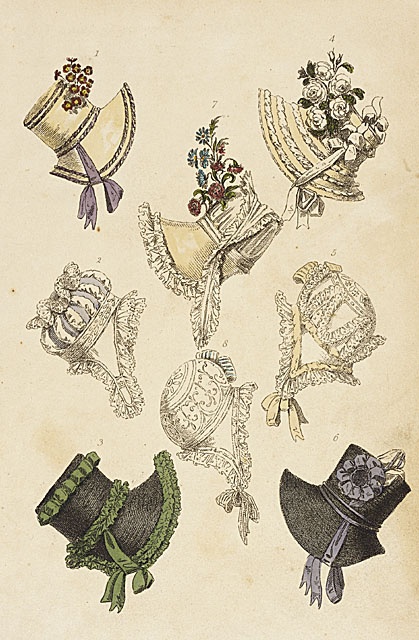
Cut bias strips of your fabric and add around the brim and top of the crown as well as between crown and brim. Ruche them with a soft or tight gather stitch or keep smooth and plain.
When trimming your bonnet, don’t just slap a little plastic flower on the side and call it good! No. Put some thought into it. DESIGN your trim. Coordinate with your base fabric. Accent it with a fancy embroidered ribbon.
Ribbons are the most basic of trims for your Regency bonnet. Apply them simply – over the seam of the crown & brim; wrap three rows flat up the crown side; tack them from the base of the crown/brim to the outer edge of the brim to then tie under the chin; cross them from side to side but over the top of the crown (diagonal placement was quite common).
When applying ribbon to your bonnet, only tack in a few spots to hold it in place. No need to attach it with a running stitch down the whole length. Keep the trim the focal point and not your hand stitches.
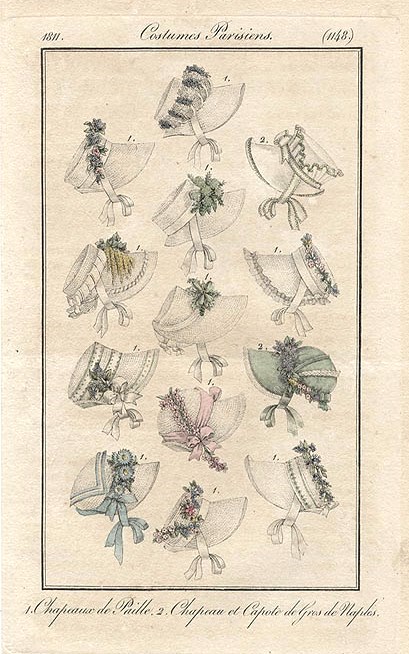
“The capotes have almost all a large bunch of ribbons, or crape, in front, which are white, jonquil, lilac, and rose. The yellow and white straw hats are very common. One of the most striking head-dresses is the hat à la Uhlan, the crown of which is in the form of a lozenge, and the front a little turned up or pointed like a helmet: its colour is jonquil, rose, or all white, with feathers of the same; or striped with broad stripes, lilac and yellow, or lilac and rose, with flat feathers to match. This head-dress, piquante by its novelty, displays much ingenuity in its plan and execution…. The prevailing colour for hats and capotes of Florence, or crape, is deep violet, with jonquil ribbons or draperies, and Egyptian earth-brown, with lilac ribbons or draperies.” ~The Lady’s Magazine, 1801
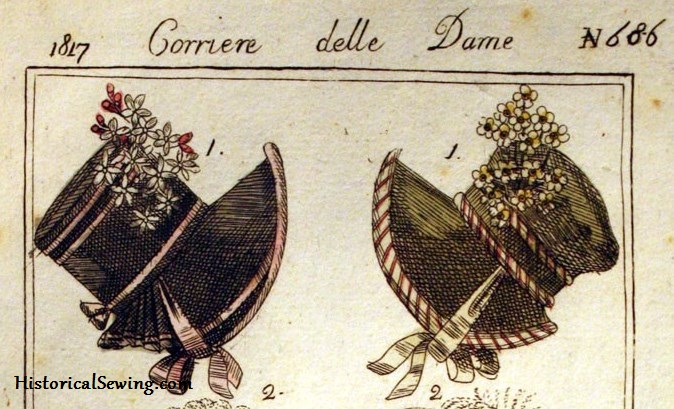
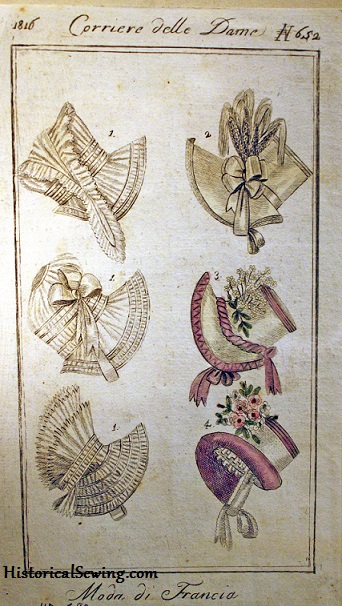
Flowers tended to be smaller varieties or one large motif. They all seem to be framed by ribbons around the hat or a few feathers. Notice in all the fashion plates here that greenery (aka leaves) is nearly always present with the flowers to give the look substance and depth as if plucked from nature itself.
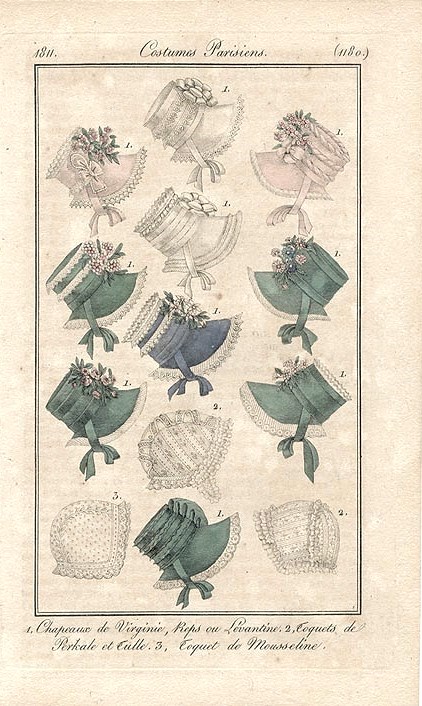
The flowers sit closer to the bonnet frame too in earlier years. When the 18-Teens arrived they started “popping out” of the bonnet in a brighter 3-D appearance. Wrap them around the crown base or around the top for a Grecian feel.
When you stitch florals on, sew over a few stems, not every one either – just enough to hold the flowers in place. Don’t pull too tight; keep them looking loose as if you merely placed them there.
Regency trim is sturdy, so keep those dangling vines and stems reigned in without displaying too much bounce. Add thin floral wire to the stems if they need support to stand up or stay in place.
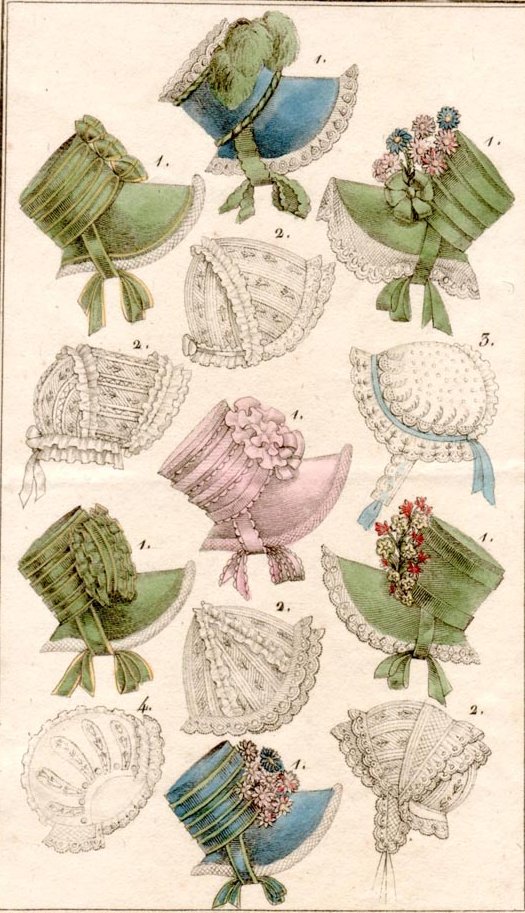
Think about edging the brim with a bit of 1″ to 2″ lace. Brim edgings worked like sunglasses of the day giving a bit more shade to the eyes. Net embroidered lace is your best bet. Contemporary cotton eyelets are too much and can look “modern.” Gather or pleat or ease the lace edge to the very inside edge of the brim. Cover with a braid or tiny ribbon or bias strip.
Feathers were popular well before the Regency. You see them often in turbans and other evening headdresses. But that doesn’t mean you can’t use them on your bonnets too! Start with small clusters for early 1800s then make them explode on the bonnet as you get into late-Teens fashion.
Curl your feathers. There’s little thought behind buying an 8″ ostrich feather, pulling it out of the package and tacking it to the side of your bonnet. My husband can do this. What you want to do is take time to give your feather (well, multiple ones really) a bit of life.
Use a steam iron or steam from your kettle when making your tea (how Jane Austen!). VERY CAREFULLY, as you can get burned, gently start shaping the feather shaft into a curl while heating with the steam. Hold it until it cools – the most important part of the process! Repeat until it’s shaped as you like.
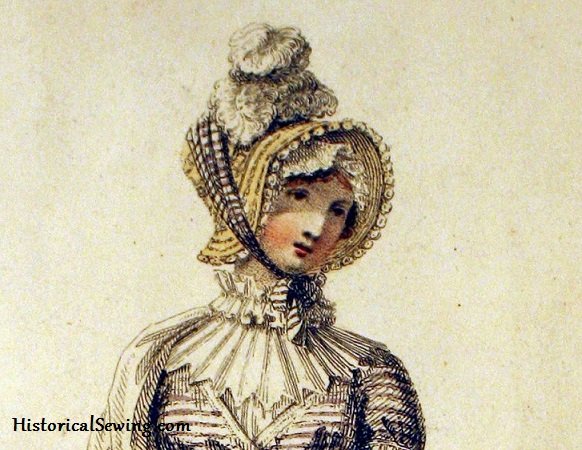
You can also give the edges of ostrich feathers a bit of Regency awesomeness by curling them too. The technique is just like curling ribbon.
Use the edge of a butter knife or scissors and GENTLY pull the blade under the feather tips. Do each tip separately for better control and finished look. Do this in sections and steps. Go back and re-curl if need be. Curl in the natural direction of the feather. Bend the shaft first then curl the individual tips.
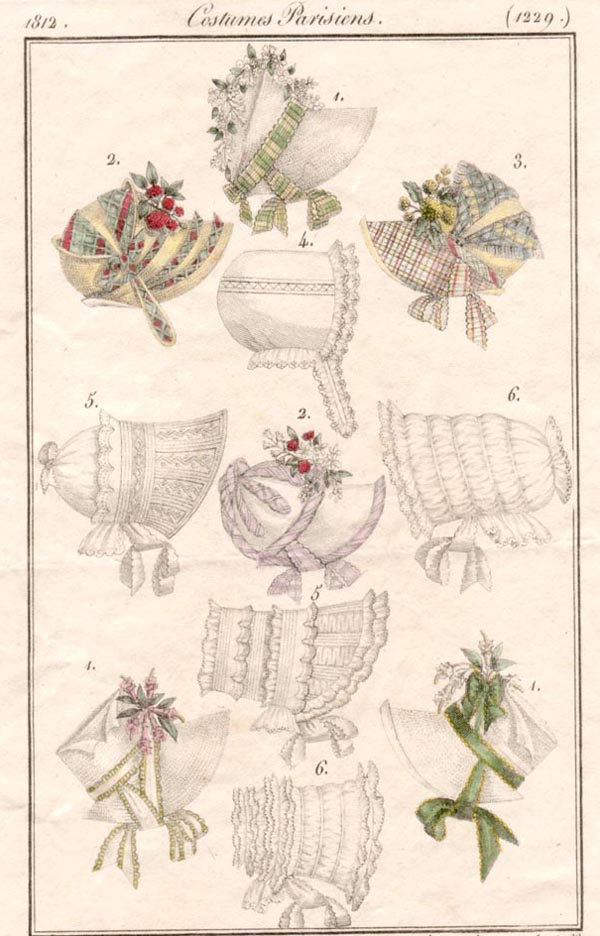
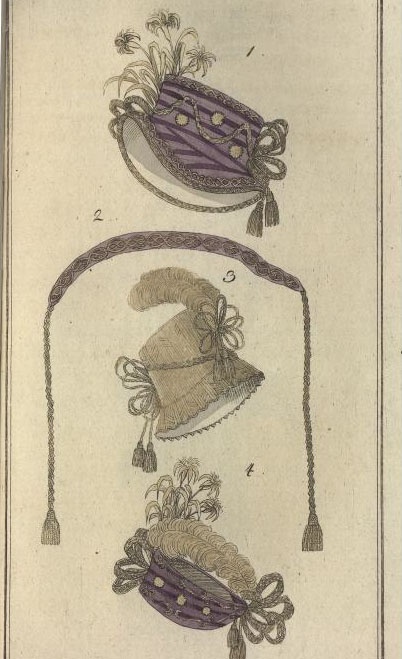
For something a bit different, what about a plaid or stripe on your headpiece? Or try putting together loops of cording for side motifs like the plate below. Add a curled feather for depth.
Looking for what a few Regency colors looked like? I found this fantastic Regency Colors page that gives you clues for “coquelicot” and “puce.”
“I took the liberty a few days ago of asking your black velvet bonnet to lend me its cawl, which it very readily did, and by which I have been enabled to give a considerable improvement of dignity to cap, which was before too nidgetty to please me. I shall wear it on Thursday, but I hope you will not be offended with me for following your advice as to its ornaments only in part. I still venture to retain the narrow silver round it, put twice round without any bow, and instead of the black military feather shall put in the coquelicot one as being smarter, and besides coquelicot is to be all the fashion this winter. After the ball I shall probably make it entirely black.”
Jane Austen, letter dated December 18, 1799.
How do you like to decorate your Regency bonnets? What are your favorite colors of bonnets?

Thanks for the great ideas. I’m about to start decorating a bonnet so was pleased to find your blog.
You are welcome Christine! And welcome to our Joyful Community!
This is really useful. Decorating bonnets and hats in my weak point. It just always looks…awkward. Have you got a video/photo tutorial on the feather curling? Does it only work on real feathers and not synthetic?
Great article! I’m working on my regency impression and have had some trouble selecting the correct bonnet shape and style. This has been very helpful, thank you.
-Emily
How neat, Jennifer! I loved your reference to Jane Austen’s notes about the black bonnet, and the color sketches are really lovely.
I’ll have to keep these ideas in mind for the Jane Austen Festival this year!
Happy sewing,
Katrina
Just the information I was looking for! I am newly diagnosed with “Regency Fever” and, what with this year being the 200th anniversary of the publishing of P&P, have surrendered completely. And now, thanks to you, I know how to decorate my bonnet appropriately!
Great article!
Love this article! I have great fun with bonnets. My next is going to be inspired by this Eckersberg portrait:
http://www.fineart-china.com/upload1/file-admin/images/new24/Christoffer%20Wilhelm%20Eckersberg-387835.jpg
This is to go with a yellow dress with small red flowers. The bonnet is red. I bought some yellow and red checked ribbon in Bath and have a variety of red and yellow flowers to play with.
Ooh! That’s a lovely bonnet!
Beautiful image!
-Emily