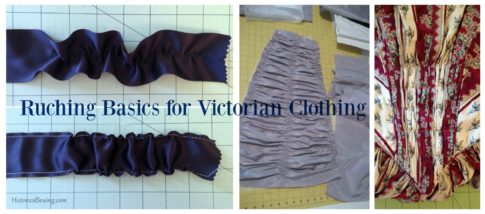
Ruched panels – in all their glorious, gathered loveliness – seem to pop up frequently throughout the Victorian Era (1837-1900). You’ll find ruched bodice panels, puffings as skirt trims, and gathered accents in ribbons for all sorts of marvelous decorations.
The process of ruching isn’t hard. But in some ways it looks so complicated!
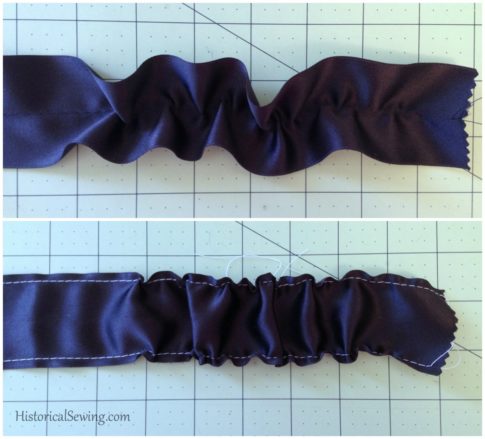
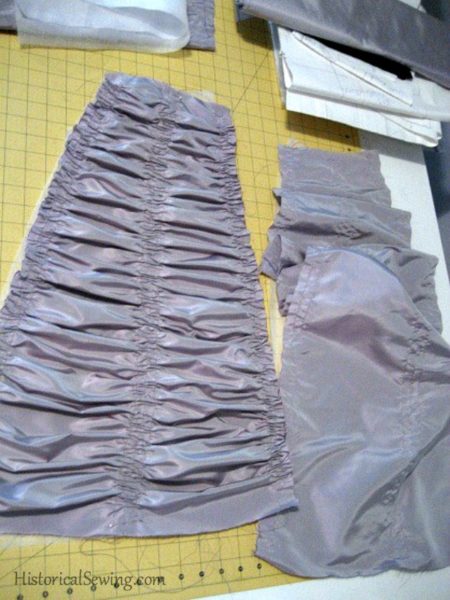
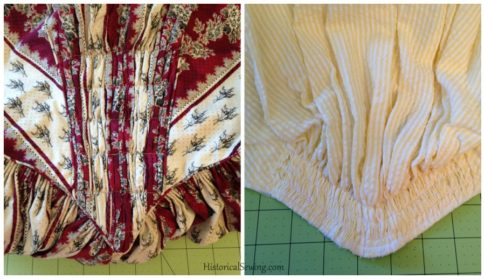
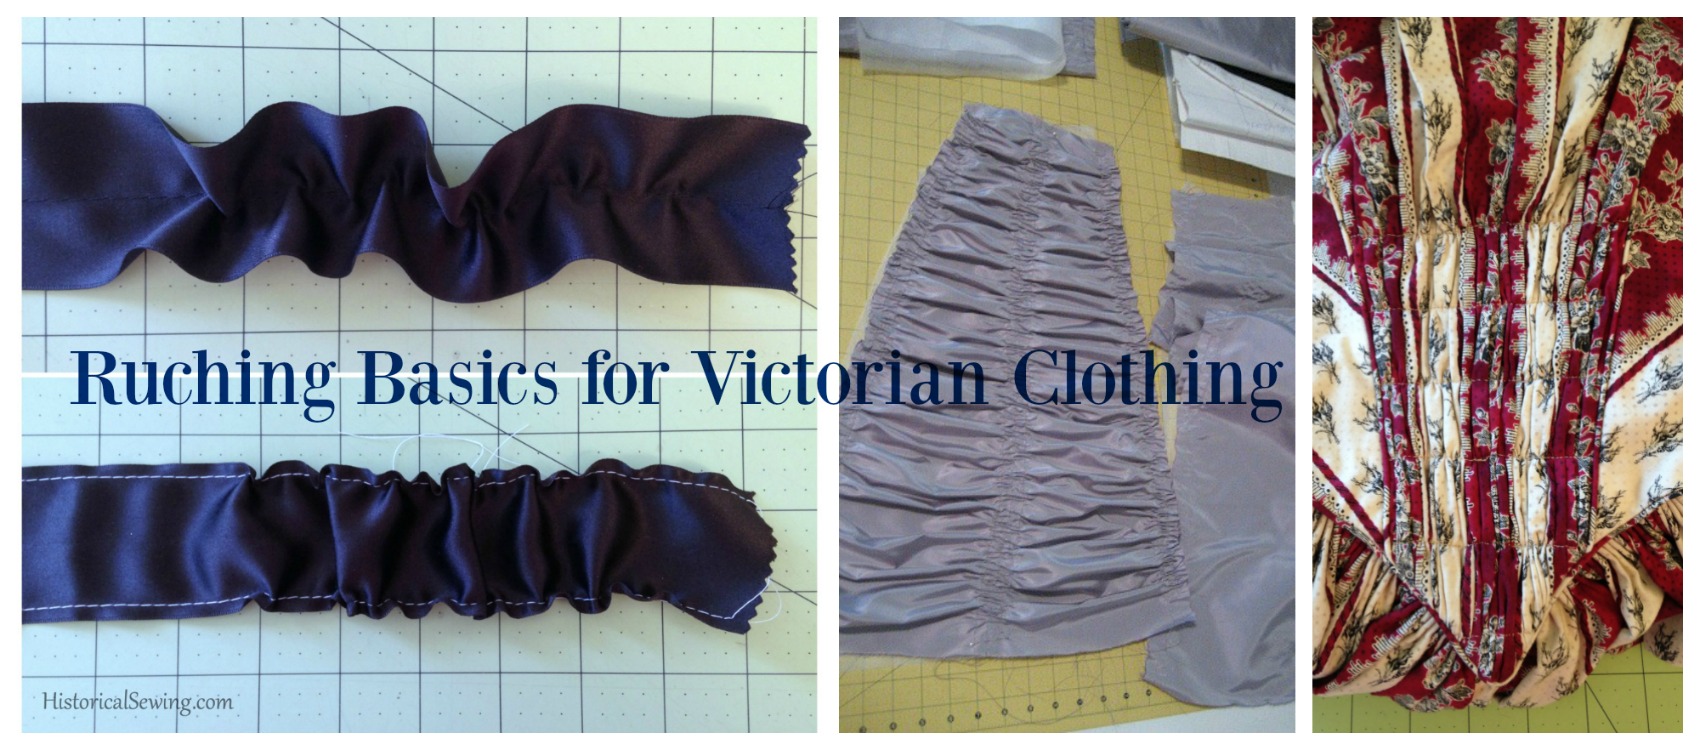
Ruching, or to make a ruche, is simply gathering up sections of fabric or ribbon in repeated rows. As it relates to Victorian clothing, it is then mounted to some sort of foundation, either a shaped base or a garment itself.
I’ve put together a new video tutorial (a long, mini-class if you will) for you so you can see the basic techniques that go into this fantastic embellishment and design element. Then we’ll look at a few sample garments where the ruching technique was used.
Tips to Help with Your Ruching:
- Machine or hand gather with a long stitch length.
- Use thread color to match your fabric or ribbon for your gathering stitches as they will not be removed after mounting to the project.
- Keep rows of ruching stitches parallel and even. The stitches themselves don’t need to be exact in length or the pleats/gathers or the ruche will border on looking like cartridge pleats.
- Pull up the gathering threads evenly and at the same time if your gathering rows are fairly close together.
- Push rows of gathering together to create a more 3-D puff look.
- Play with multiple rows of gathering and how tight or lose you pull up each row. Create circles or waves or serpentine trim with all the variances of how you pull up the threads.
- Read more about my 1873 ruched skirt on this post.
Recommended reading for more on fabulous ruching techniques and effects:
Embellishments by Astrida Schaeffer
The Art of Manipulating Fabric by Colette Wolff
Have you done much ruching on trims or garments? Was your technique successful? What was your favorite effect of ruching?

Hi! I found one example of an 1865 crinoline with flat front and wide, horizontal ruched back panels. The rows are narrowed slightly to puff out much like you show in your video. This gave me the idea to add horizontal ruching to the top half of an elliptical petticoat to help reduce the numner of petticoats needed to hide the steel. I imagine I would widen (instead of lengthen) each panel. Is there a recommended percentage for increase? Please advise.
Neat! Although, my first thought was that it simply sounds like cartridge pleats rather than a ruched fabric. I would say your idea of a ruched panel on the top of the petticoat is more like a gathered ruffle and not a ruched trim. Adding ruched or gathered ruffle panels is indeed a great idea for covering hoop steels! I’d recommend 1.25x or 1.5x the width of where you are applying the trim/ruffle to petticoat skirt. Search the blog here for more on cartridge pleating and even ruffles.
Hi. In Nellie Bly’s account of travelling around the world in 72 day in 1888 she wrote that she packed “a liberal supply of handkerchiefs and and fresh ruchings.” In this contect what are ruchings? Thanks Geoff
This would be ruched (i.e. pleated) trims that could be switched out on garments to freshen the look. Like different accessories with one bodice. Trims were often hand tacked on so they could be easily removed for garment washing, and as in your example, to freshen the look of the ensemble.
Thank you for this guide! I used it to make a trim for a victorian hooded cloak, it was easy but seeing you images gave me the confidence to try it.
Huzzah! 🙂 Glad to hear it helped.
Hi! I have a question about the lavender dress. When you cut out your silk panel pieces for ruching did you add any extra to the width or just the length?
Thanks!
Just length. You can see my pattern work in my post on the skirt here: https://historicalsewing.com/just-keep-ruching-ruching-ruching-1873-blackberry-cream-dress
Thank you!
I have a question about washing something that has ruching. How will it come out after the wash? Will it be super wrinkled? And is there a way to iron something that’s been ruched? I’m thinking of doing something closer to the skirt ruching, but not as extensive.
Unless a cotton day dress simple trims that you’ve planned from the beginning to wash, I recommend dry cleaning costumes. The trim will stay much better that way. Spot cleaning is the better way to go (after dry cleaning) as was done with the originals in the 19th century. Your fabric and design will dictate how to clean the garment. All my silks go to the dry cleaner… and even then only occasionally as needed. Spot cleaning and spraying with vodka keeps them fresh to wear again. With my cotton dresses (and I make a lot of them), often it’s spot cleaning or hand washing.
And ruches don’t need to be ironed. That’s the beauty of them – the 3-D look they naturally produce (rather than a trim mounted flat to a garment). If you need more reassurance, make up a small swatch/sample of the ruching you want to make in your chosen fabric. Wash it and see how it comes out. Again, you shouldn’t need to iron a ruched section.
Your point about using the same color thread as your fabric is spot-on! The first time I made a puffed ruffle (for an 1876 ballgown), I used white gathering thread on a dark teal fabric, and I also used white twill tape as a stay for the gathers. When I finished, I was horrified to find that the white showed! I ended up having to cover all the lovely puffing with loops of wired ribbon to hide the thread and stay tape. To be honest, it ended up looking a bit overworked. The good news is, I’ll never make THAT mistake again, LOL!
By the way, great minds think alike! I recently wrote a four-part series of articles for Your Wardrobe Unlock’d on the basics of fabric manipulation–gathering, pleating, ruching, puffing, shirring, etc. The first article was published a couple weeks ago.
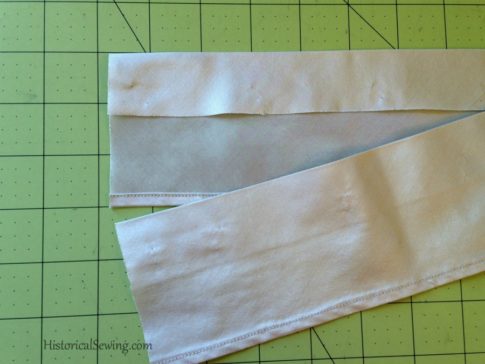
Hi Jennifer — I have a question, should you do bias OR pinking and not both? It seems to me that pinking the bias edge would counteract the anti-fraying effect of the pinking because the cuts are parallel with the grain then.
That is indeed correct. Either pink or cut bias strips. The pinking on the fabric grain creates little bias edges. Now, depending on your fabric they will stay nice cut edges or can fray on you a bit too. But if you cut bias you don’t need to pink.
Thanks!