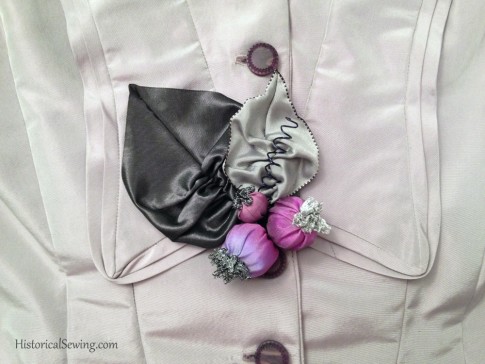
Those gorgeous trim clusters on Victorian dresses – sigh! But how were the dresses cleaned with all that trim attached?
I first realized the value of making 3-D trim removable after the first wearing of my 1876 Wedding Cake Evening Dress. After copying the fashion plate for the exact placement of roses and lace and leaves, I was excited to show it off. But….the long pink silk taffeta train, unfortunately, got swiped by a car tire and grime you wouldn’t believe appeared. Ugh.
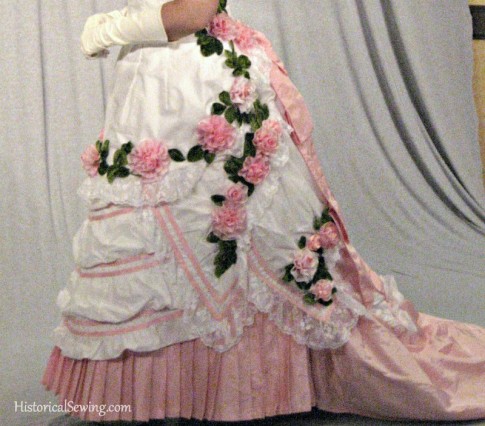
So after the ball I spent a long time – really, as long as it took me to tack all those silly roses to the dress – removing each one and noting where in the specific grouping they were placed.
After the skirt was cleaned I then spent more time tacking the motifs back in place using the method in this tutorial. Now I can wear the dress and not worry about future cleanings or the time it would take to remove, yet again, all that trim and then replace.
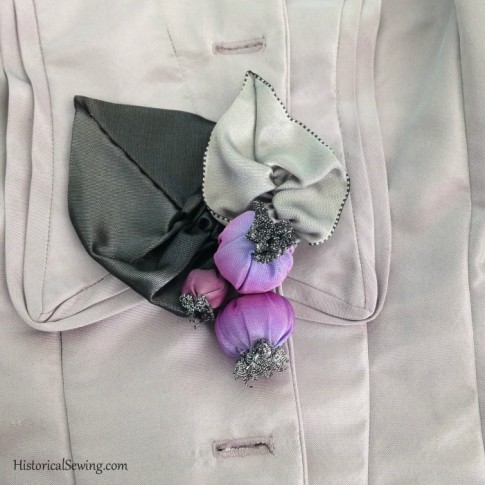
So let’s get going on how you can make your 3-D trims set in place and not worry about them when you need to clean the garment later.
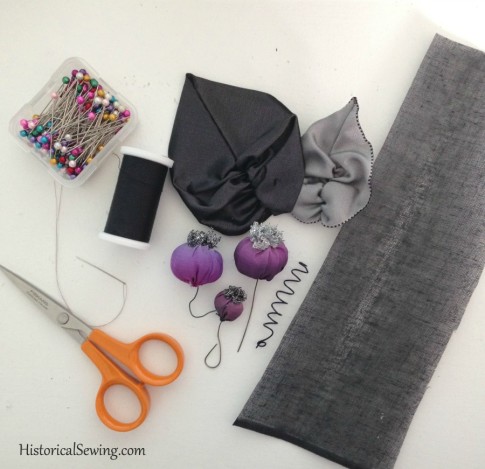
Gather your bits & bobs you want to mount to your garment. This can be silk flowers and leaves, ribbon flowers and leaves, wire curls, other ribbon trim, bits of lace, net or fabric, and feathers.
You’ll also need crinoline (it’s available in white or black) – the real goods of stiffened cheesecloth stuff – thread to match your items or the garment, and long ball head pins to hold bits in place.
I recommend cutting a larger bit of crinoline than the finished motif size for ease of sewing. Trim the excess later.
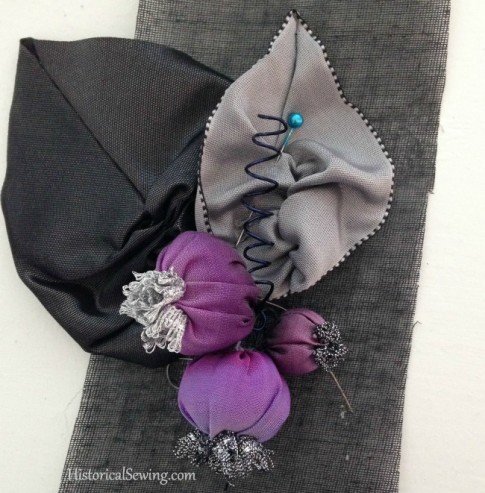
Start arranging the motif bits on top of the crinoline into a pleasing display or follow a design you are mimicking. This can be time consuming as you work and move the items all around.
Start pinning what you can to the crinoline. Build the design with the larger elements in the back grading out to the smaller items. If you have florals with bendable wire stems, wrap into curls so you’ll have a base to sew down.
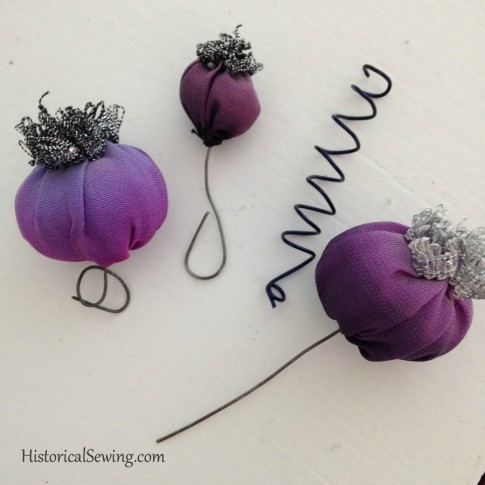
Tuck stems under leaves or petals. Layer in a 3-D manner with the elements coming up away from the crinoline. Keep it light but keep the items close together. Sometimes you need to add more bits to fill in.
Push everything together for a tight cluster to hide stems and wires.
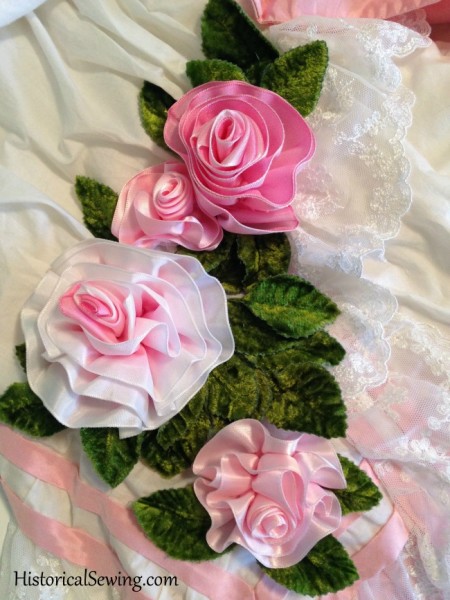
Incorporate netting or lace or other fabric bits to disguise stems and “holes” between the bits. Use the fabric as another layer to add depth and interest.
When your design is set you’ll need to start tacking the bottommost layers first. Yes, this often means removing the top bits so you can access the bottom parts. Carefully remove the tops bits off to the side keeping the same placement.
Depending on where the motif will be placed on the garment, use either a single or double strand of thread to tack each piece to the crinoline (I like double for fewer stitches). Start with the bottom layers and sew each piece down.
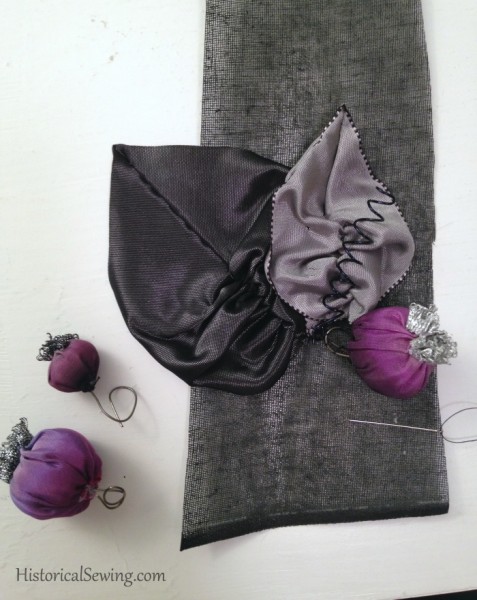
Some items will need more stitches to hold than others. Keep light stitches so as to retain the full, 3-D affect. Sew only as much as needed to hold the item to the crinoline.
Tack stems with whip stitches. If leaves or large flowers continue to flop around or need more stability, take a tack or two in the middle of the leaf or petal to secure. Rather large flowers will need a few petals tacked. Try to stay near the base as much as possible.
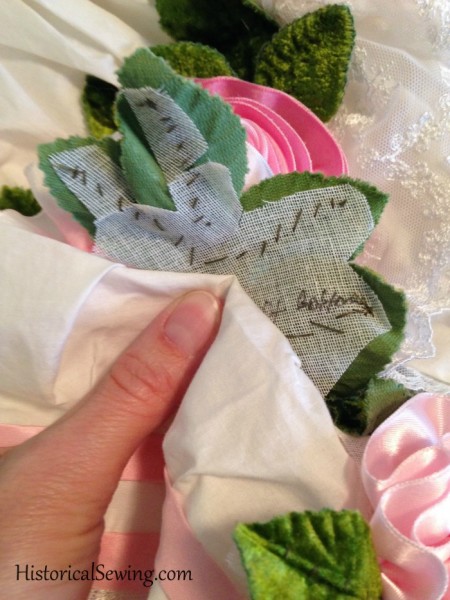
Use veins and pleats to hide stitches within them. And, again, use only enough stitches to securely attach bits to the crinoline. Don’t pull stitches too tight to flatten items.
After the bottom layers are tacked start adding back the top layers and stitching down. Remember to hide stems and wires behind other items.
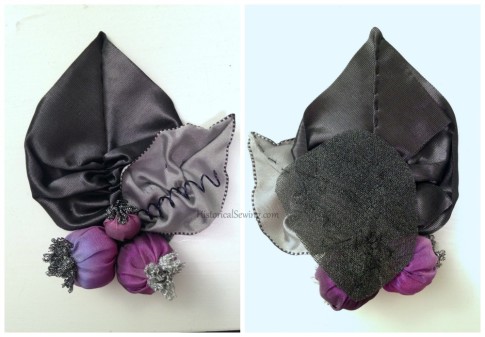
Sometimes you have to sew a top bit on first and then the larger leaf that lays under it because the stem is hidden by the leaf even though it sits under it. The idea is to tack from the bottom up but in an order that makes sense to keep it 3-D. Each motif design will be different.
Use this method of sewing bits to pieces of crinoline for small or large motifs. Use it for large flower designs for Victorian skirts and small bunches to pin to bonnets.
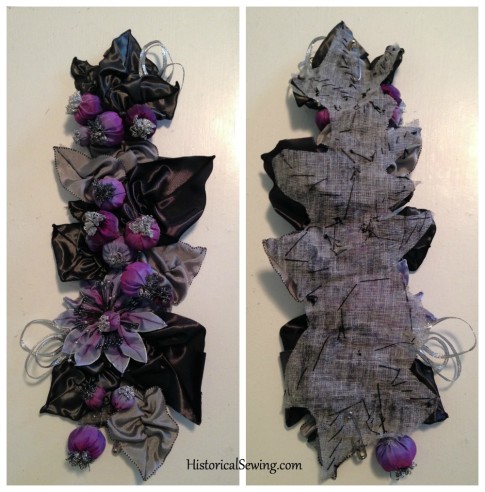
Once the items are all securely attached, trim the crinoline around the motif but not too close to the stitching. Straight pin or safety pin the crinoline to the garment. You could also attach with tacking stitches. But, the whole motif is now removable for cleaning and storage. Store in drawers, hat boxes, or in small bags hanging with the garment.

If your bits are rather heavy, use two layers of crinoline or even a single layer of buckram.
If the garment fabric is delicate or snags easily, add a felt backing to the crinoline by cutting it the same size as the trimmed crinoline and whipstitching around the edges.
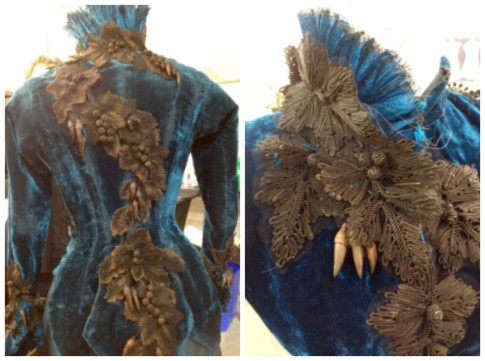
If trim motifs need to be long or for specific areas (like leaves on the shoulder and down the back of a bustle bodice), a paper pattern can be taken on the garment of the area to be covered with the trim bits. Cut the crinoline to this with a little allowance if possible, then layer and stitch motifs to the cut crinoline shape. Trim edges only if needed.
Have you sewn separate motif trim designs for any costumes in this manner? How has it worked for you?

Would you consider doing a tutorial on how to make the items you show (leaves, flowers etc.) I really enjoyed this one.
Definitely! Will add to my list of tutorial suggestions. Thanks! 🙂
I have a bustle gown with strips of flowers stitched to wide grosgrain ribbons for trimming the shoulder and down the overskirt — poinsettias for Christmas and roses for other times. They can be swapped in and out with a pair of safety pins each.
Where would one find the bits, and buds?? Or how would one go about searching for these items (what search term)?
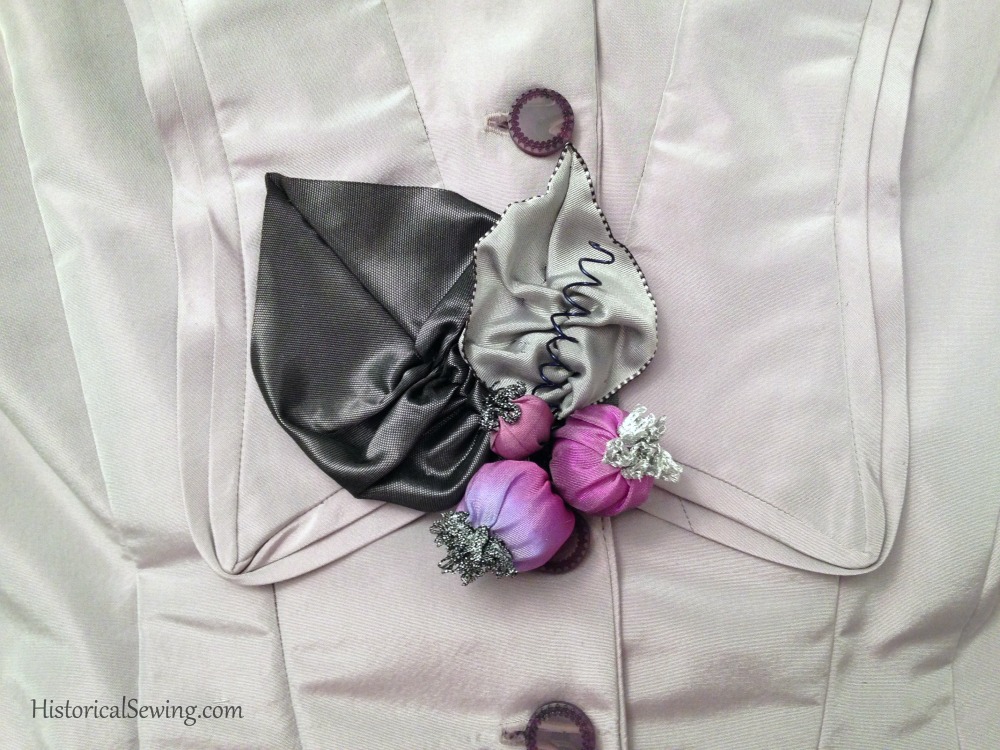
You can use floral stems & picks from a craft store or make your own. These here are made from ribbons and craft wire.
This explains some thing-a-ma-bobs my grandmother had.
I always thought they were corsages, but they were fake flowers and fruits tacked to a fabric backing like you show here. it would have been very easy to move them from dress to dress, or simplify a dress by removing the frou-frou stuff.
Why not attach the whole thing to snaps, buttons, or velcro for even easier removal and replacement?
You definitely could. Snaps would be hidden enough. Buttons you’d have to use thin ones to not create bulk under the motif. Same with velcro, but I don’t use velcro as a modern notion in my historical items.