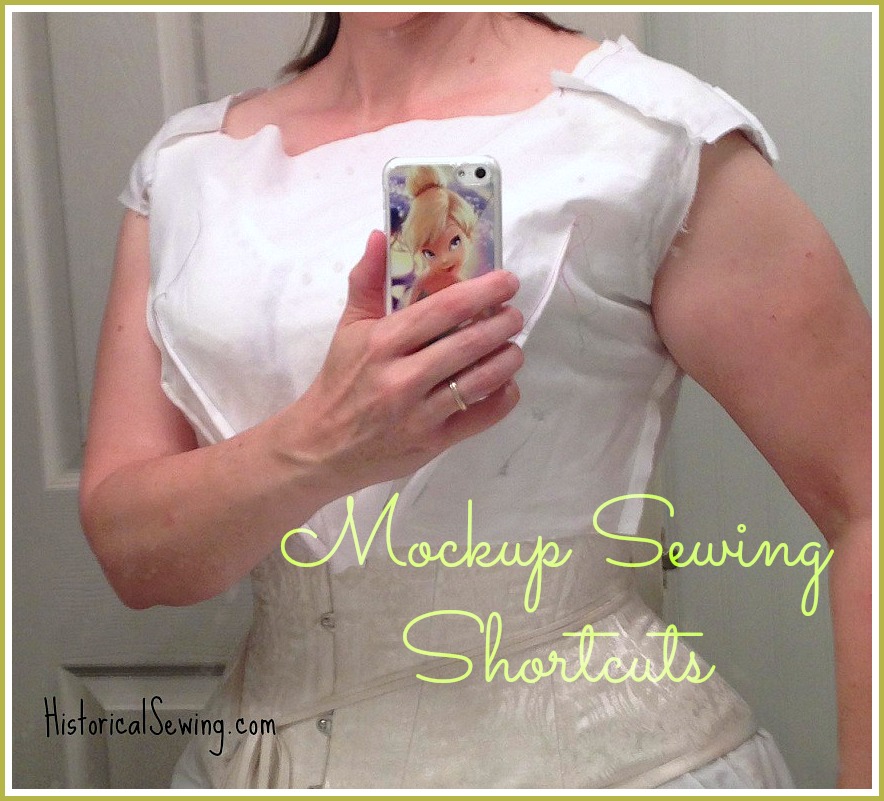

We all know that when making up a new historical costume we need to start with a mockup. Yeah, yeah….
But sometimes we get lazy. We skip them (inconceivable!).
Or we try our darnedest to make them just as the final garment will be and spend so much time doing so that the event deadline is upon us before we can take scissors to fashion fabric. Ack!
To help you get faster at sewing up those valuable mockups, here are a few shortcut tips I’ve put together for you.
- Don’t pre-wash your mockup fabric. Keep the sizing in it – unless, of course, your fashion fabric is super soft or drape-y and you need a similar soft mockup fabric.
- Use a gingham or striped fabric for your mockup to easily keep track of grainlines. No need to draw them in this way.
- Use a printed fabric with a clear right and wrong side to make the mockup sewing go faster. (Keeps you from having to either mark each “right” side of each piece or figure it out as you sew seams together.)
- Use a longer stitch length. I generally sew seams with a 2.5 stitch length. For mockups I’ll go up to 3.0 or 3.5. The longer length means sewing a seam in less time. PLUS, if you have to rip seams during your fitting they’ll be easier to pull apart.
- Save half-used bobbins from previous projects to sew your mockups. Don’t waste time filling a new bobbin just to sew a mockup together. Same goes with older thread spools. Use any color in older spools and bobbins to sew with.
- Don’t trim threads after sewing a seam – unless you’re like me and have to clip them ALL for every seam you sew. (Perfectionist here…)
- I hesitate to say this one, but leave off staystitching UNLESS your garment has a drastic curved cut edge that needs the reinforcement for fitting.
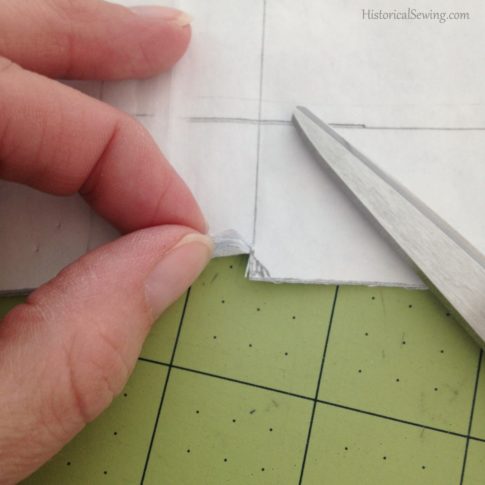
- Don’t cut outward Vs to indicate notches. Merely, clip straight into the seam allowance at the high part of the V. You NEED to know where the notches are in your pattern. You *don’t need* to spend the time to cut those little V notch marks outwards into the fabric. I also recommend using this technique on your final fashion fabric too. Either clip into the seam allowance or cut tiny Vs into the allowance on the final garment pieces.
- Don’t try to pin a center front seam closed. Arg! How many minutes do we take to pin a mockup closed at the center front opening? This tip isn’t really about saving time in the sewing process but cutting time off your fitting session. Make sure you have good seam allowance and baste in a separating zipper. Yes!
- To tag along with the above tip, if you have a back closing bodice, cut the back on the fold (if possible, like the seam is straight and not curved to fit the figure) and add seam allowance to the center front line. Follow above tip to add a zipper.
- Only sew in one line of gathering or ease stitches along the top of the sleeve cap. No need to run two as you will in the final garment. You can test fit with just one row.
- Leave grading seams for your final garment. Don’t waste time trimming any seam allowance in your mockup.
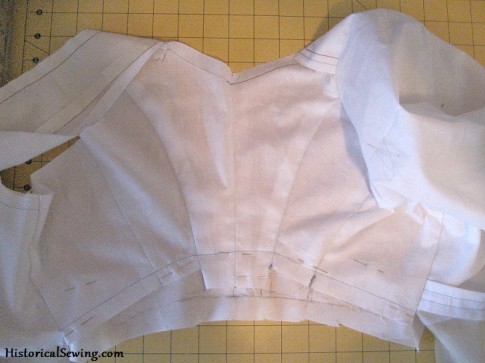
- Save time with collars, cuffs and other trim or decorative placements by only sewing half of the piece to the main mockup, or only to one side of the mockup like a sleeve.
- Leave off all linings and facings.
- Use the assembly line method and pin as many seams as possible at once then sew them all without getting up from your machine.
- Don’t press any seams on your mockup or press them to one side only. Pressing seams open, although a GOOD thing to do on your mockups, takes time.
What other sewing shortcuts do you take when making a mockup?
I do literally ALL of that, even going so far as to make only half a garment. Ain’t nobody got time for that s%#t! I want the finished garment yesterday, not the mock-up two days from now.
I admit to clipping off the threads after stitching. I don’t want to deal with wayward threads during fittings. I also save larger scraps of fabrics, cottons especially, to cut smaller pattern pieces from. My mockups can be very colorful at times. On garments with a higher neckline I run a line of stitching on the seam line then clip in the seam allowance. I can judge the fit better this way.
Gingham! This is why the ginghams at GoodWill was calling to me this evening. If only I understood what they were saying to me.
I use a Sharpie to mark changes to be made onto the mockup, and instead of picking out seam changes, I’ll stitch on the Sharpie line and only pick out what I need to, if I need to.
When I sewed Vogue designer originals, I made the trial garment in a wearable WHITE fabric. I was a lab tech with some of the classiest lab uniforms in town. I was really close to the pattern size, so I could get away with it.
Were I to start with historic fashions, I think I would do mockups in fabric of similar weight to the final, but fasbric on the steampunky side so I could sell it.